Summary
This section describes the steps to follow when running a barcode inspection.
Steps
Step 1: Load Electronic Files
Note: Users can skip to Step 2 in case of Loading Scanned Files.
To inspect barcodes in a master file:
-
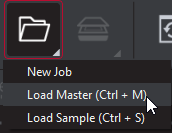
Click on the File Menu icon on the top panel→ then click Load Master or click in the Master panel to launch the load-file window. The Master image loads in the Master panel.
Or,
-
You can also load a file by using "drag and drop."
-
If the file is a PDF:
-
The integrated PDF Options Panel displays.
-
Prepare the Master image using the PDF Options Panel tools, if required.
-
then,
-
Click on the File Menu icon on the top panel → then Load Sample or click in the Sample panel to start repeating the process to load sample files.
Step 2: Load Scanned Files
Note: Users can skip Step 2 if Electronic File is being loaded.
Ensure Show Scanner Interface is checked on in the Preferences window.
-
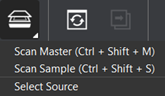
Click on Load from Scanner → then Select Source.
-
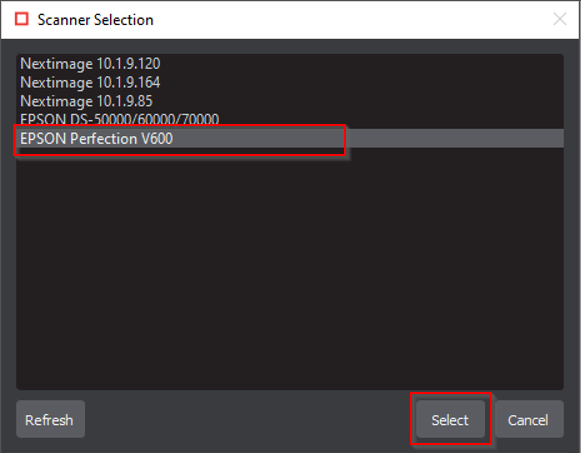
Select the applicable scanner from the Scanner Selection window and click Select.
Or,
-
Click on Load from Scanner → then Scan Master to scan the Master document. Once scanned the image loads in the Master panel.
then,
-
Click on Load from Scanner → then Scan Sample to scan the Sample document. Once scanned the image loads in the Sample panel.
Step 3: Select an Action
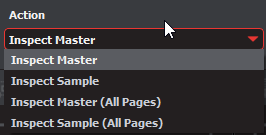
To inspect a master file for barcodes:
-
Click Action → then Inspect Master (for masters placed in the Master panel).
To inspect a sample file for barcodes:
-
Click Action → then Inspect Sample (for samples placed in the Sample panel).
To inspect multi-page files or multiple files for barcodes:
-
Click Action → then Inspect Master (All Pages) (for masters placed in the Master panel).
-
Click Action → then Inspect Sample (All Pages) (for samples placed in the Sample panel).
Step 4: Select Profile
Before performing an inspection, the action and profile for the Barcode Inspection Mode must be set.
-
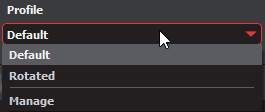
Click the arrow on the Profile drop-down menu to access the different options, each of which has its parameters configured a certain way to best accommodate specific scenarios.
-
Click Profile. Then select the profile that best suits your inspection needs from the drop-down menu.
The following default profiles are installed with the system:
|
1 |
Profile |
Description |
|
2 |
Default |
Inspect master or sample files with barcodes in horizontal or vertical orientations |
|
3 |
Rotated |
Inspect master or sample files with rotated barcodes; Detection speed is slightly slower |
Users can also choose to have their own customized profiles. In order to customize your Barcode profile:
-
Select on Profile → then click on Manage.
-
Click Add in Barcode Profiles and enter the custom parameters.
Note: For EAN-13, UPC-A, and UPC-E barcodes the height of the symbol at the nominal size is 22.85 millimeters (0.900 inches). The nominal size is 100% magnification. Therefore, at 300 dpi, the height should be less than 300 pixels. If not, this can result in separate magnification values for Default and Rotated profiles.
Step 5: Run the Inspection
-
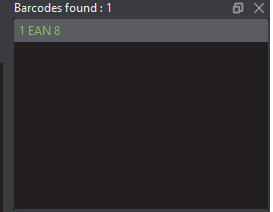
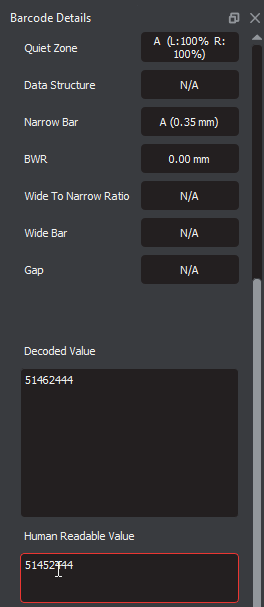
Click Inspect and the results display in the Inspection View.
Step 6: View the Results
To view the inspected file:
-
To review the difference list navigate through them using either keyboard arrows or by clicking on each difference.
-
Use the trackwheel to zoom in or out.
-
Hold the left mouse button and move it around to pan the image.
Step 7: Go through differences to assign levels and comments
Step 8: Modifying/Resetting Inspection Results
Step 9: Generate the Report
-
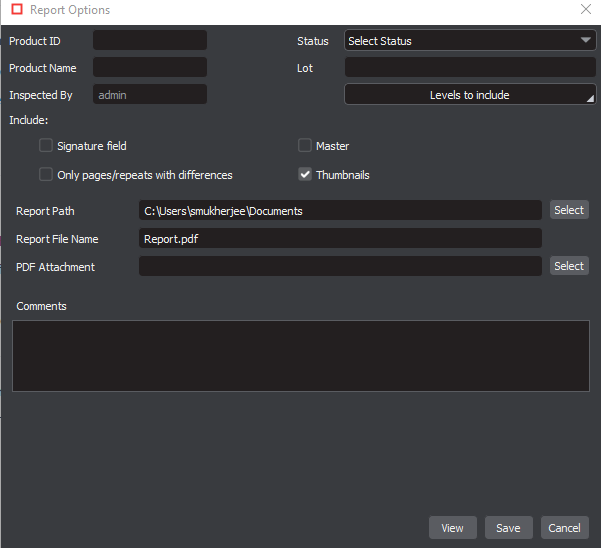
Click the Report icon.
Note: If Digimarc support is enabled, all information regarding that aspect of the inspection is found appended to the PDF report. No other action is required on the part of the user.