Verify x Esko WebCenter Integration User Guide
This document describes the steps to follow to run an inspection using the Verify x WebCenter integration.
Step 1: Initiating the Project from Esko WebCenter
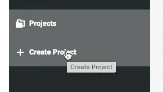
All projects - i.e. inspections - can be found under the Projects tab on the upper left corner of the page. This will open the following:

1.1 Creating a New Project
Initiate a new project (inspection) by clicking on Create Project:
1.2 Entering Project Information
This will prompt a form to open, where the relevant Project Information, including Project Name and Description, can be filled:
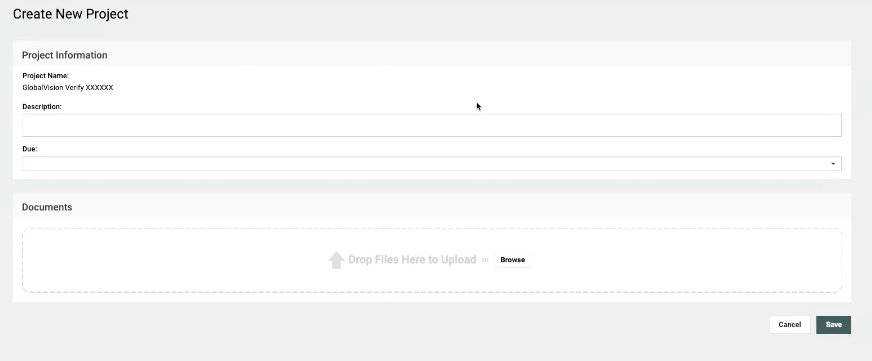
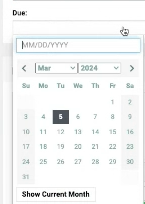
You can enter a due date by using the calendar form:
1.3 Uploading Files for Inspection
Upload the files to be inspected into the Documents panel. A progress bar will indicate when the files have been fully uploaded:

Once the project has been created, an overview page displays the uploaded files and the information that was filled in:

Finally, click on the GlobalVision Verify button:
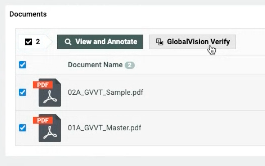
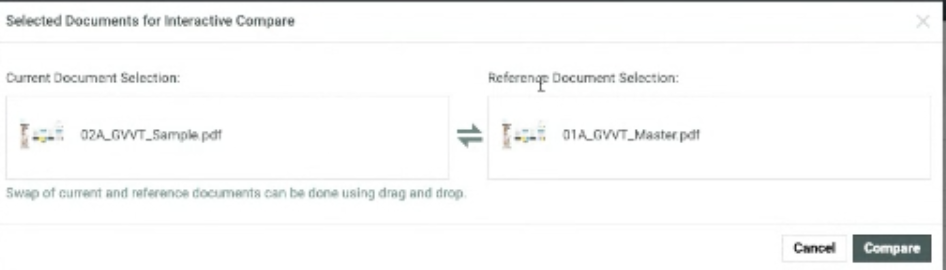
This will prompt a pop up window where you can confirm the files that need to be inspected within Verify:
*Current Document Selection refers to the ‘New’ or latest document version
*Reference Document Selection refers to the 'Source' or master document
To swap the document’s positions if needed, click on the bi-directional arrows ![]() in the middle of the files.
in the middle of the files.
Once the documents are correctly positioned, click on Compare:
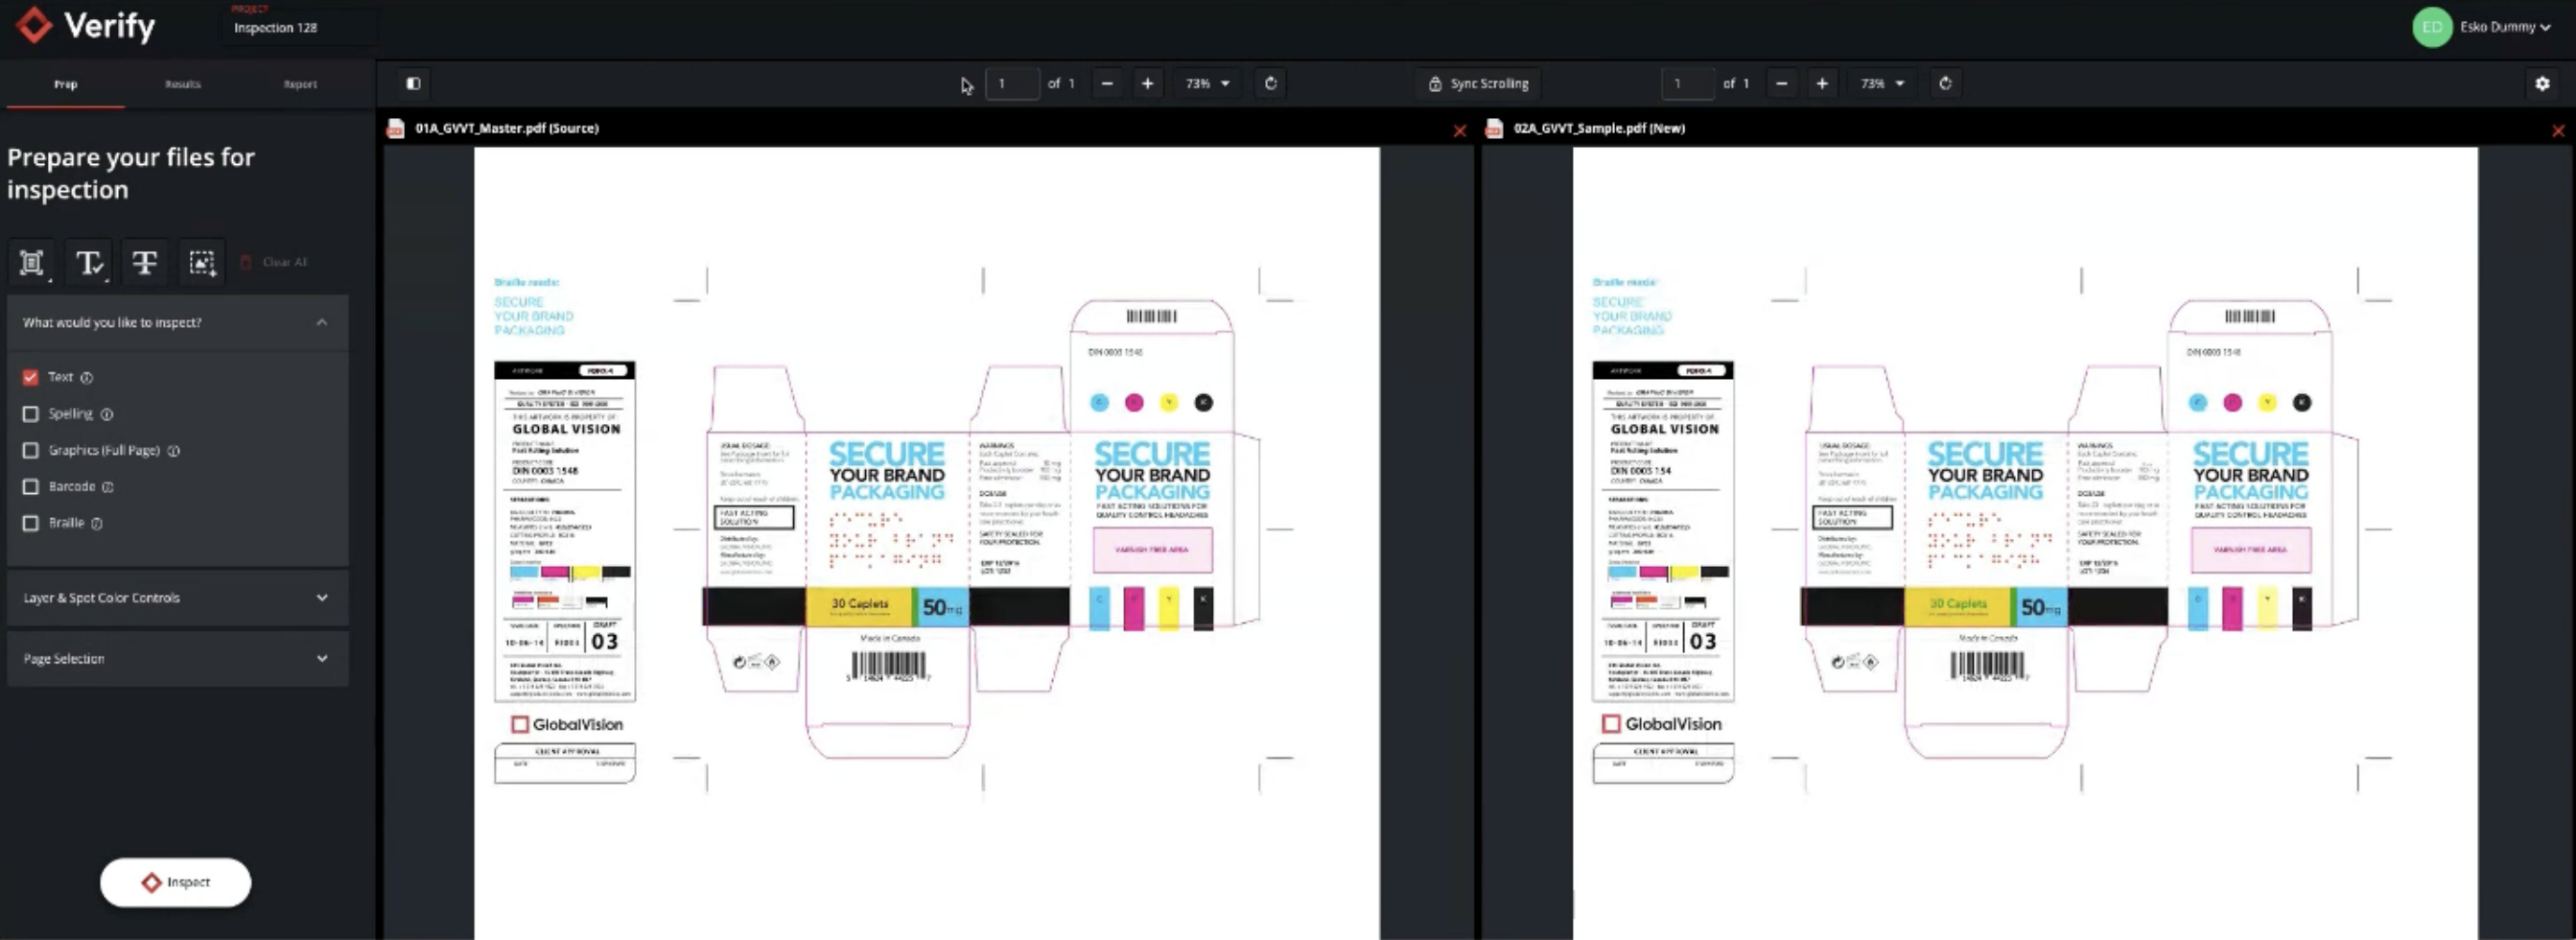
Verify will then open in a new tab with the documents to be inspected displayed in the ‘Source’ and ‘New’ panels respectively:
Step 2: Perform the Inspection in Verify
Below is a high-level overview of the inspection process. For more detailed instructions, please refer to the Verify User Guide which is also linked under each stage below:
2.1 Prepping Your Files
To prep your files for inspection:
Select your required inspections
Refine Layer & Spot Color Controls if needed
Specify the pages to be inspected under Pages Selection if needed
Click on the Inspect button at the bottom left!
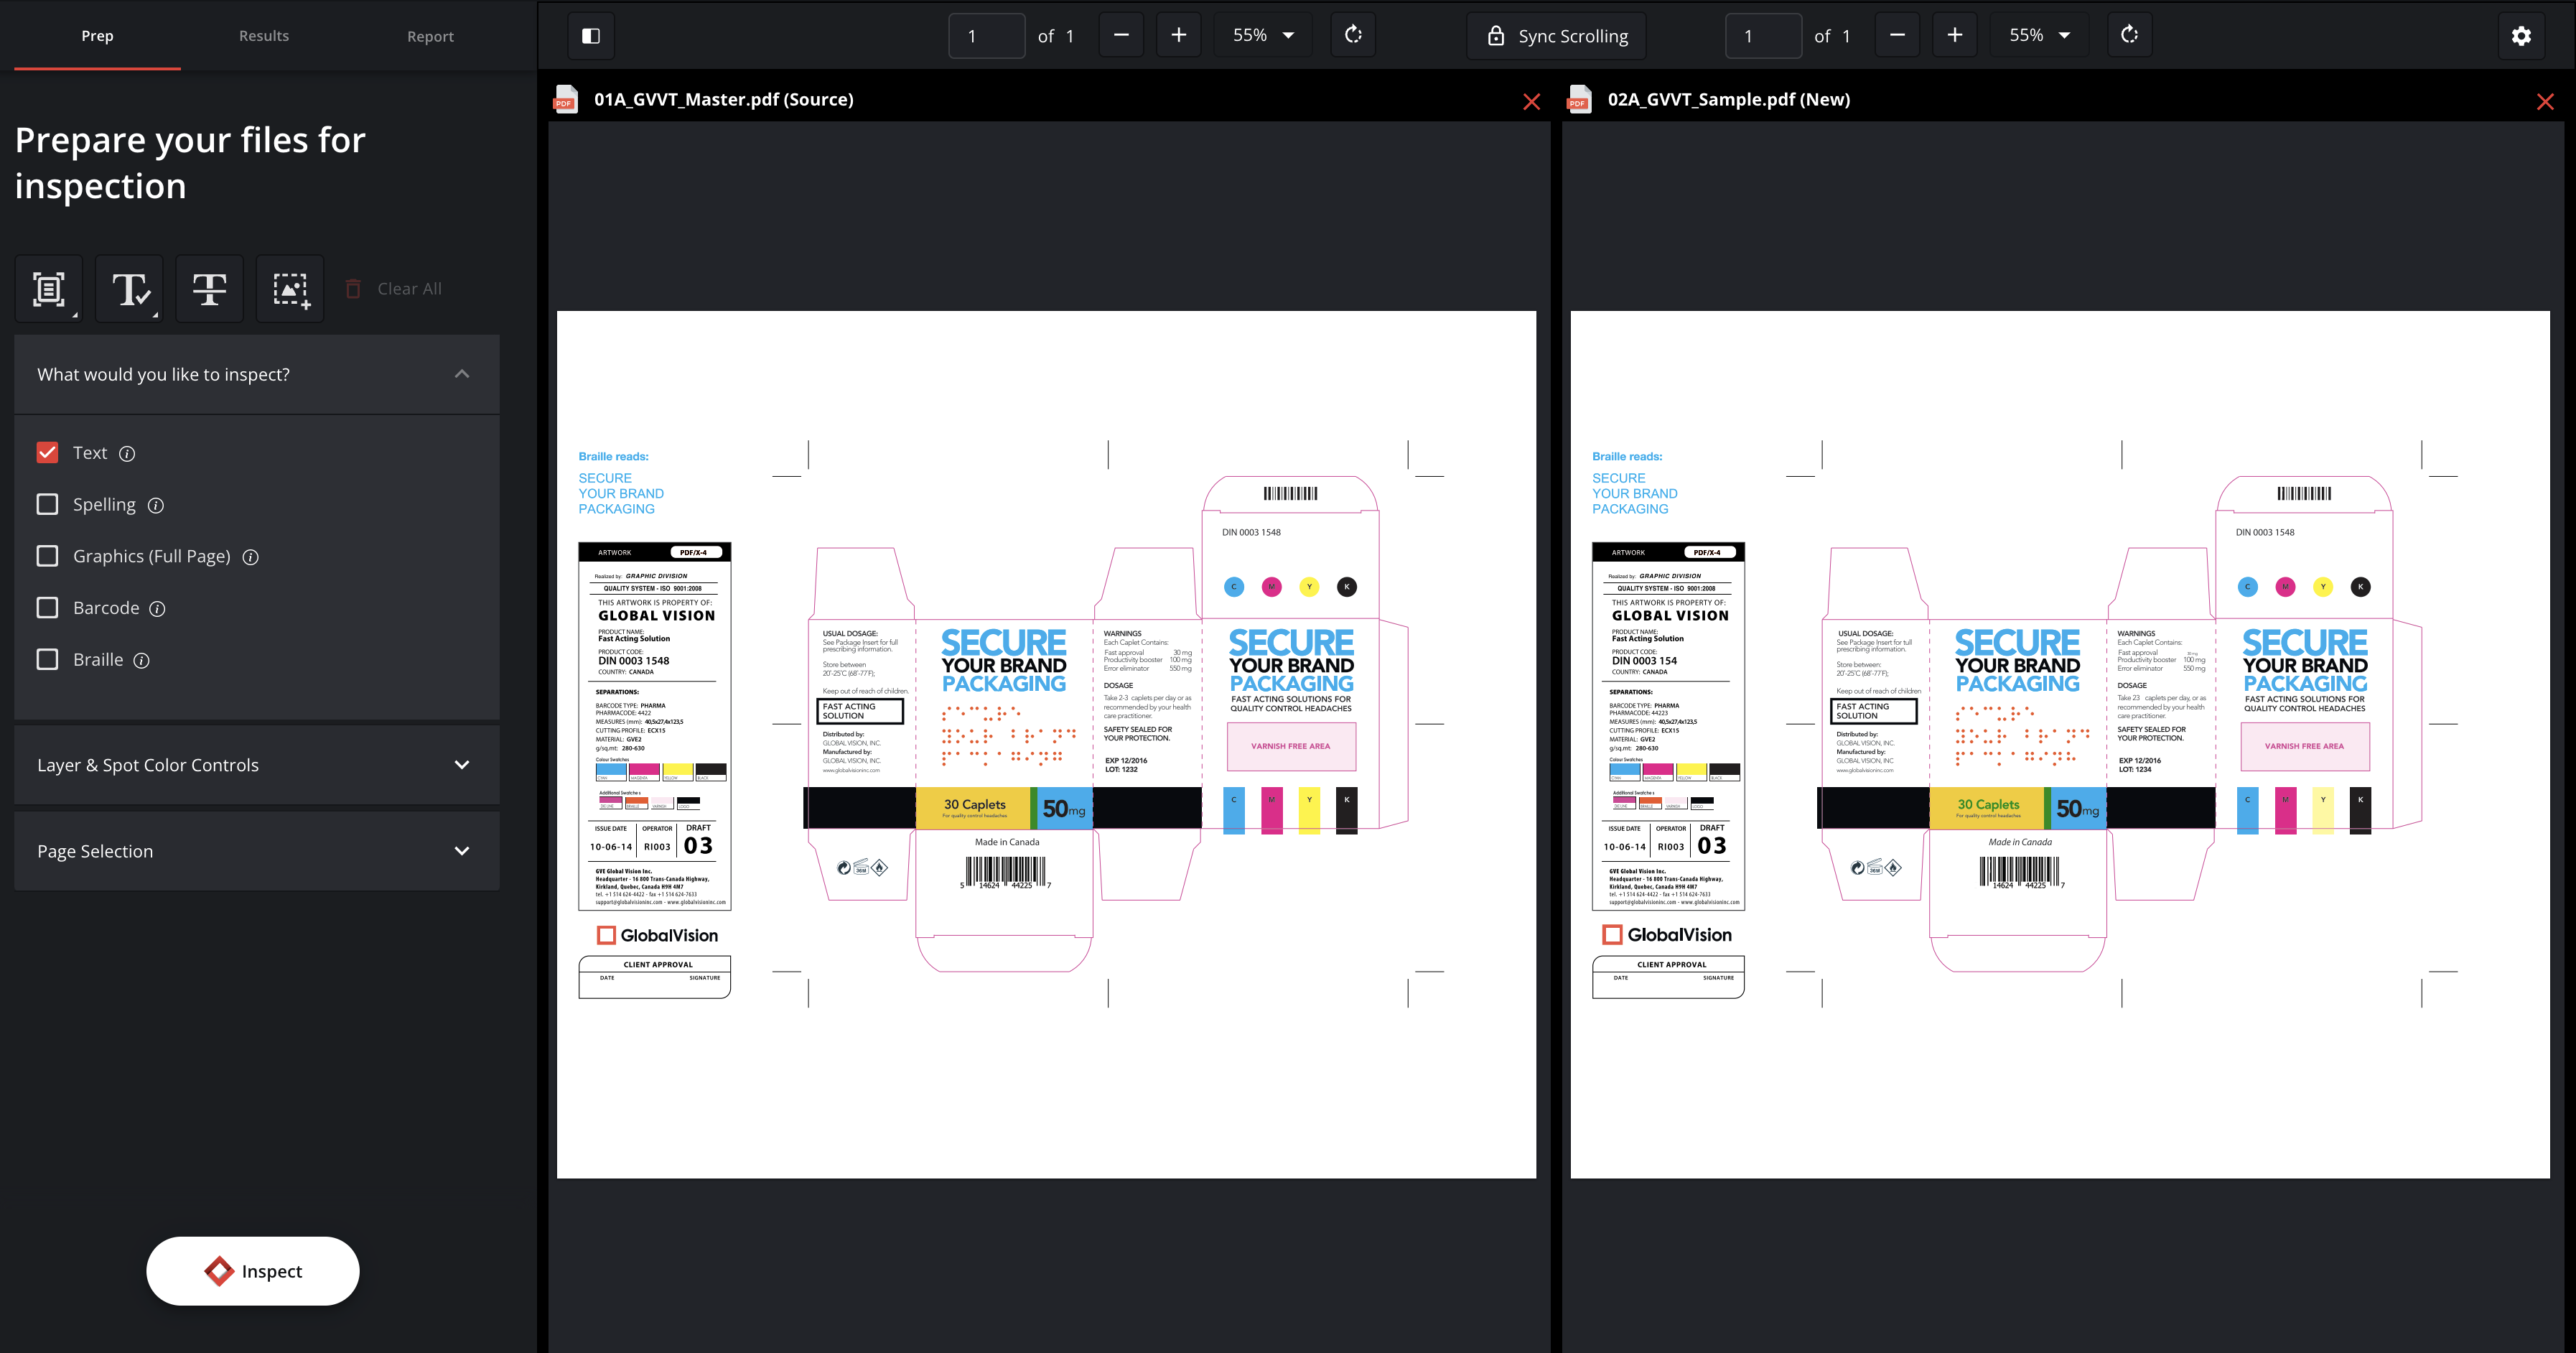
For more details on the Prep Stage, refer to Step 2: Preparing Files, in the User Guide.
2.2 Examining the Results
Once the inspection is complete, the results will be shown and ready to be reviewed. Each results card will contain key information about all inspection results and/or differences detected.
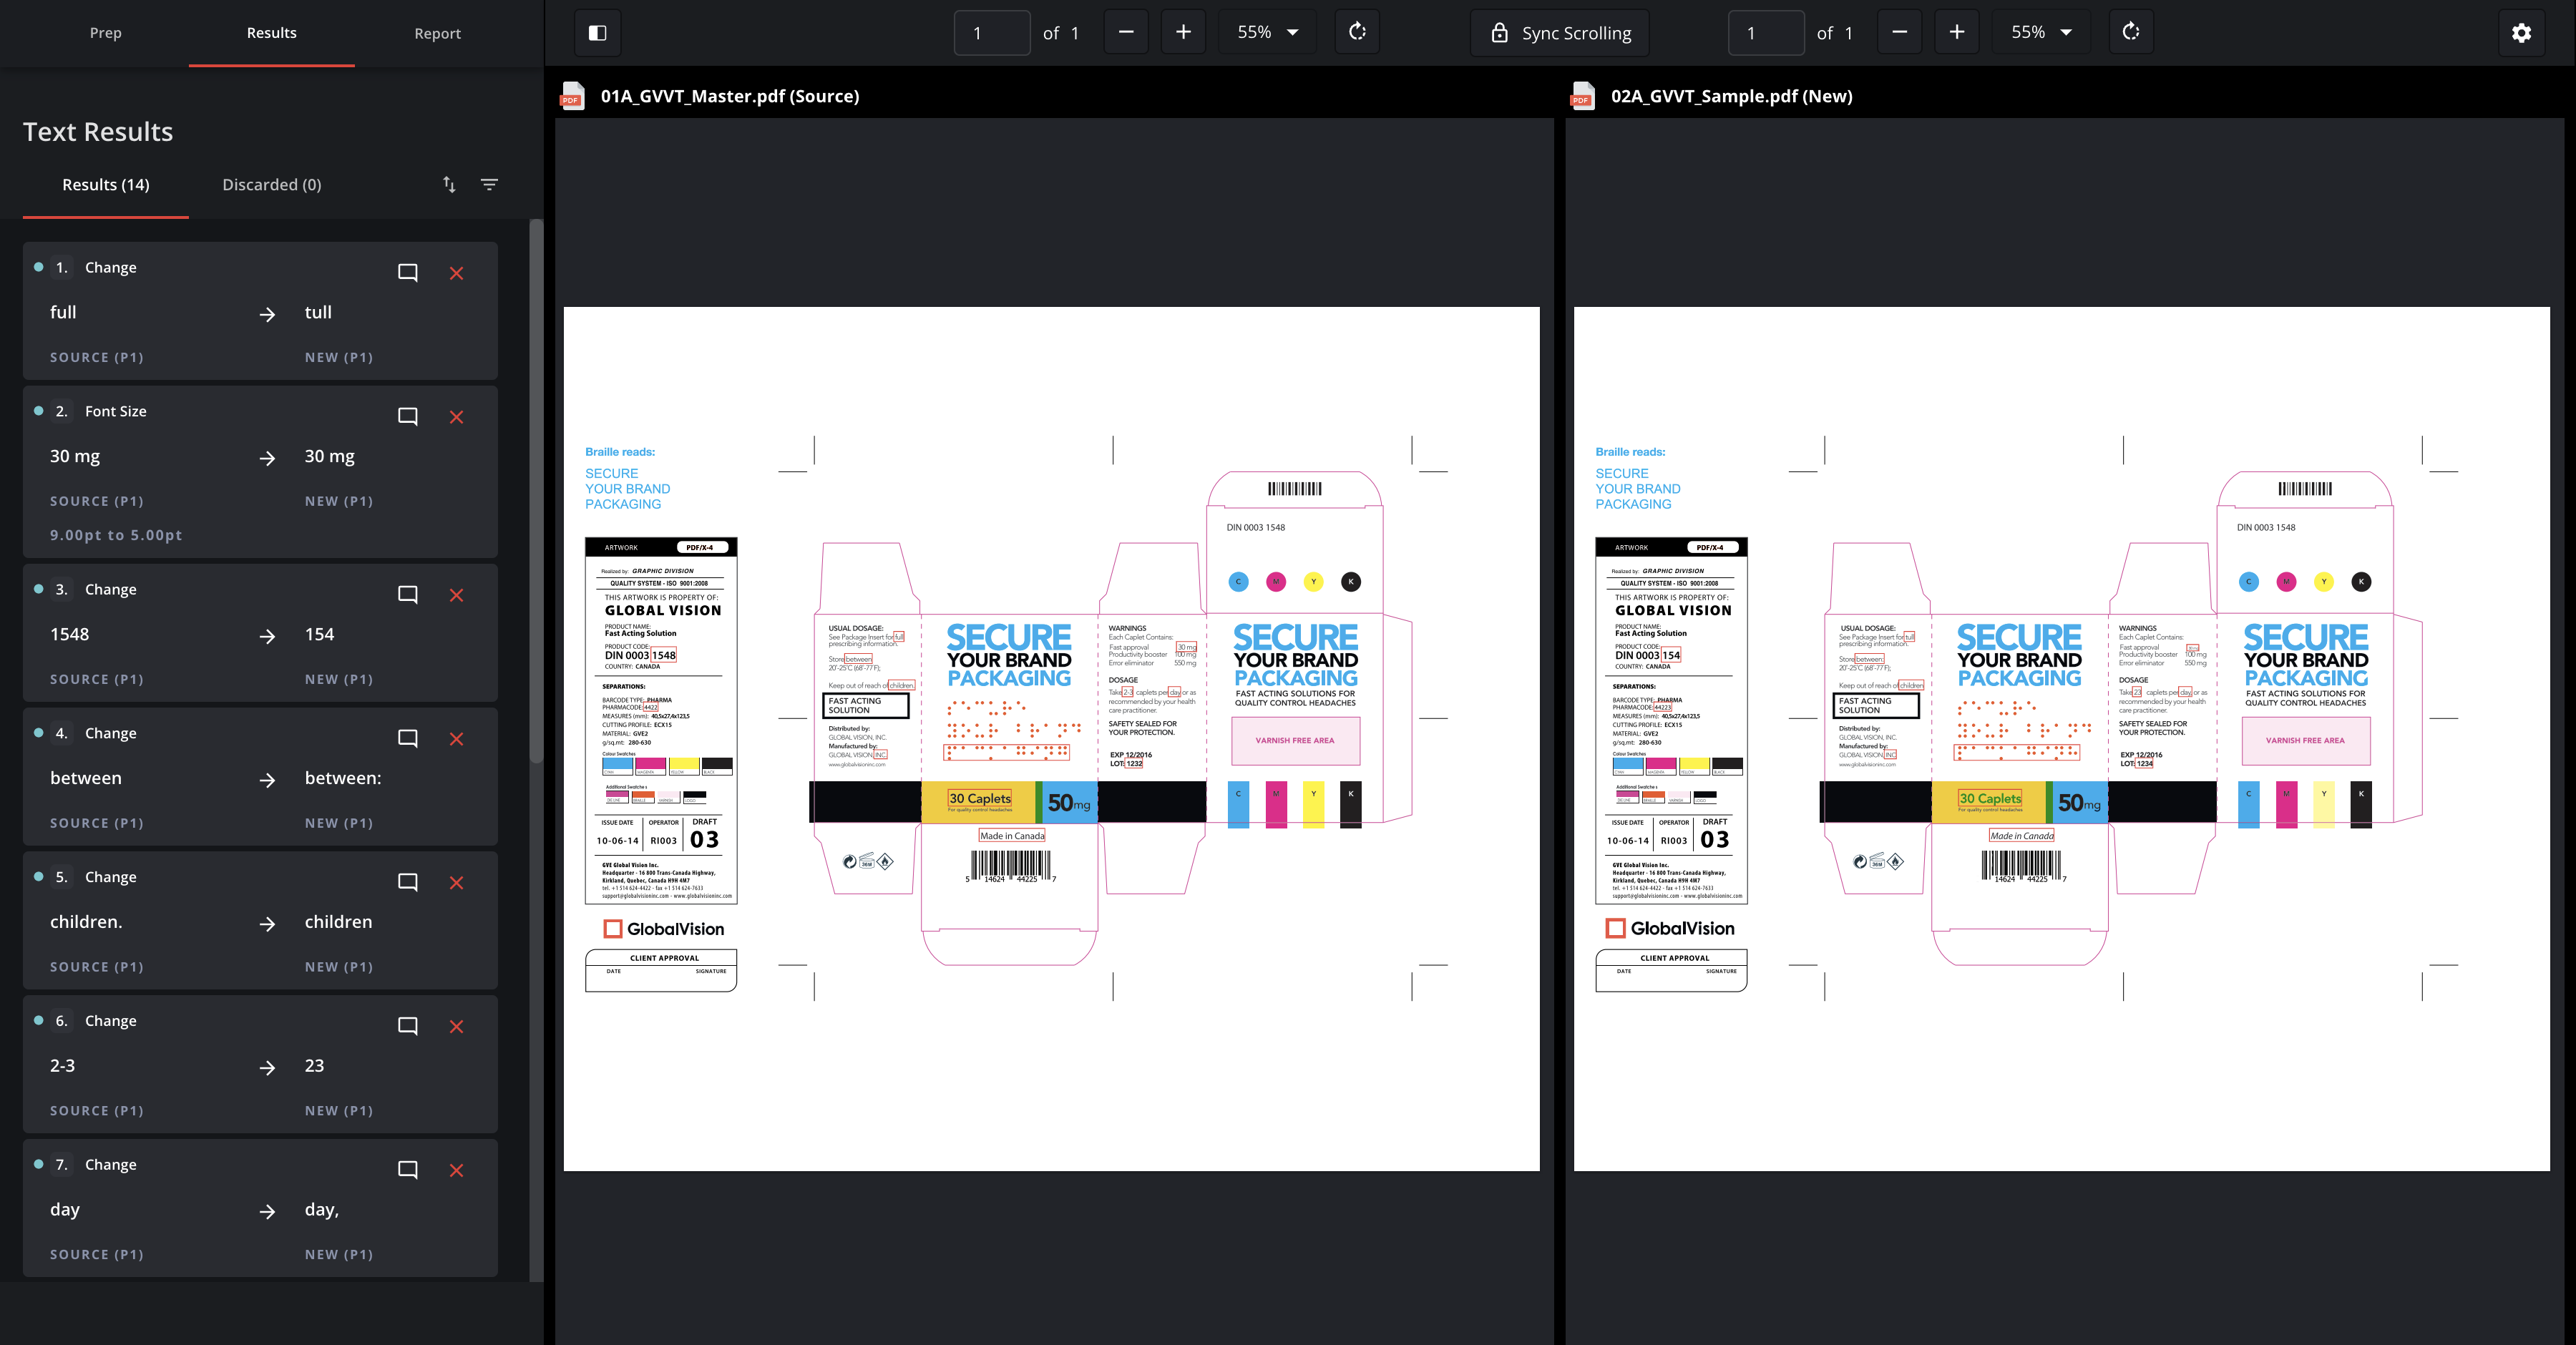
For more details on how to evaluate inspection results, please refer to Step 3: Viewing the Results page, in the User Guide.
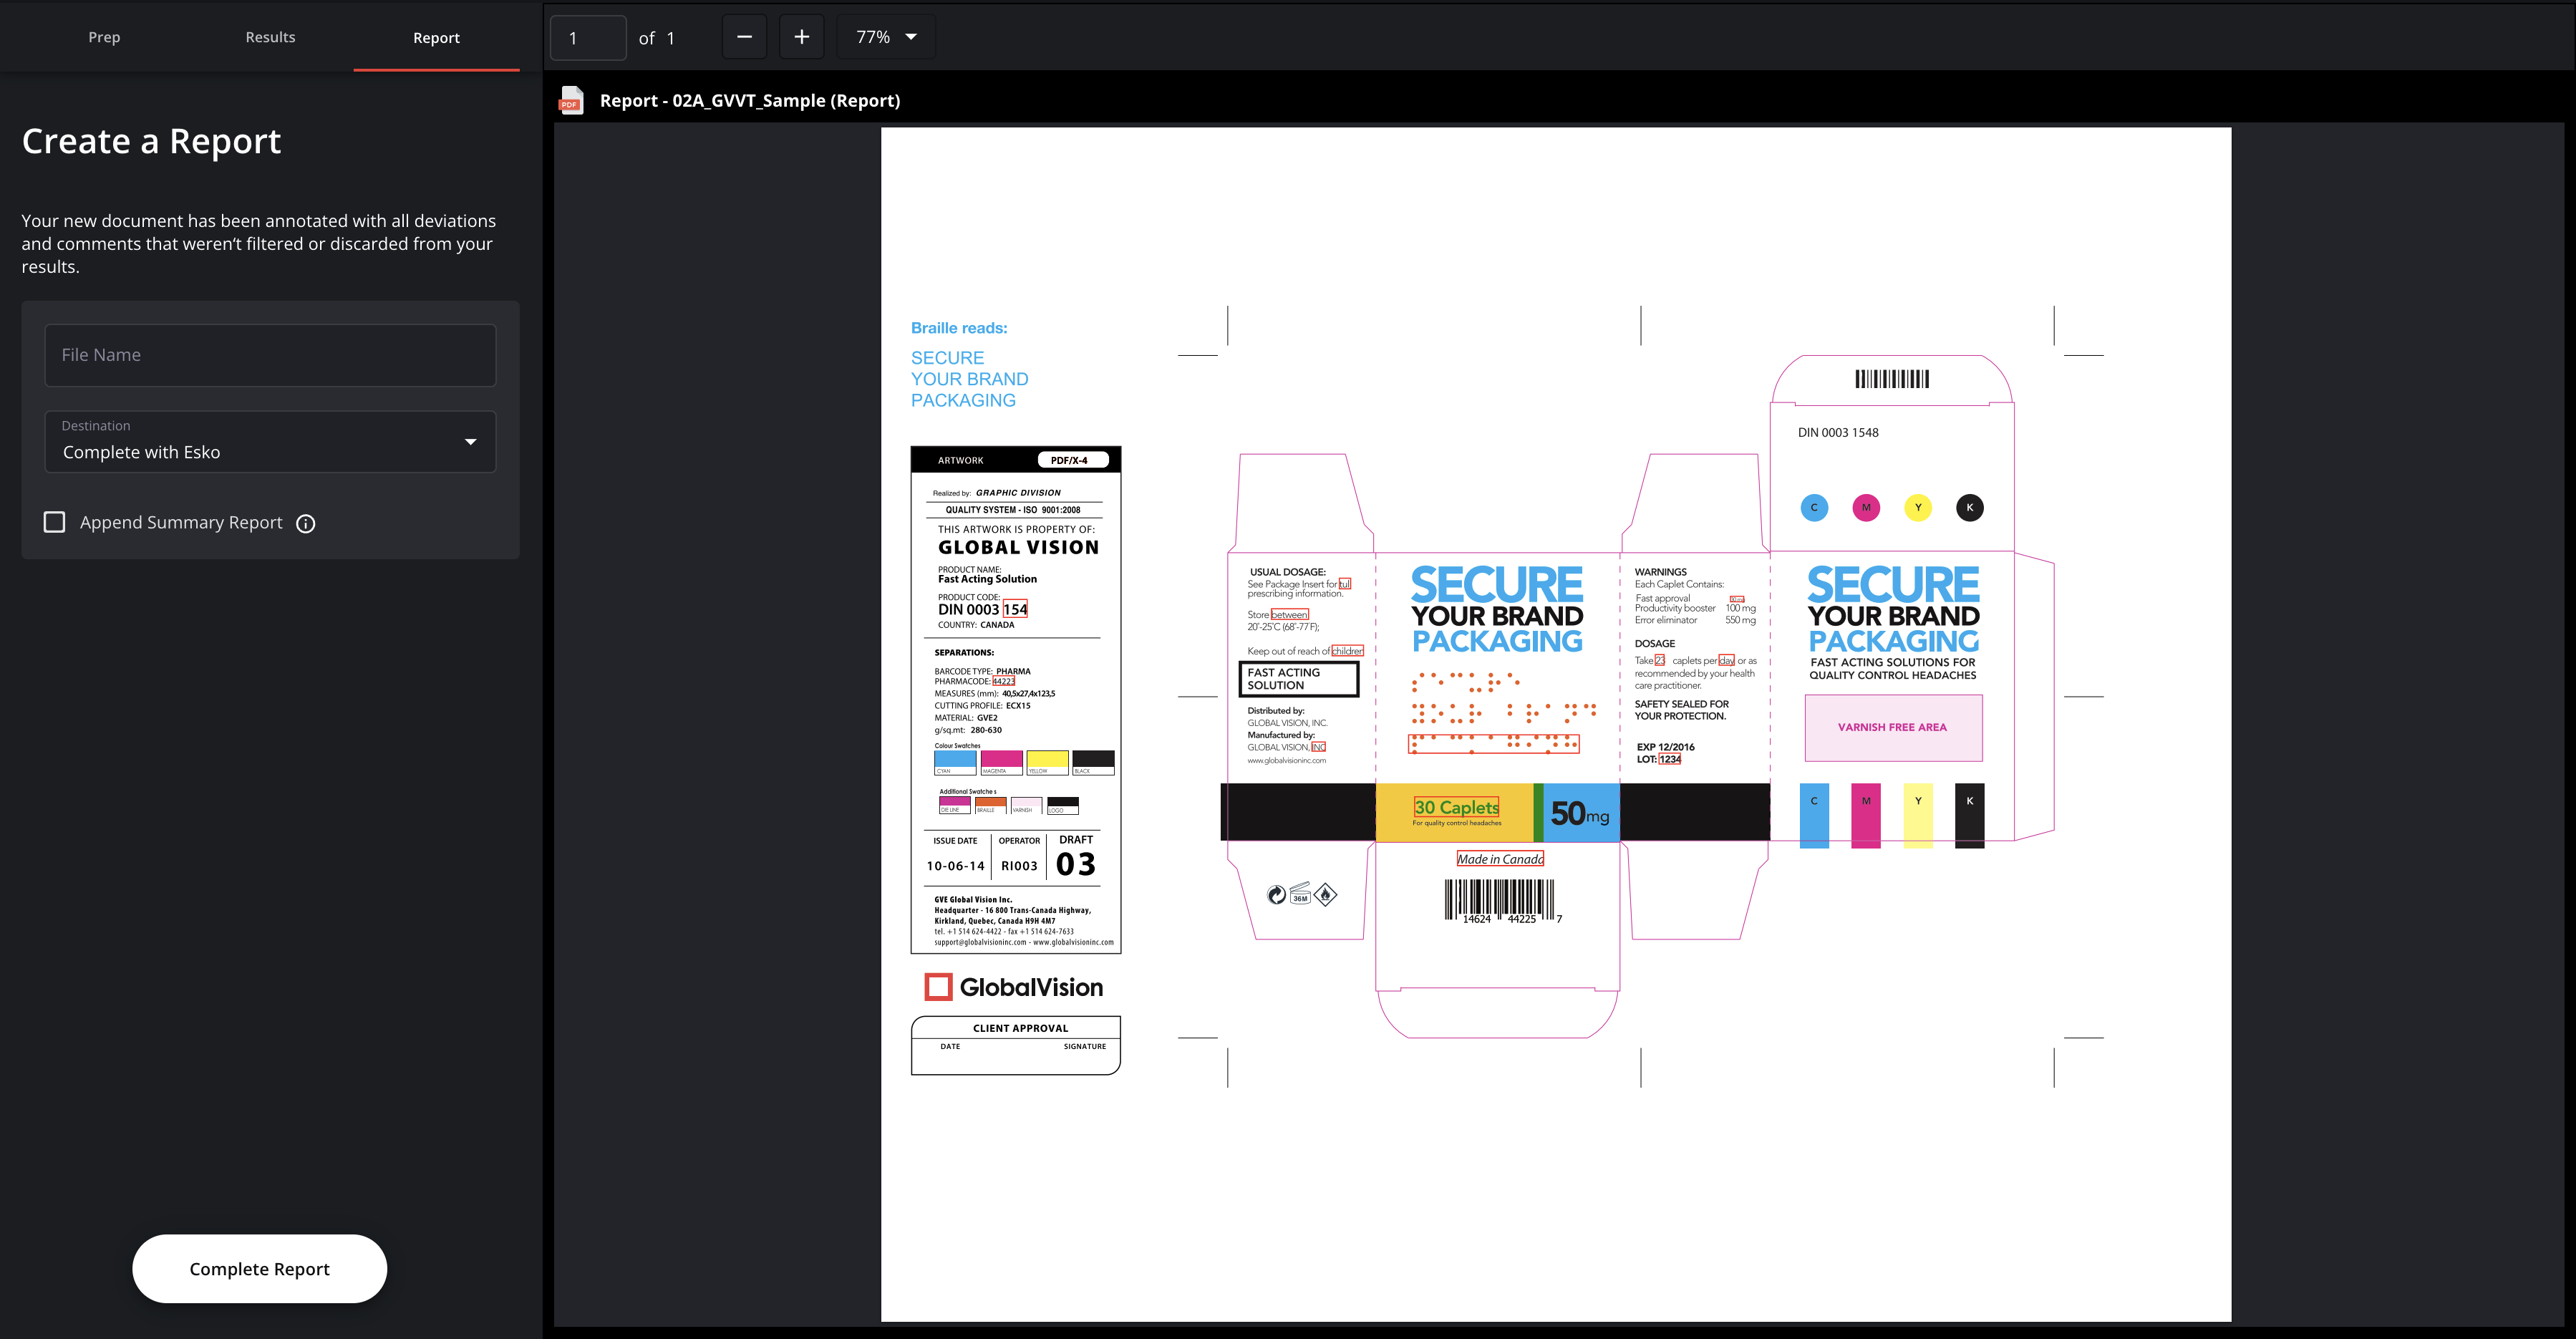
2.3 Generating and Reviewing the Report
Generate a report of the inspection(s) performed and provide the report with a Name. You can then select Complete with Esko from the Destination dropdown menu:
Finally, click on Complete Report at the bottom left of the screen, and the inspection report will be imported to Esko WebCenter, through the integration with Verify.
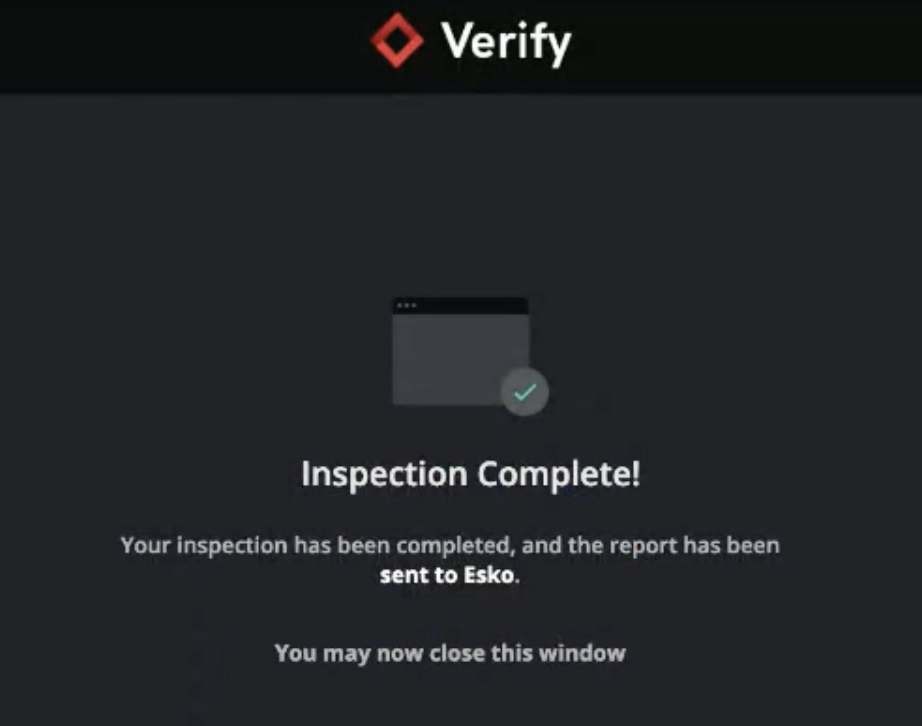
The following page will then appear, instructing you to close this tab, and return to Esko:
Step 3: Reviewing the Inspection Report
*Refresh the page within Esko WebCenter to see the imported report appear:
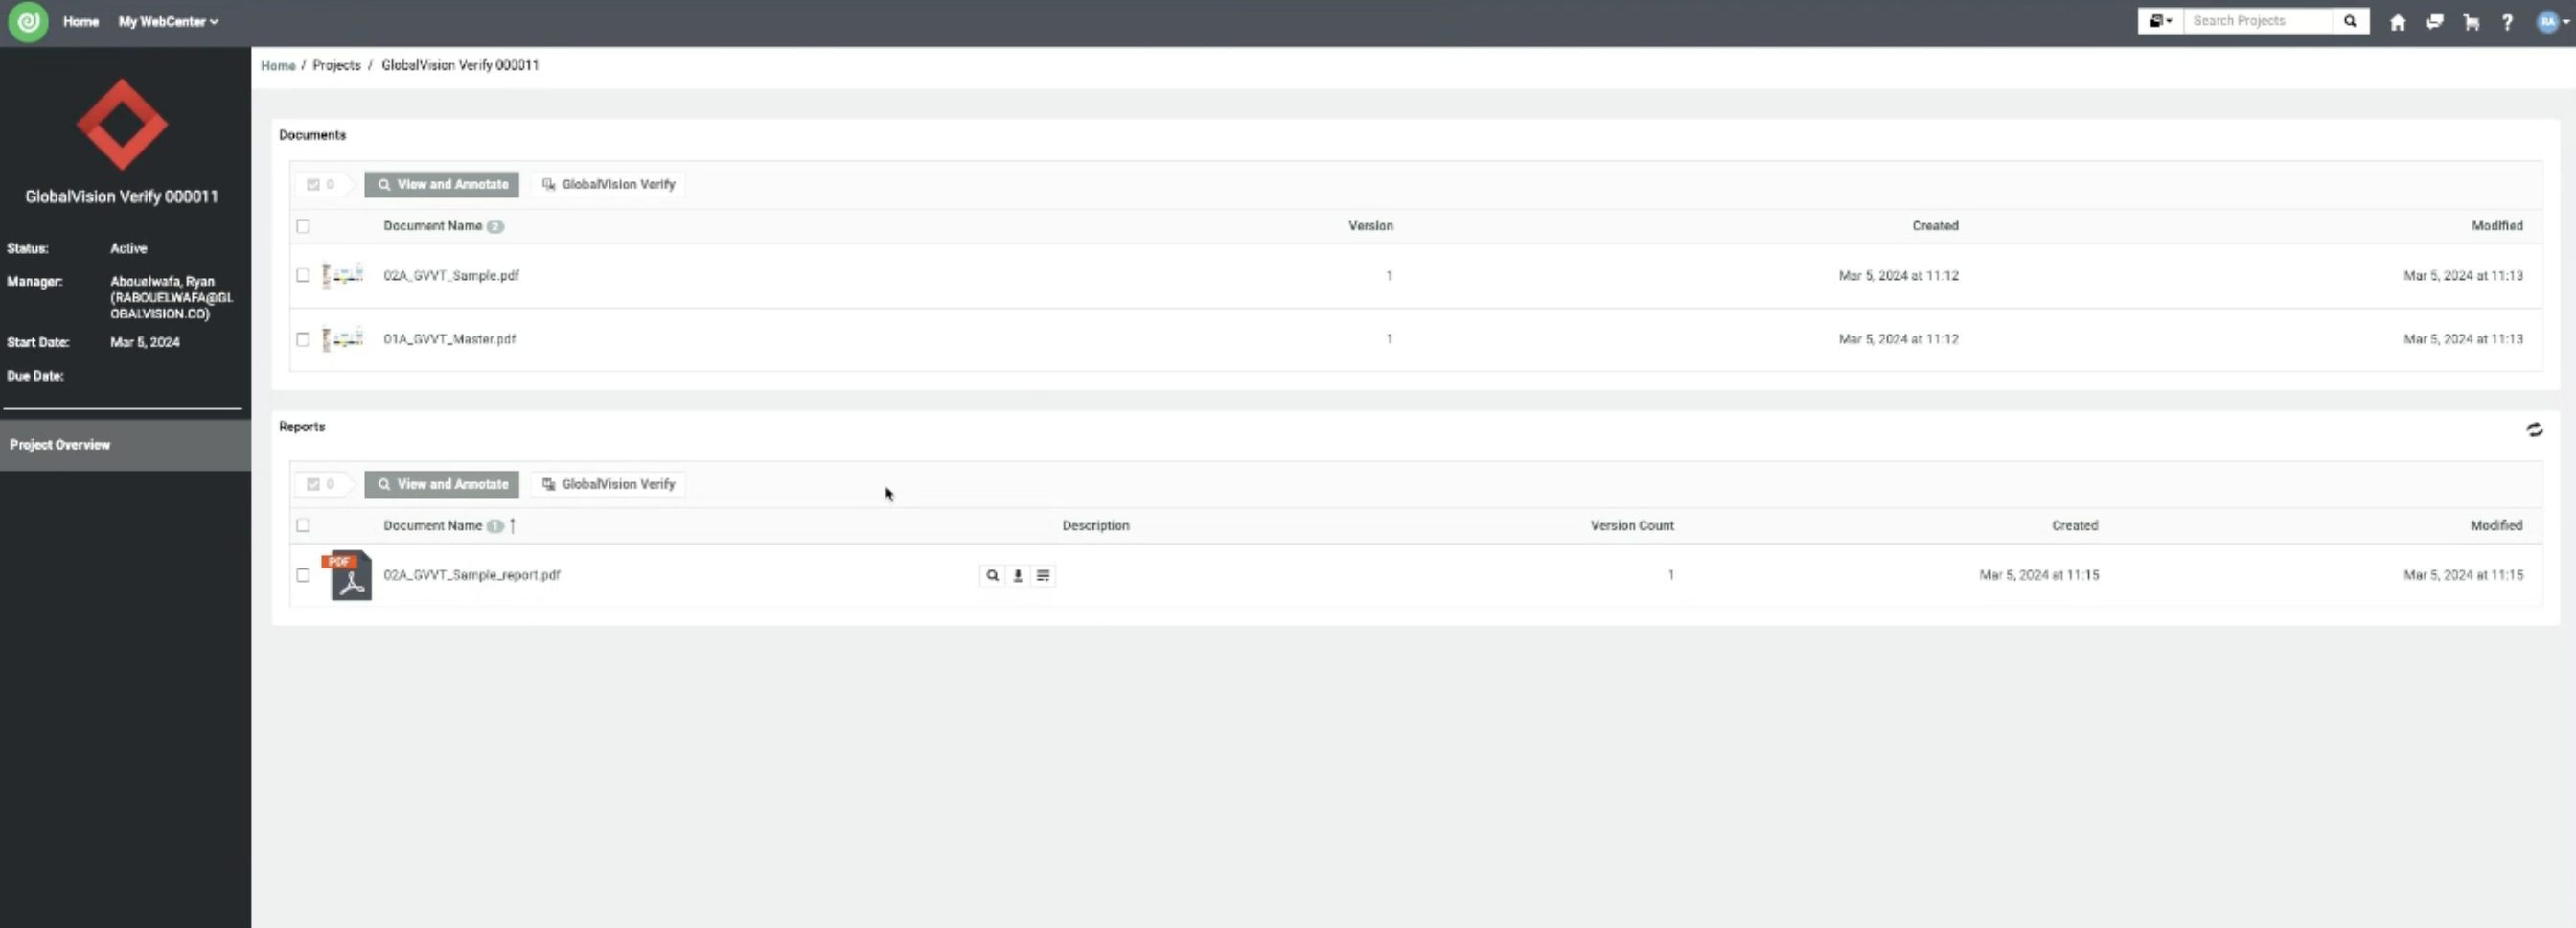
From here, you have two options: review the report within Esko WebCenter, or download the report to your computer.
3.1 Review the Report within Esko WebCenter
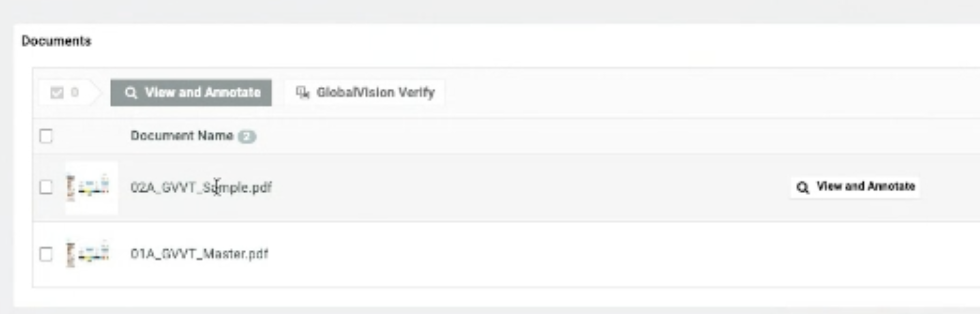
3.1.1 Go to new file within the Documents section, and click on the View and Annotate button which appears on the right:
3.1.2 This will prompt another tab to open, allowing for an interactive review of the results from within the web viewer:
Inspection result types are identified and segmented via the tabs at the top of the left-hand panel:

3.1.3 You can then navigate through the annotations within this web viewer with built-in auto zoom in feature:
3.1.4 To add comments/annotations, click on the bubble icon in the lefthand panel:
As comments get added, they will show up as new user annotations:
As you add comments, they will show up as new user annotations, which can are always viewed from the first tab of the lefthand panel market with a user icon:
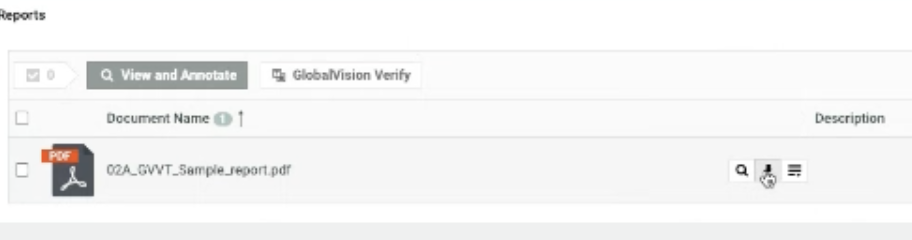
3.2 Download the Report to Your Computer
To download the report to your computer, simply click on the download icon to the right of the Reports section:
The report will contain the relevant inspection results through annotations.