Step 3: Viewing the Results
Once your file preparation is finalized, following the instructions from Step 2: Preparing Files, the Results tab is automatically enabled, allowing you to view your inspection results.
Reminder: The inspection process goes through three stages:
1. Prep
2. Results

Navigating Results
It is possible to hide the Source or New panels, along with the Difference Panel for easier overview and to gain more space in your screen when performing the inspection review.
Hide/Show Inspection File Panels
On the top right corner right above the inspected files, a View button will allow you to hide either one of the inspected files.

When hovering over this button, it will expand, allowing you to choose whether you wish to see the Source or New file, or leave both files side by side:

Hide/Show Difference Panel
Similarly, it is also possible to hide the Difference Panel to allow for maximum space when reviewing inspection results.
You can hide the Difference Panel by clicking ![]() . The arrow is located right outside of the Difference panel on the right, in line with the section headers.
. The arrow is located right outside of the Difference panel on the right, in line with the section headers.

Viewing Differences
Difference List
The Difference List displays all the differences found when running an inspection.
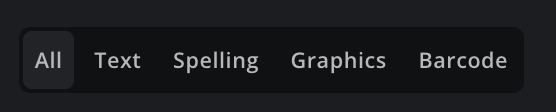
Inspection Filter Tabs
When performing an inspection using multiple modules, the system will group differences together by module, allowing for easy filtering of one or all modules.
The Inspection Filter Tabs will allow you view results based on the inspection types you chose to run in the Prep stage. In the example below, in the Prep Stage, a Text Compare, Spell Check, Graphics Compare and Barcode Inspection was run in the Prep stage.
Results
Results indicates how many differences have been found during an inspection.

Sorting
To Sort Differences:
Click the Sort icon.
Choose to sort differences either by Reading Order, Difference Type, or Status.
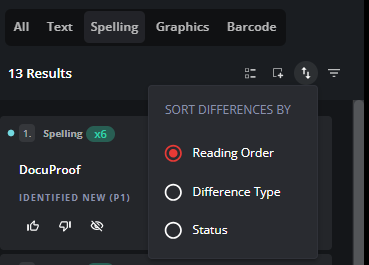
Sorting by Reading Order displays differences by following the order of their location in the documents.
Sorting by Difference Type displays the differences in alphabetical order (of the difference types).
Sorting by Status displays the differences by Custom Statuses (Approved, Rejected, Ignored).
Filter
To filter Differences:
Click the Filter icon.

Check/uncheck the Select All to select/unselect all the difference types. All unchecked items will not be shown in the report.
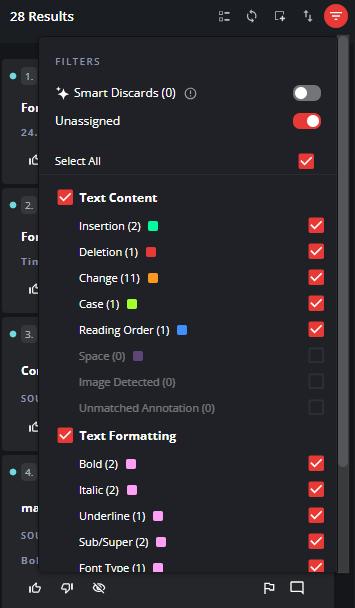
Note: The number in parenthesis next to each Difference Type indicates the number of differences found.
Location type differences are not marked on new inspections, the difference type is available only on past inspections.
Merge Graphics Differences
The Merge tool is available only in Graphics Inspection, located in the Results panel toolbar.
It allows you to merge nearby differences into a single box, grouping them.

Click the Merge icon to draw a box around nearby differences and group them into one box.
You can draw a box on either the source or new panel to encapsulate differences. When you release the mouse, the differences are merged into a single difference with one card and one box.
You can add comments or statuses to the merged group.
Before merging differences
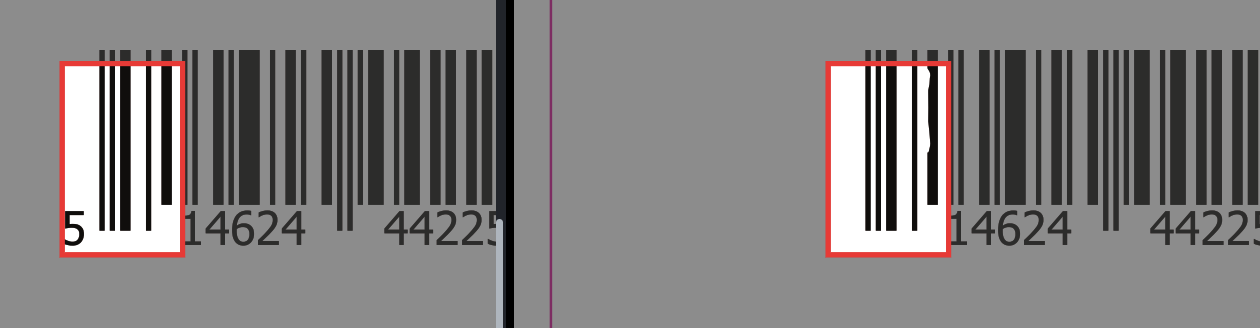
After Merging differences
Unmerge Option
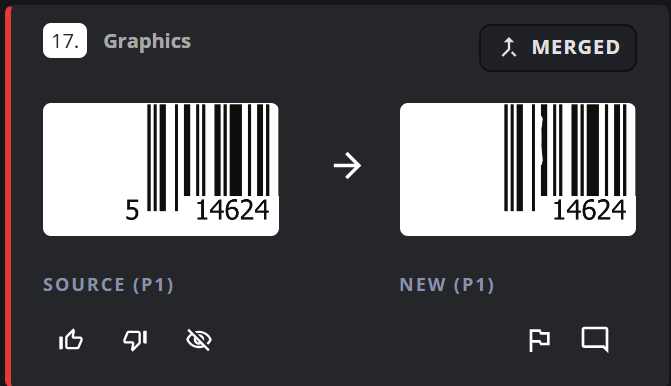
Merged differences are tagged as 'merged' on the difference card.
Click the tag to Unmerge and break them apart if needed.
Step and Repeats
For multi-up files (multiple repeats on the new document vs. one on the source), results are now separated by repetition.
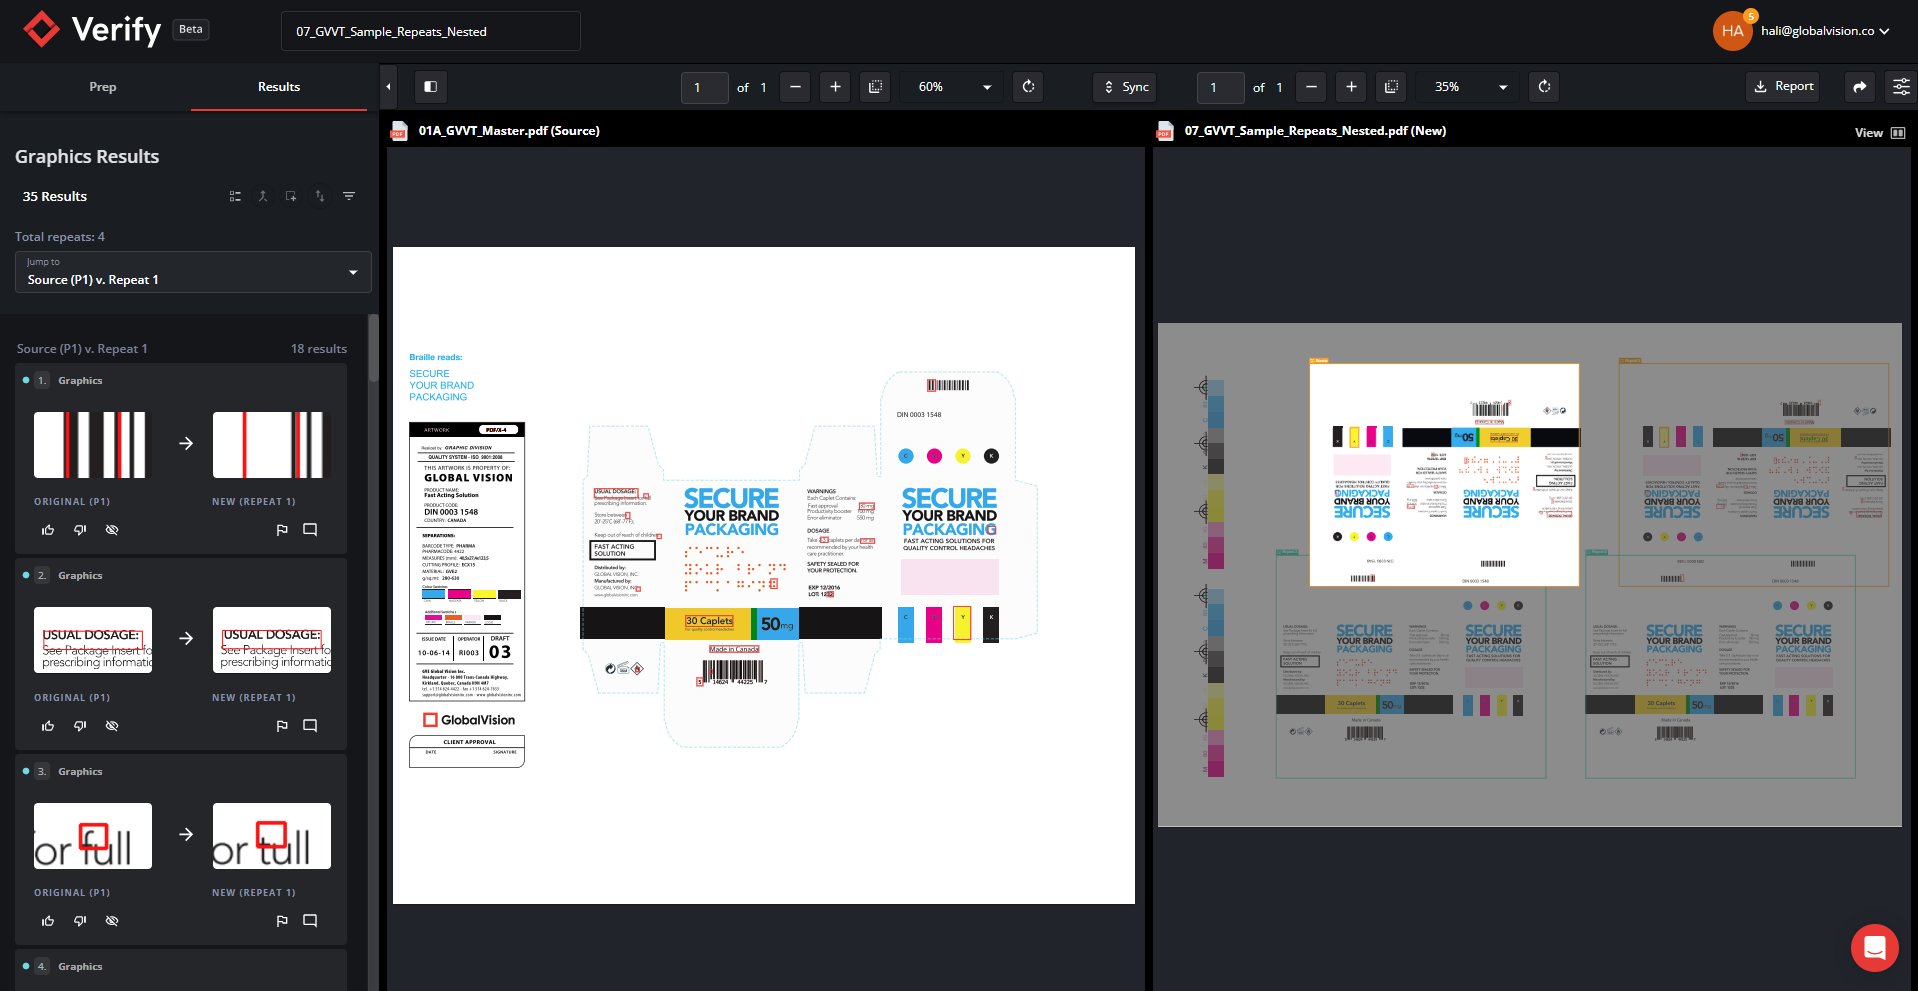
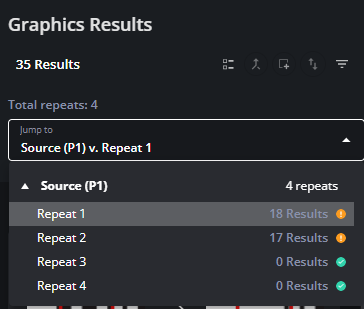
At the top of the Results panel, you’ll see the total repeats found to confirm all repeats have been inspected.

A repeat dropdown shows each repetition and its result count:
Repeats with no differences display a green icon, confirming they were inspected.
Repeats with differences show the number of results for quick prioritization.
From the dropdown, you can select a repeat to:
Apply a mask around that repeat on the new panel.
Jump directly to its results in the list.
Review repeats with no differences in Flash mode for additional manual checks.
Difference Cards
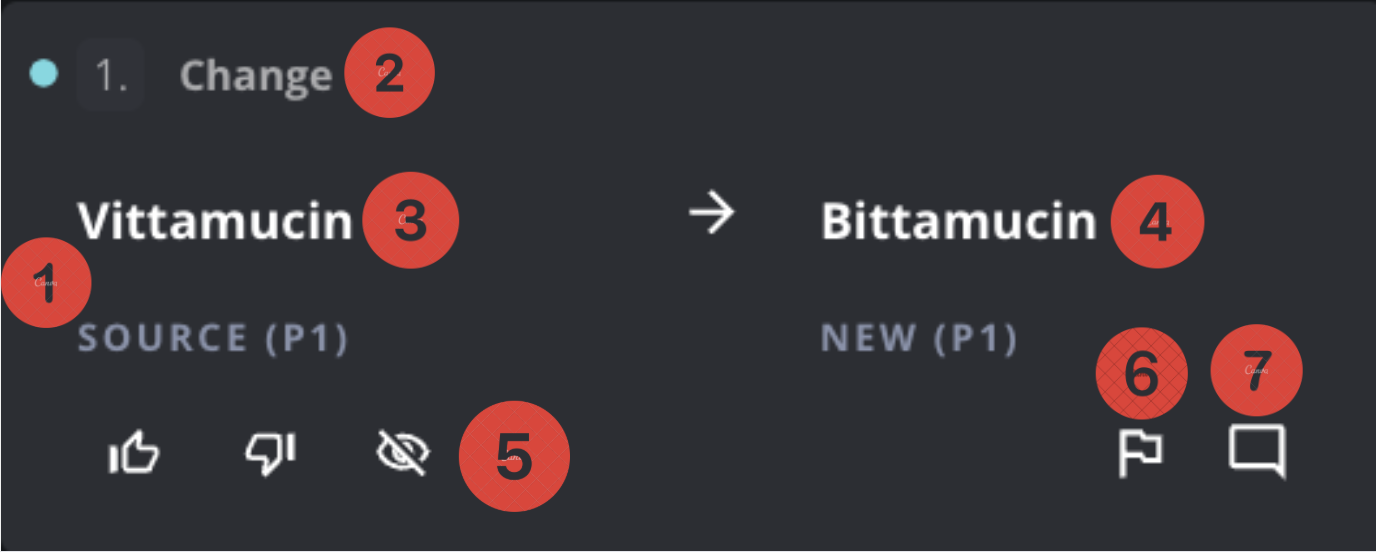
Each 7. Difference Card contains the following information:
The Difference ID (1)
The Difference type (2)
How differences (3) are displayed on the Source as opposed to the New file
How differences (4) are displayed on the Source as opposed to the New file
Custom Statuses (5) buttons (Approved, Rejected, Ignored)
The Report False Positive (6) icon
The Comment (7) icon
Navigating Through Grouped Differences
Regardless of the inspection you run, if the same difference is found on various areas of your file/s, the differences will be grouped together to help speed up the workflow. You will know how many differences have been grouped together by the number indicated beside the Difference type (2).
In the example below, two differences have been grouped together.
When navigating a duplicated difference, click on the arrows in the New File to easily review all duplicates.
Navigate by Match
After running a text inspection, you can navigate your document by matched text using the ‘navigate by match' feature.
Hold down ‘CTRL’ or 'CMD’ on your keyboard and click on any live text word on either your source or new document to immediately navigate to its matched counterpart on your compared document.
Custom Statuses
You can set a Custom Status (5) for each result of your inspection to easily communicate what action needs to be taken next.

Default statuses are:
APPROVED (F1),
REJECTED (F2),
IGNORE (F3).
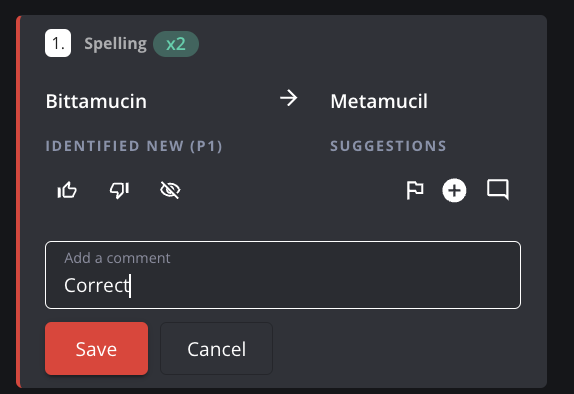
Flagging a False Positive
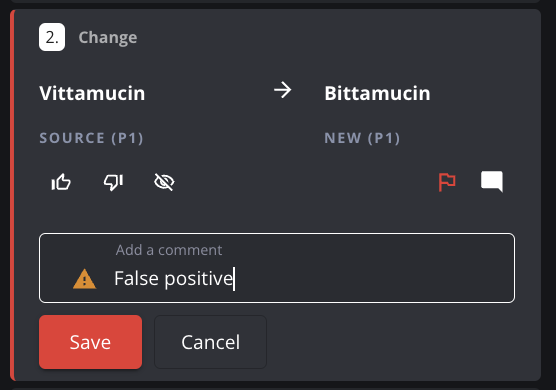
If the difference found is not true, you can flag it as a false positive by clicking on the Report False Positive (6) icon.

By clicking on this button, you will be prompted to add a comment. Click Save to validate the change, or Cancel to discard.
Commenting on a Difference
You can leave a comment on any Difference Card by clicking on the Comment (7) icon ![]() .
.
To assign a comment to a difference:
Select the difference in the Difference List. Click the Comment icon
 on the top right corner of the Difference Card.
Add your comment inside the text field, and click Save to validate the change, or Cancel to discard.
Note: When a comment is made on a difference, the Comment icon turns white.
Deleting and editing a Comment
To delete and/or edit a comment:
Click on the text field and clear or modify your existing comment. Click Save to validate the change or Cancel to discard.
Pro Tip: You can navigate through Difference Cards using your keyboard.
Use the ⬆️ and ⬇️ arrow keys to move up and down the Difference List
Add a comment by using
CMD+MorCTRL+MDiscard a difference using
CMD+DorCTRL+D
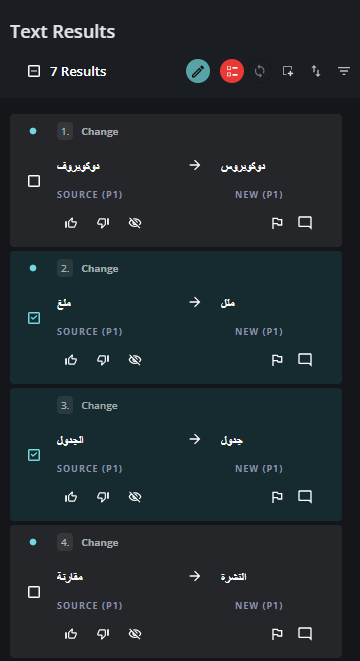
Bulk Review Differences
Using the Bulk Review flow, you can assign statuses, flags or comments to multiple results at once.
In the Results panel toolbar, click the option to Select Multiple Results to enable multi-selection.

Checkboxes will appear next to each difference card, allowing you to select the differences you want to review in bulk.
With your differences selected click the Bulk Review icon (pen tool) to open a window where you can:
Assign a status
Report a flag
Add comments to all selected differences at once
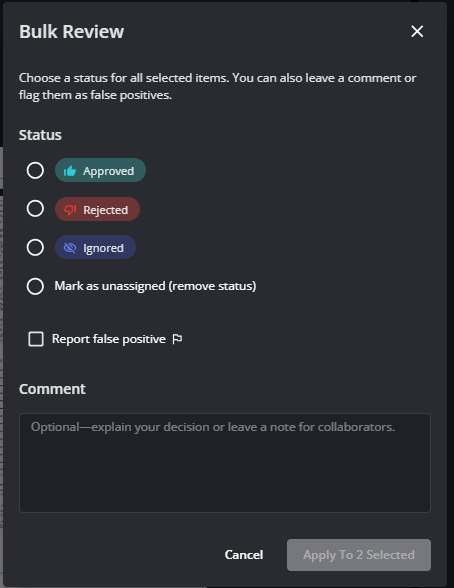
Note that Bulk Review works well when combined with filters. For example, filter all results with a “Rejected” status and apply a general comment to all of those rejected results at once.
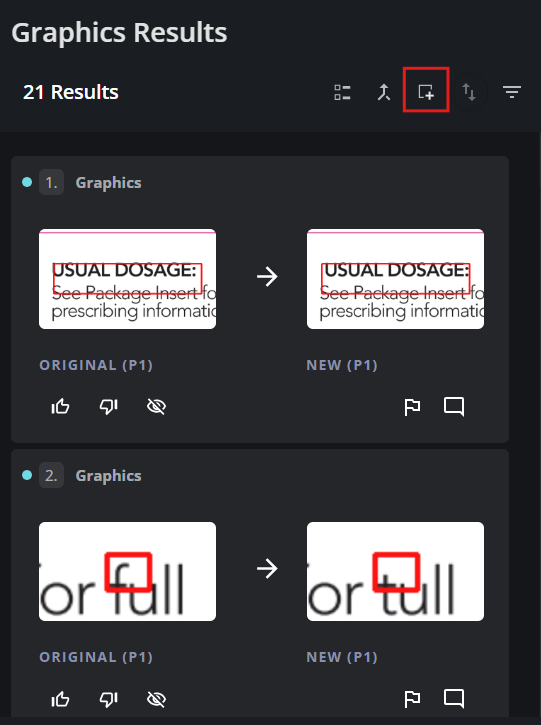
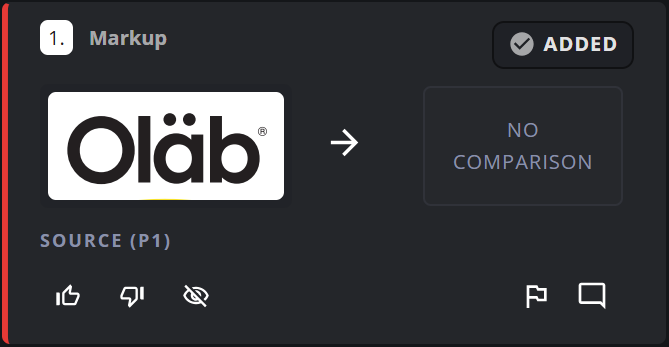
Adding Mark Ups
The Markup tool lets you draw custom boxes directly on your inspection panels to highlight specific areas. These markups can be used to add comments, statuses, or callouts, and are included in reports and shared inspections.

From the Results toolbar, click the Markup icon to draw a box on either the source or new panel.
When you draw a markup, a result card is created, with a thumbnail of your selected area.
You can add comments, statuses, or flags to the card.
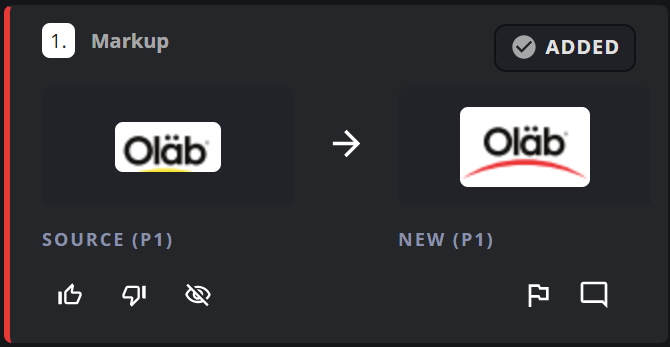
Link markups between panels:
Clicking on a markup in the panel will allow you to draw a comparison:
Draw a markup on either panel
Select the option to Draw Comparison
Place a corresponding box on the other panel
This creates linked thumbnails visually connecting the two markups

Flashing for Markups
Mark ups can be viewed in flash mode or transparency mode to manually review graphics elements.
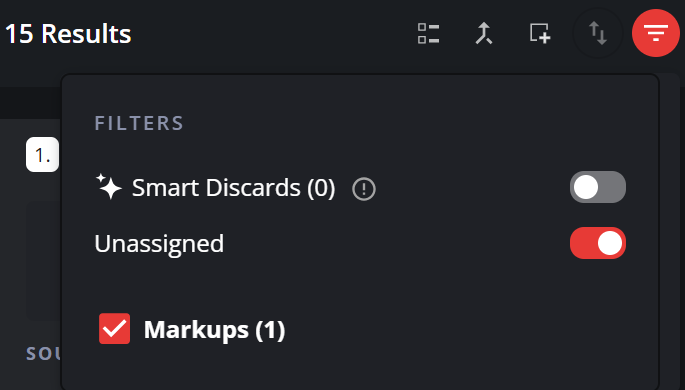
Reporting with Markups
Markups can be filtered in your results, and they are included in reports and visible in shared inspections for collaboration.
Re-Inspect Differences
After running a text inspection, you can re-inspect a result to correct any mismatched text.
If there are no real errors, the the results will be cleared from your list.
Select the tool and crop the boxes or text that you want to re-inspect.
You can start by selecting text on either the source or new panel. When a difference box is selected, it will turn teal. Not that you can also match a single difference box to live text from the other panel.
Once the second box is drawing, the re-inspection is automatically triggered.
If there are no real differences detected after the re-inspection, that specific result will be cleared.
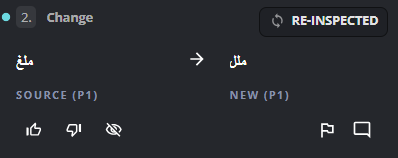
If a real difference is found, those results will be synced and marked as “RE-INSPECTED”
Once the re-inspection is complete, you will see a prompt at the bottom of your screen.
You can undo a re-inspected difference by clicking the undo button on the prompt.

Text Content Differences
Text content differences are detected whenever a text on the Source file does not match the one on the New file.
These differences are all identified individually: Case, Space, Insertion, Deletion, Change, Soft Hyphen, and Line Break.
Case differences are detected whenever a letter/word on the Source file is a different case than on the New file.
Space differences are detected whenever a space exists in the Source file but not in the New file.
Deletion differences are detected whenever text exists in the Source file but not in the New file.
Insertion differences are detected whenever text exists in the New file but not in the Source file.
Change differences are detected whenever a text on the Source file does not match the one on the New file.
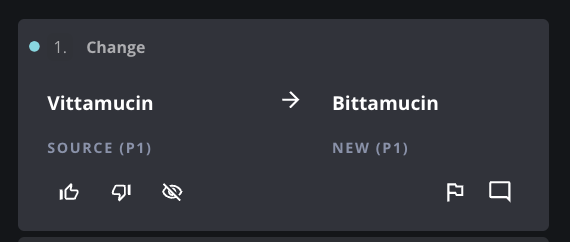
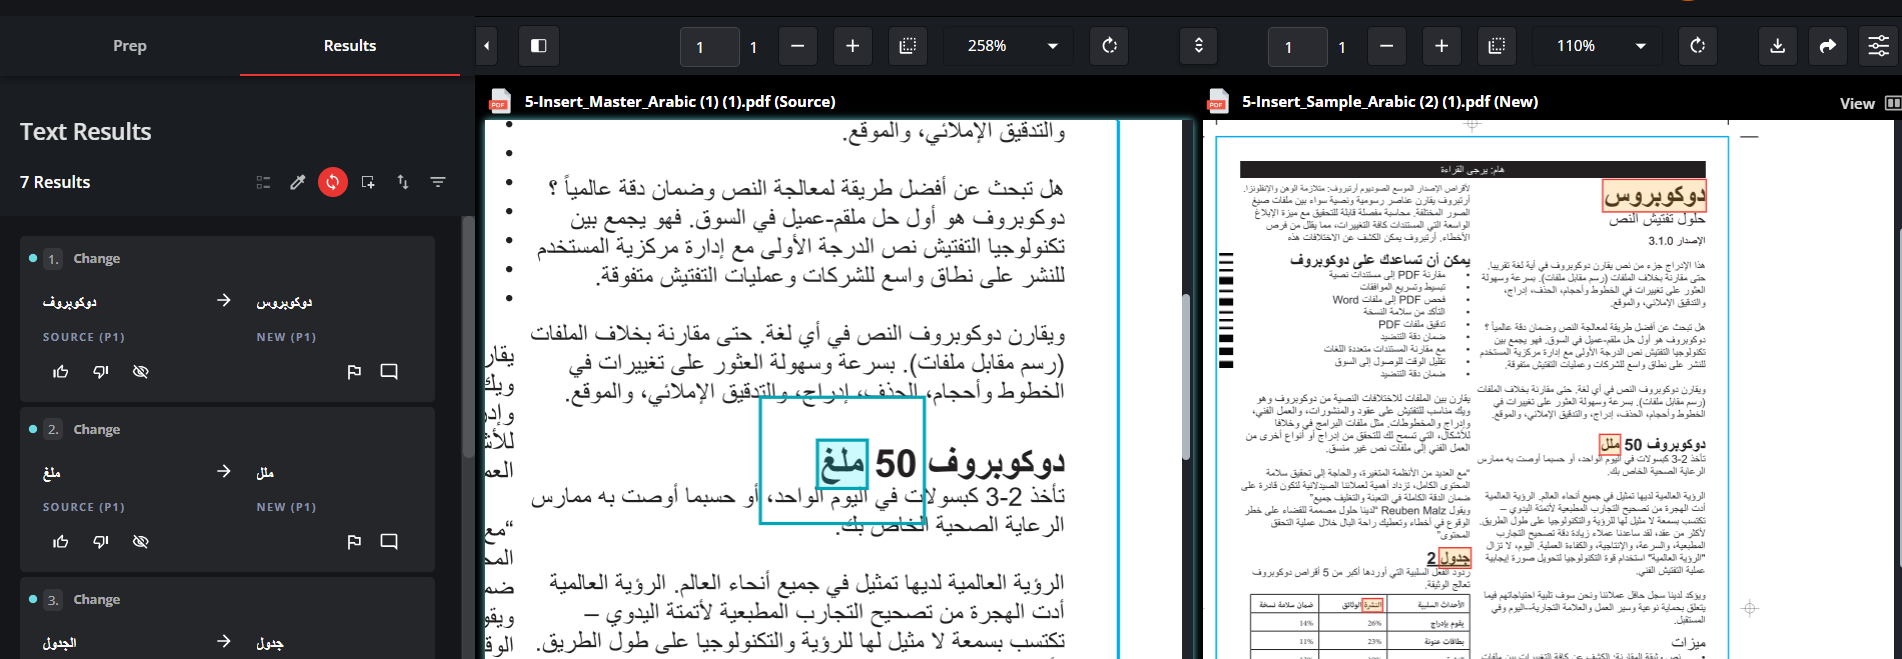
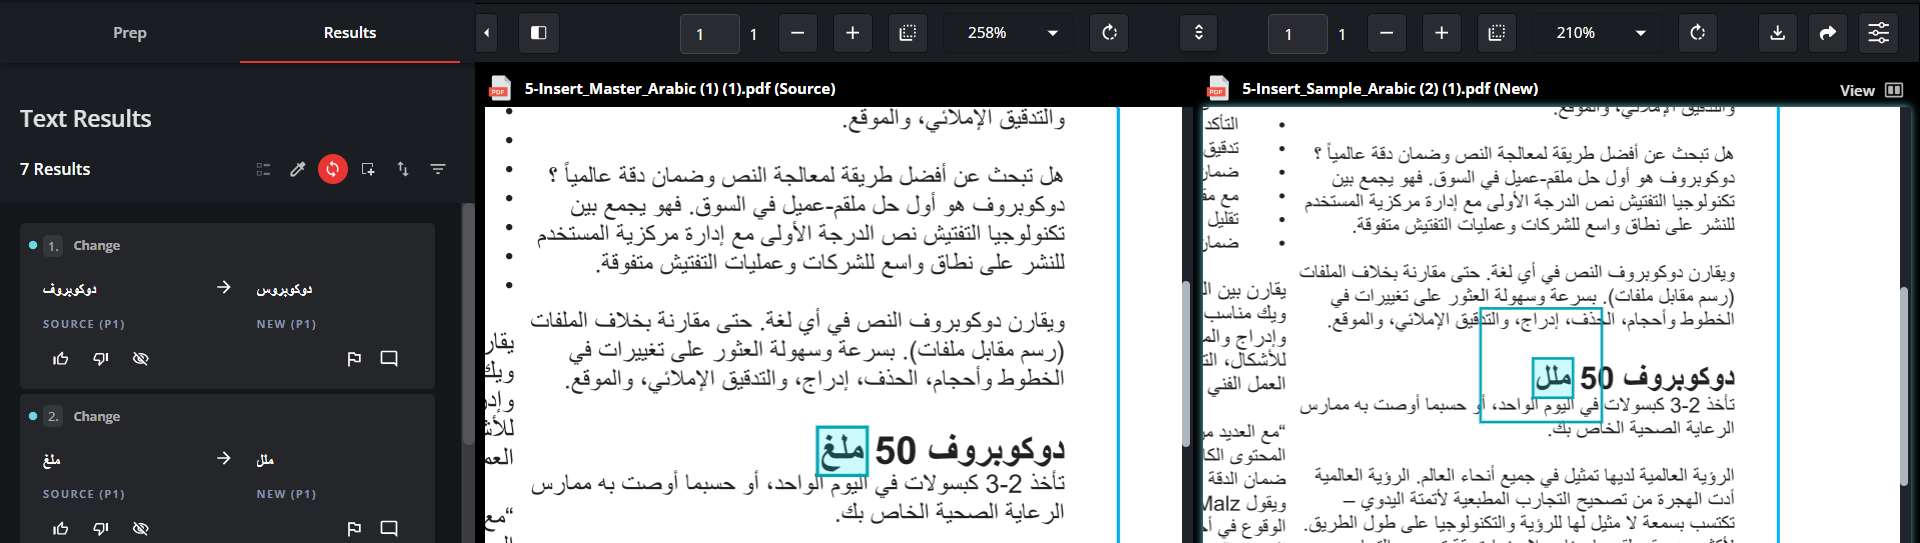
Change Differences
When a change difference is selected, a Change Grid appears on the bottom left corner, displaying which characters are different in red.
The Change Grid will show all Change differences in more detail in the small pop-up window.
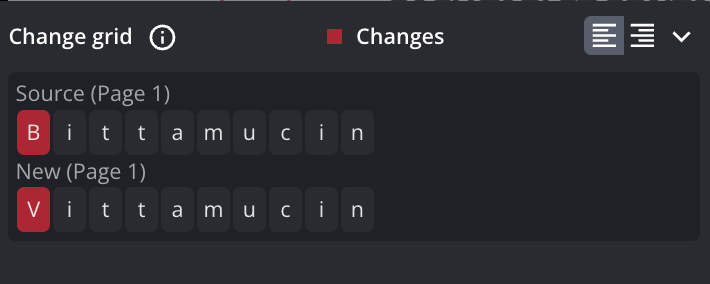
You can adjust the size of this change grid and detach it as needed for a better view.
For Right-To-Left text, like Arabic or Hebrew, switch the Change grid reading order display accordingly.

Reading Order
Reading Order differences are detected whenever text in the Source and New files have a different reading order detected by the application, i.e., there is a reading order flow change in between the two documents.
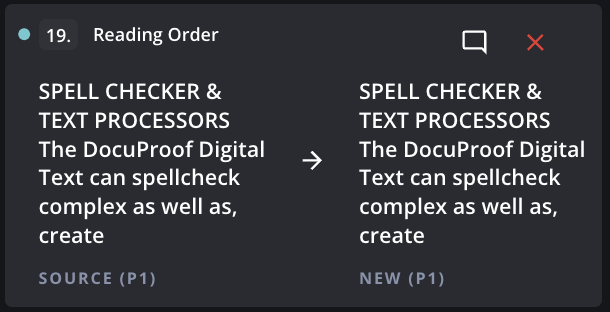
Typical examples of Reading Order differences would be any text repositioning between the two documents i.e relocation of a paragraph/sentence, or reordering a bulleted/numbered list/table.
Text Formatting Differences
All text formatting differences are grouped together by difference type.
Color-Coded Text Highlights
When running a text comparison, results are displayed with color-coded highlights for quick identification of difference types.
A legend of highlight colors is available in the Filters list.
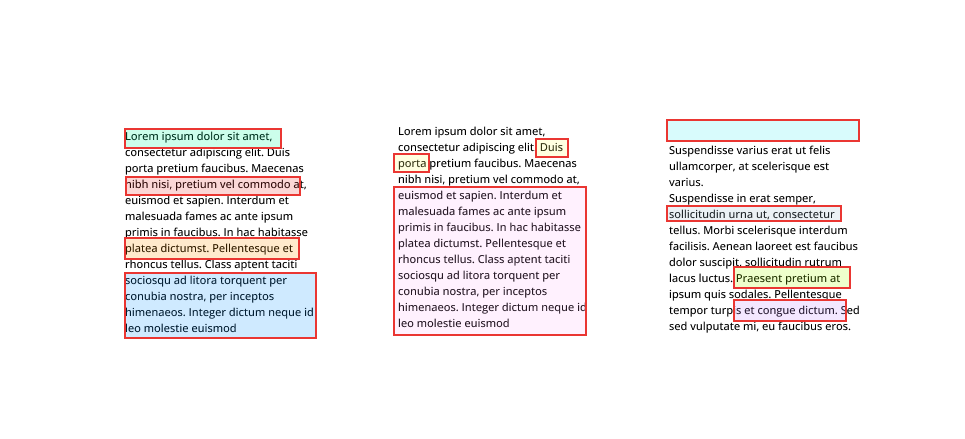
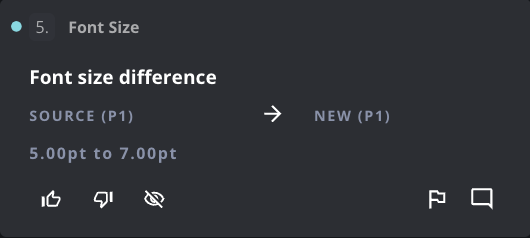
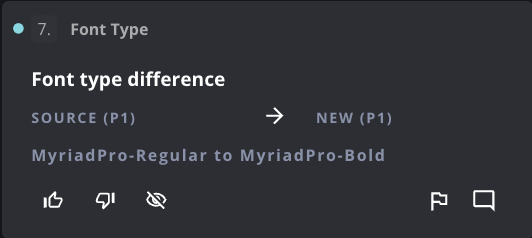
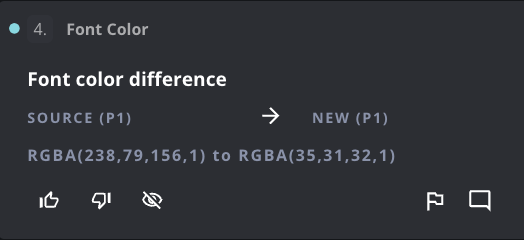
Font Size, Font Type, and Font Color differences are detected whenever text in the Source file has text with font type, font size, or font color that is different from the text in the New file.
This is important to point out because when one of these differences is picked up, the Difference Card will show the mismatch alongside their respective values at the bottom.
See screenshots below for examples of Font Size, Font Type, and Font Color Differences respectively.
Bold, Italic, Sub/Super, and Underline differences are detected whenever text in the Source file has text with different letter settings and design compared to the New file.
Soft Hyphen differences are detected whenever a hyphen was added when a word is split in half onto the next line in the New file but not in the Source file.
Line Break differences are detected whenever a line break was added within a word in the New file but not in the Source file.
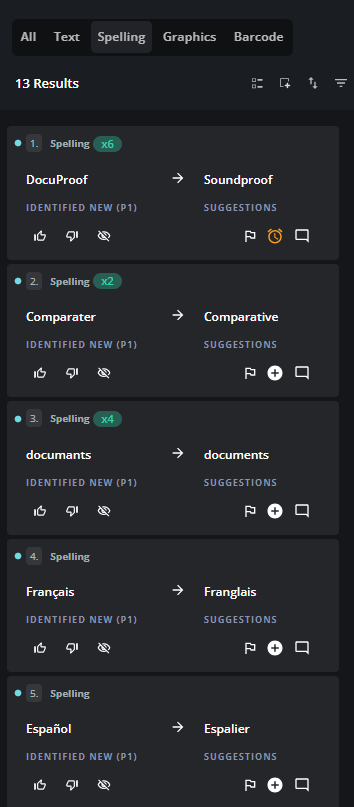
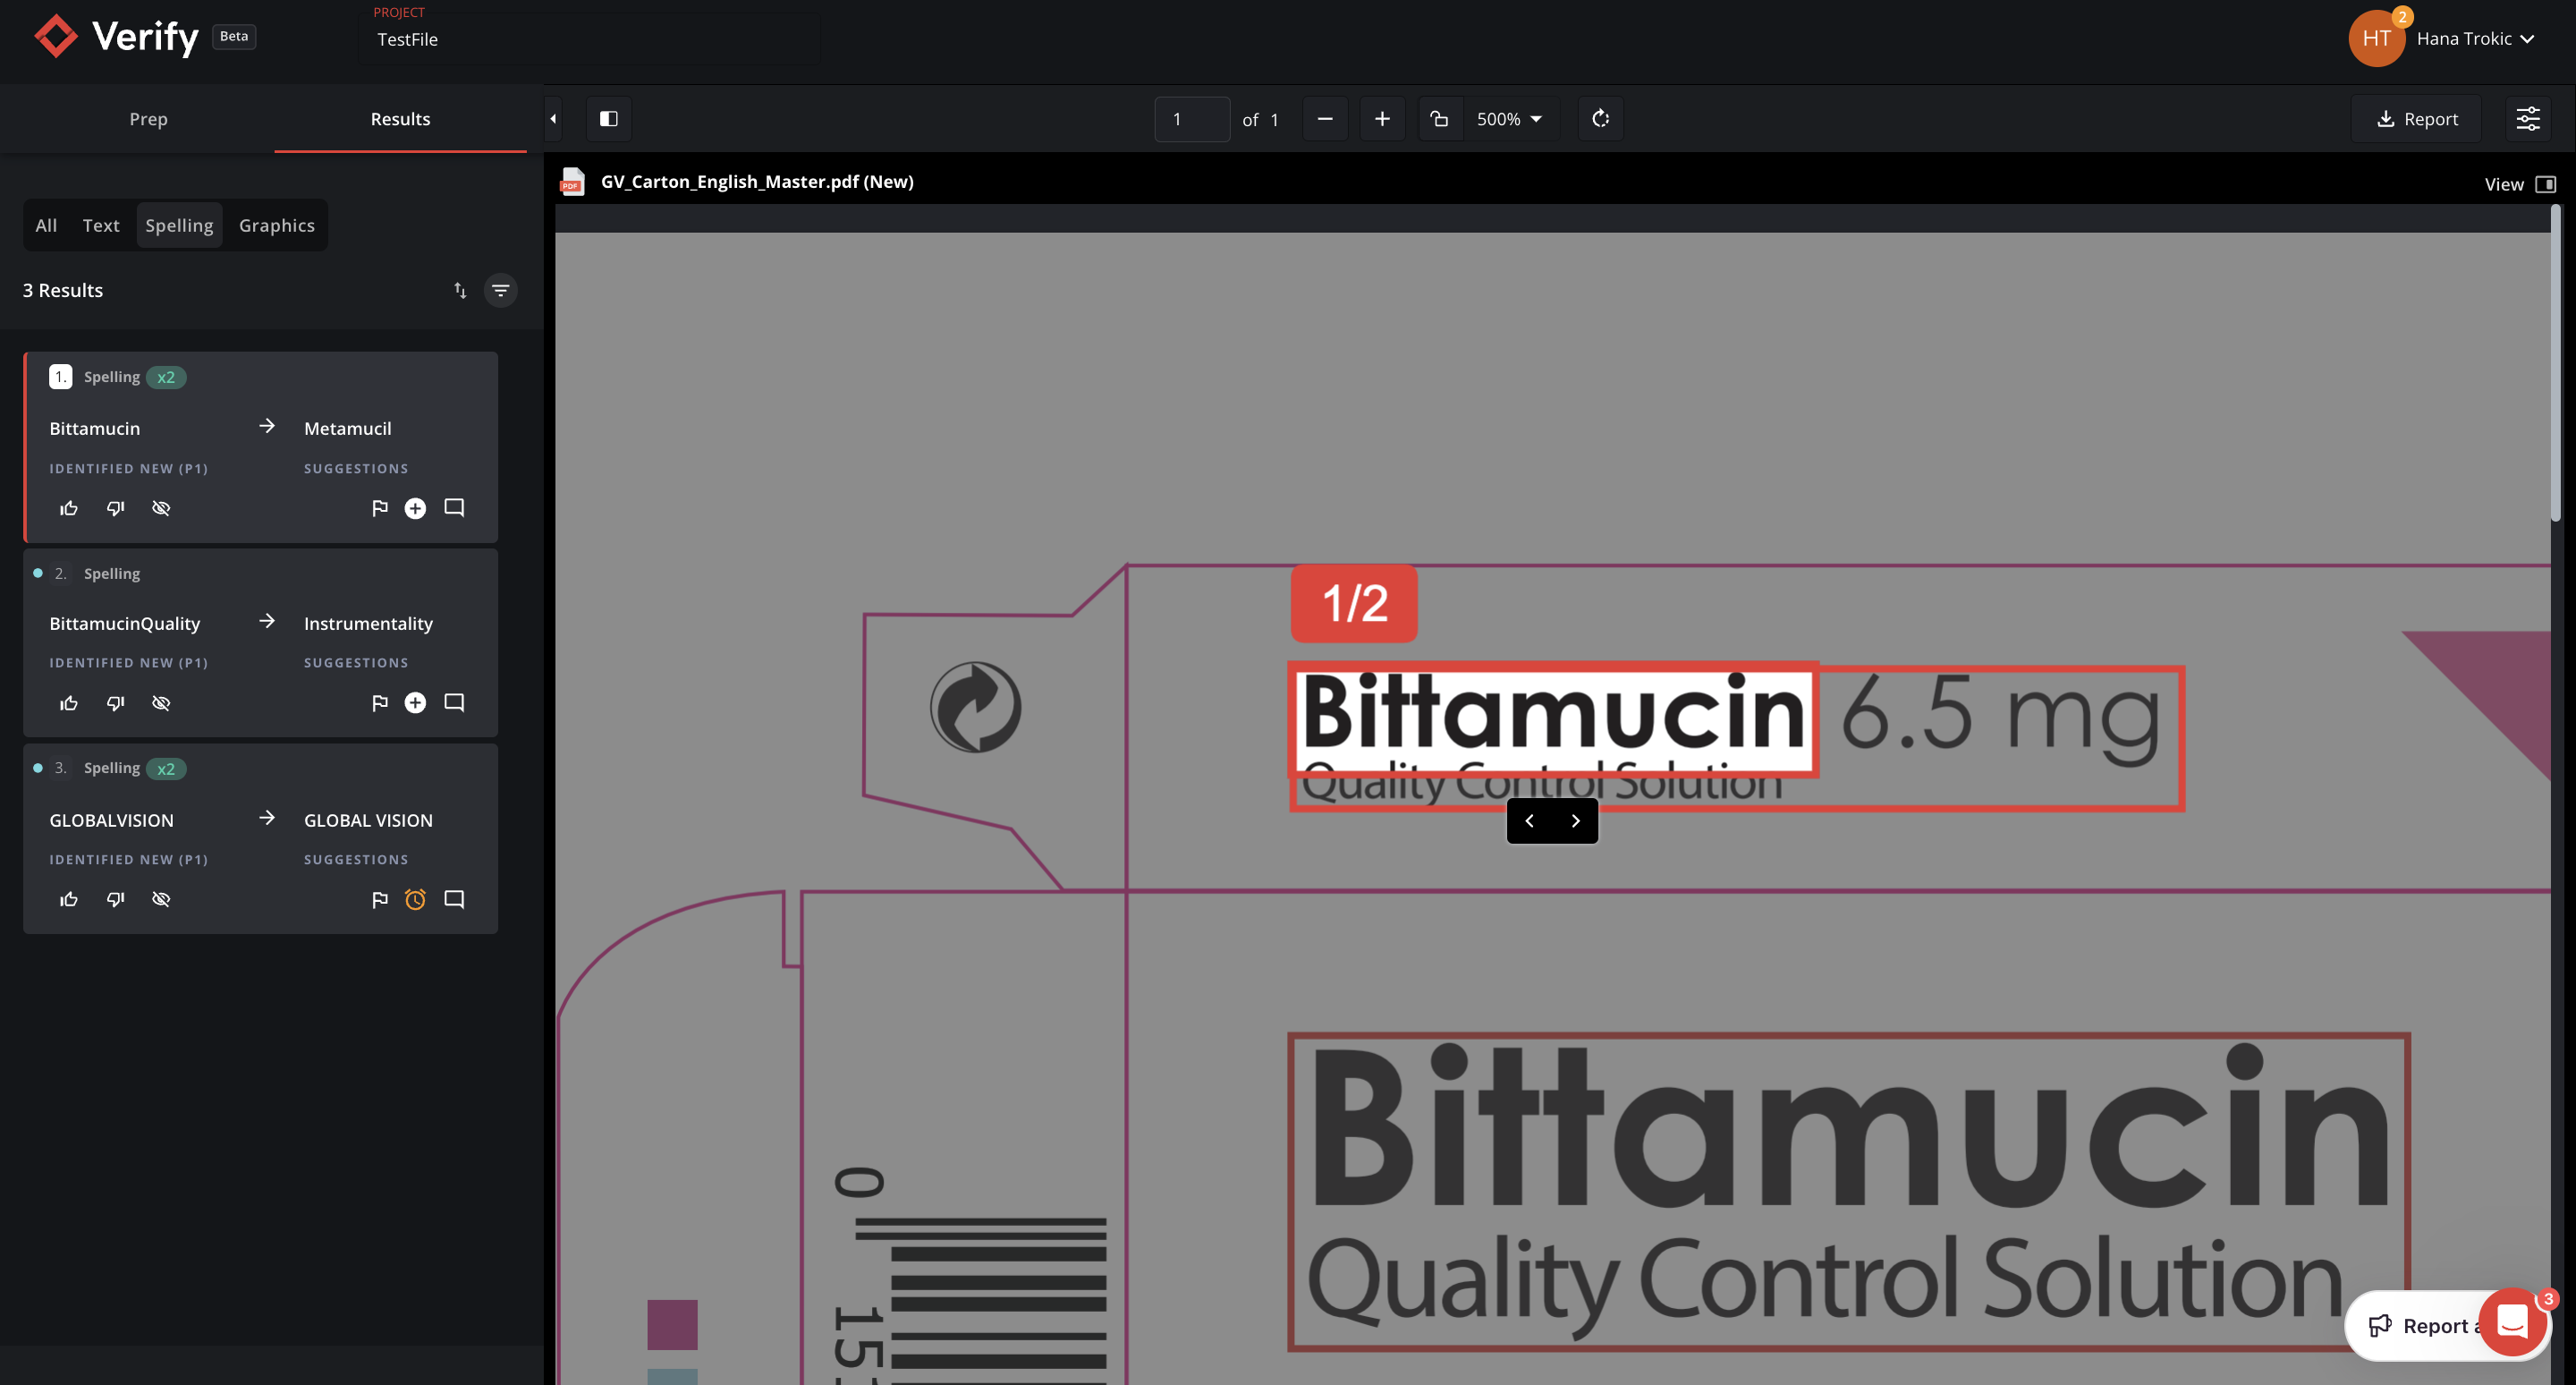
Spell Check Results
When Running a Comparison Inspection
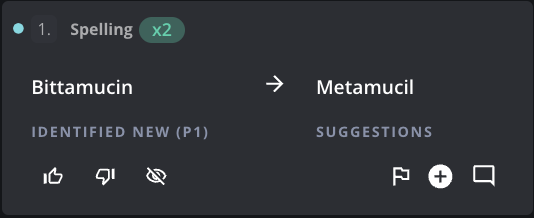
Spell Check results are detected when errors are found in the New file according to the language selected in the Prep stage.
When Running a Single File “Proofreader Mode” Inspection
Spell Check results are also detected when running Proofreader Mode and when errors are found in the file according to the language selected in the Prep stage.
The Difference Card will then show alternatives to the misspelled word that you can hover over to get a full list of suggestions.
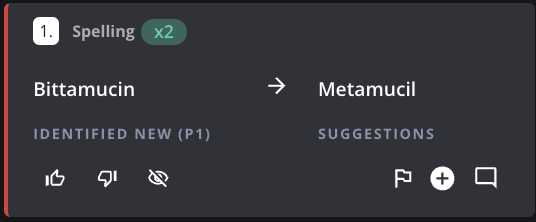
Suggest Additions to Dictionaries
You now have the ability to suggest additions to dictionaries by clicking on the ![]() sign in the Difference Card.
sign in the Difference Card.
By clicking on the addition button, the application admin will be notified of the suggestion, which will appear for them as a pending request.

Admins will be able to either accept or reject the suggested word. If accepted, they can allocate the word to a corresponding dictionary .
If a word has been suggested as an addition to a dictionary, those Difference Cards will be moved to the Discarded Tab and will not show in the report of inspection differences. They will also be marked with a ![]() indicating it is awaiting approval from an Admin.
indicating it is awaiting approval from an Admin.

AI Spell Check
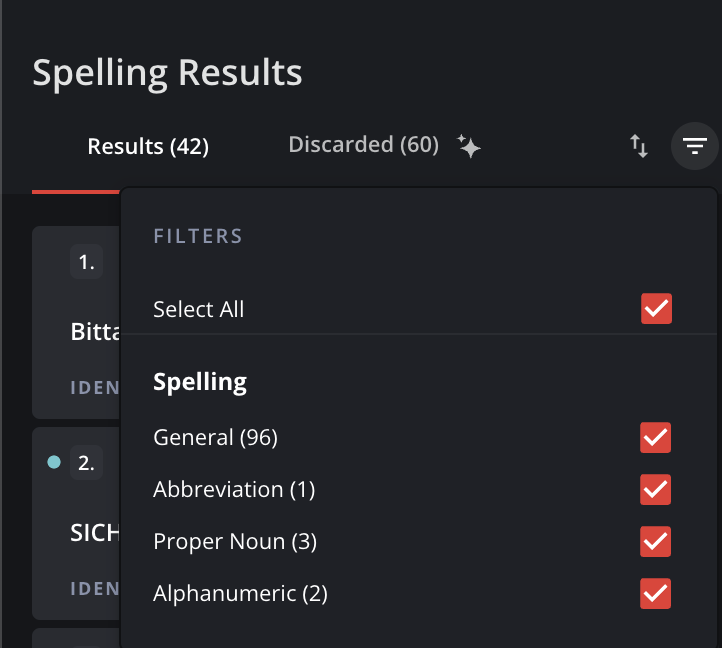
AI Spell Check is a smart spell check tool that’s powered by AI. When you run a Spell Check, the results will be automatically categorized into four types: abbreviations, proper nouns, alphanumeric words, and general spelling errors, allowing you to filter through and understand results more easily.
To view the AI Spell Check categories and to adjust your results accordingly, click on the filter or ![]() icon.
icon.
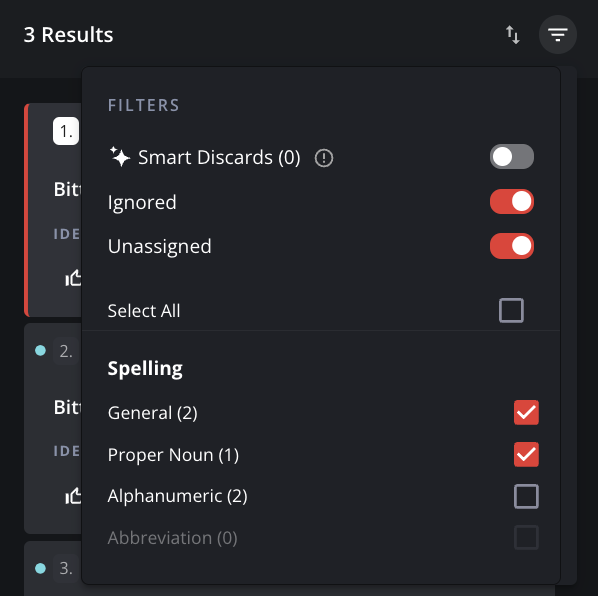
Smart Discard Pile
The Smart Discard pile are suggested words for your dictionary that help reduce your overall difference count.
If the software detects that a word is not an actual error, it will automatically discard the difference/s into the Discarded Tab and suggest that you add the word to a Custom Dictionary to help reduce false positives and your overall difference count.
Click on the filter or ![]() icon to toggle Smart Discards on or off.
icon to toggle Smart Discards on or off.
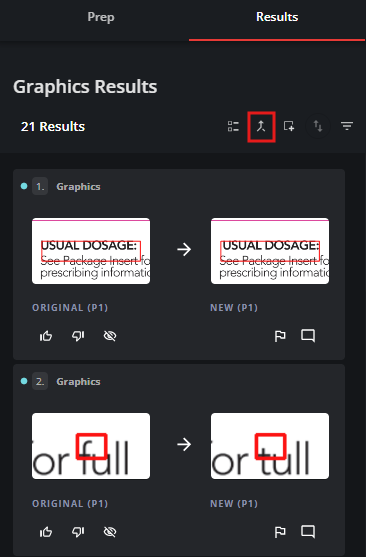
Graphics Differences
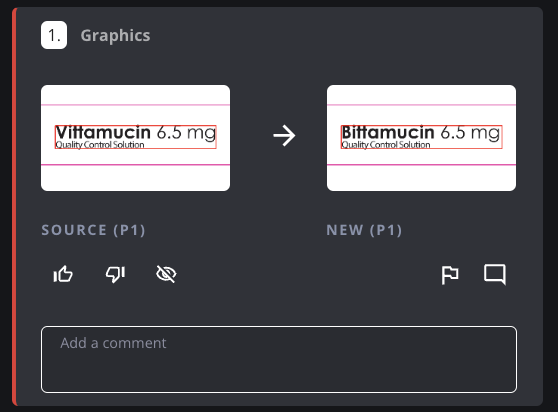
Like all other difference types, when Graphics differences are detected, they will appear on Difference List as a Difference Card.
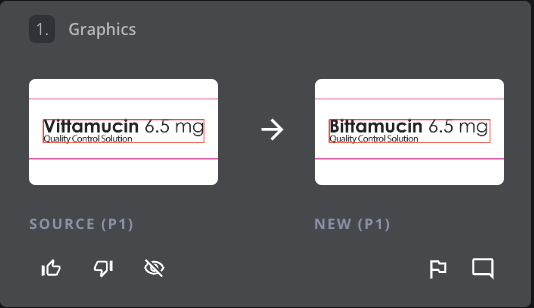
Graphics differences are displayed inside red boxes on both the Source and New Files.
To view individual Graphics differences, click on the respective Difference Card you wish to inspect in the Difference List. The software will automatically zoom into the Source and New Files, flashing the Graphics difference in the New Panel.
To turn off Difference Boxes, Overlay, and Flashing, click the settings icon and switch the toggle buttons off.

Graphics inspections will be affected by the visibility of the spot colors that were applied during the prep stage (i.e., only visible spot colors are inspected).
Communicating Graphics Differences
Graphics differences can be communicated using Graphics Annotations.
An annotation can be added using the comment box or by clicking on the ![]() icon.
icon.
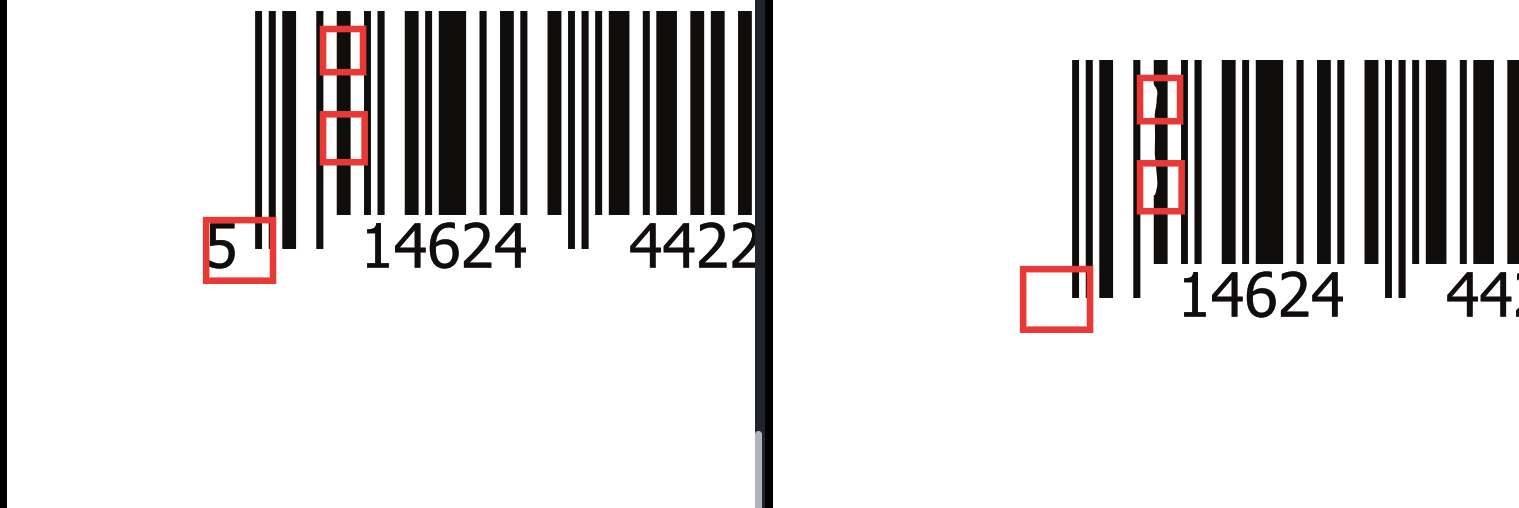
Barcode and QR Code Results: Reading and Grading
When Barcode inspection is enabled, Verify will perform an automatic identification and grading of available barcodes and QR codes only in the New File.

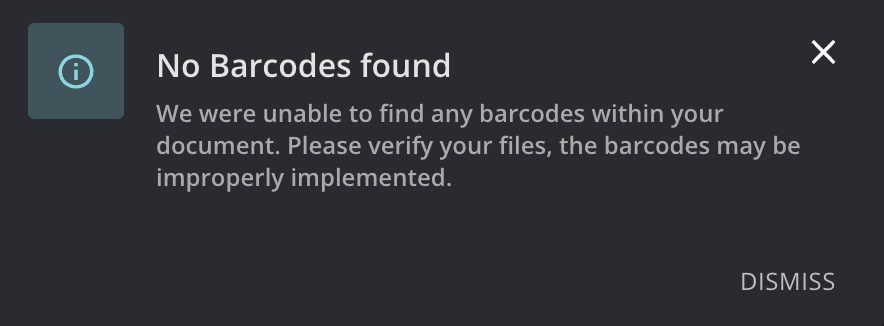
If no barcodes are detected on your files, a popup window will appear on the screen saying “No Barcodes found“.
Clicking on individual Difference Cards that you wish to inspect in the Difference List will zoom into the respective barcode or QR code.
The application will decode the value from the barcode or QR code automatically and show it in a pop-up window called Barcode Details.
The Barcode Details window can be expanded to show the barcode metadata when clicking the ^ button
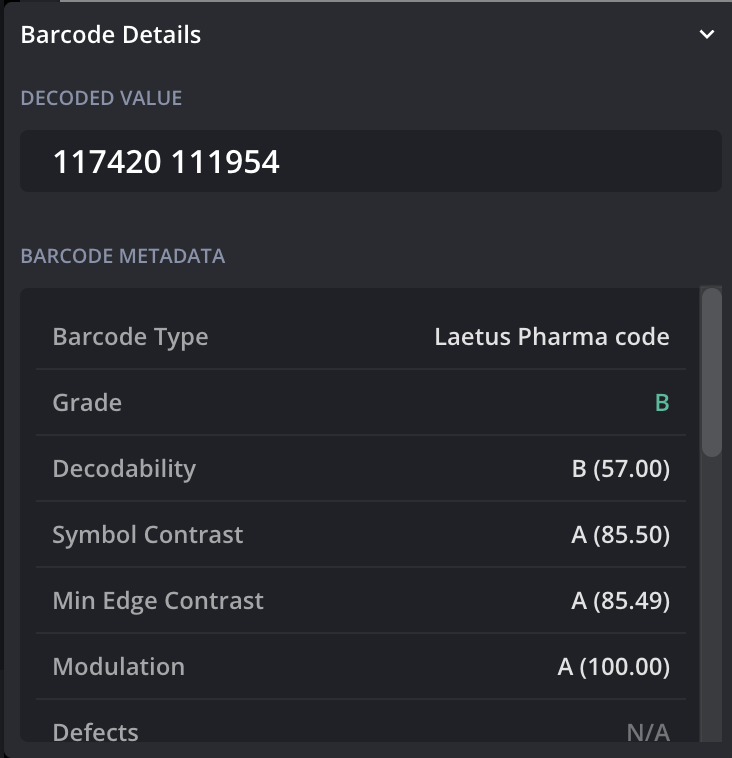
Note: As mentioned previously, this inspection is performed solely on the New document.
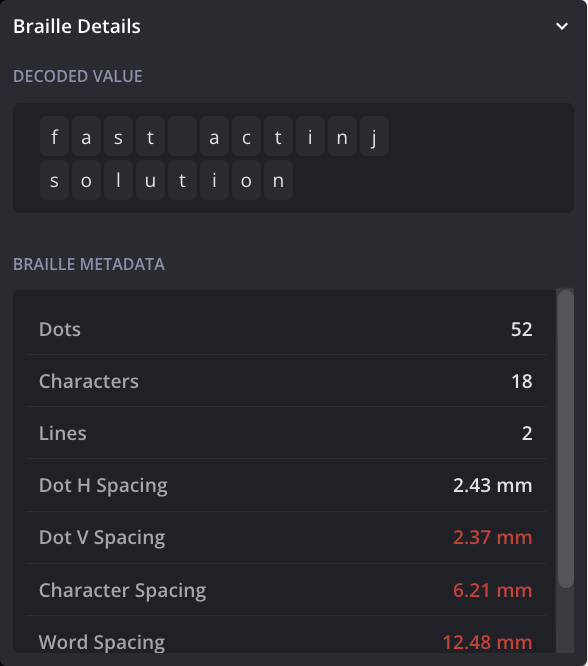
Braille Reading and Grading
When Braille inspection is enabled, Verify will perform an automatic identification and grading of available Braille only in the New File.
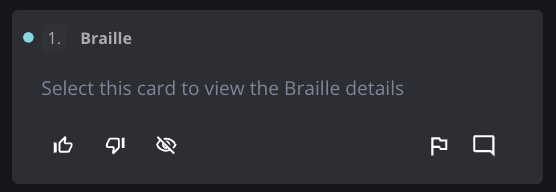
The decoded value will be shown as a card on the bottom of the screen titled Braille Details.
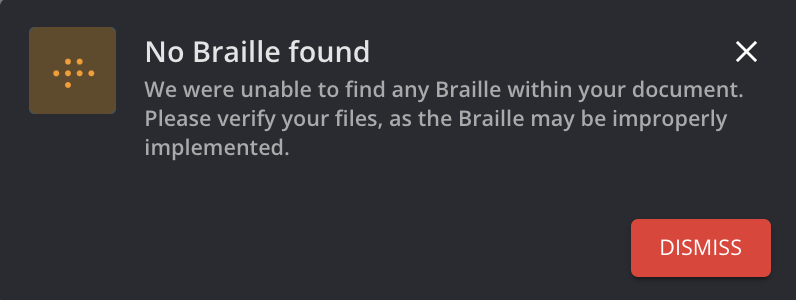
In case no Braille elements are detected in a document, a popup window will appear on the screen saying “No Braille found“.