Summary
This section describes the steps to follow while running a text inspection.
Steps
Step 1. Load Files for Text Inspection
To inspect Text:
-
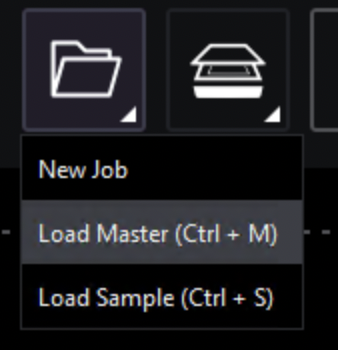
Click on the File Menu icon on the top panel→ then Load Master or click on the Master panel to select the file to load. The Master image loads in the Master panel.
-
Click again on the File Menu icon on the top panel→ then Load Sample or click on the Sample panel to start repeating the process to load sample files.
Step 2: Select Profile
-
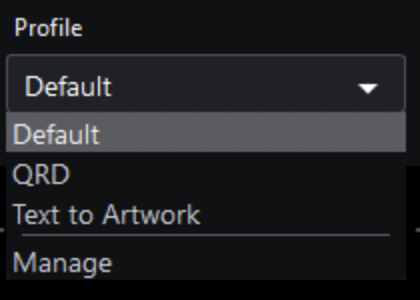
Click the Profile drop-down menu to access the Application's library of available text inspection profiles.
The following default profiles are installed with the system:
Step 3: Ensure proper Inspection Area is selected using the Pre-Inspection Tools
Step 4: Run the Inspection
-
Click Inspect
-
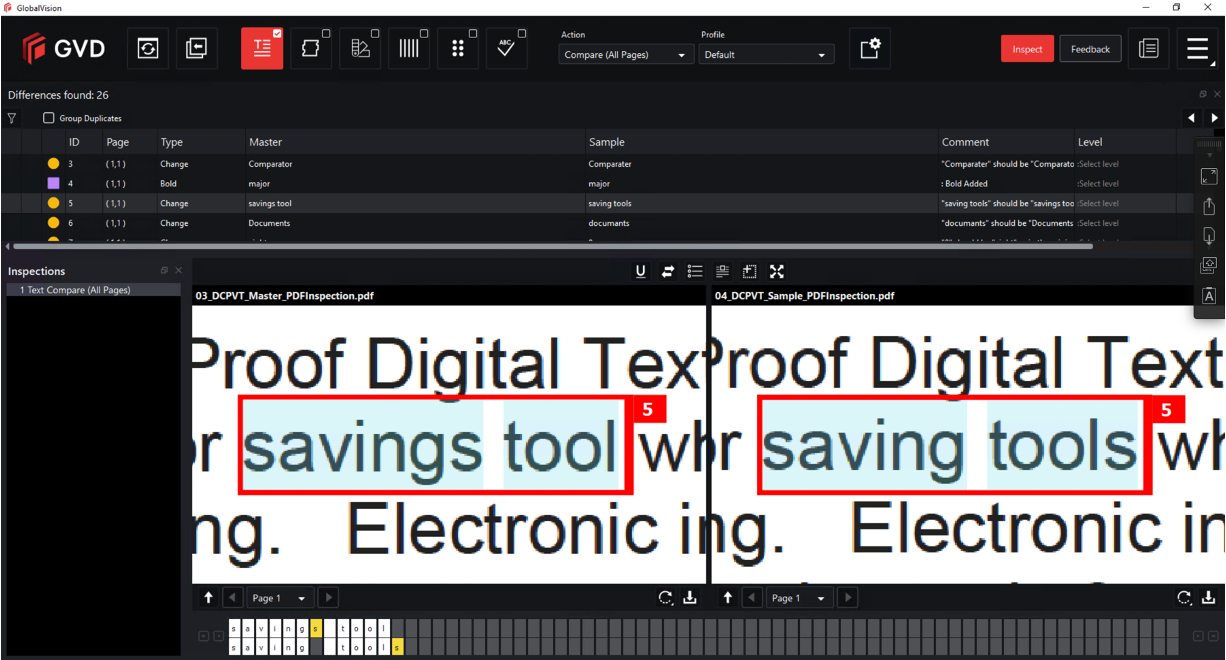
The files are inspected and the differences display in the Inspection View.
Step 5: View the Results
To view the inspected file:
-
To review the difference list navigate through them using either keyboard arrows or by clicking on each difference.
-
Use the trackwheel to zoom in or out.
-
Hold the left mouse button and move it around to pan the image.
Step 6: Go through differences to assign levels or comments
Step 7: Modifying/Resetting Inspection Results
Step 8: Generate the Report
-
Click the Report icon.