Verify x Kallik Veraciti Integration User Guide
This document describes the steps to follow to run an inspection using the Verify x Veraciti integration.
Launch a Project
In order to upload your artwork assets and initiate a comparison through the Verify x Veraciti integration, you will first need to launch a project.
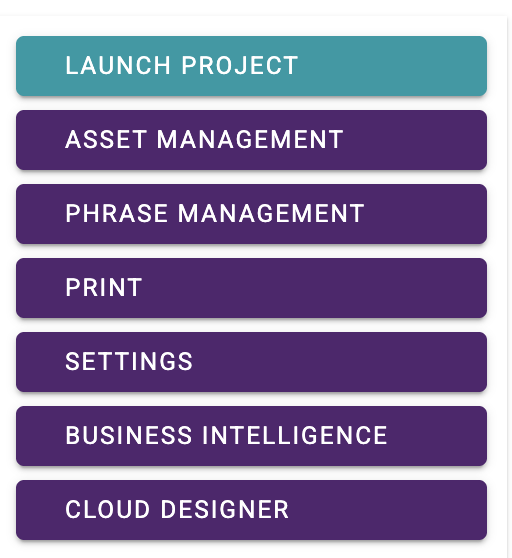
To begin, Click on Launch Project on the left-hand panel.
Step 1: Data Selection & Orchestration
The first step to creating your project is data selection and orchestration.
Here, you will need to select your workflow (Kallik Collation), name your project, and give it a description.
You will then be prompted to fill out mandatory fields such as Collation Route Deadline, Reason for Change, Business Unit, etc.
Mandatory fields are marked with an asterisk * symbol.
Step 2: Data Import and Step 3: Source Selection are skipped during the process.
When all of the fields have been filled out, click Next.
Step 4: Regions & Countries
Next, select your region and country.

Click Next.
Step 5: Review Data
In this step, you will need to add items to your project. For every item added, you will need to add SKU and Component Descriptions for files that will uploaded to your project later.
To begin, click Add Item(s) then Add SKUs.
Enter the SKU Code. Click Add SKU.
Click Next.
You will then be prompted to Add New Component Codes. Add the Component Code and click Add Component.
Click Next.
Repeat this process for every new item you wish to add to your project.
Step 6: Data Contributors
In this step, you will choose the person(s) that will contribute or review your project.
Click Finish to complete your project.
Project Review
Once you have successfully launched a project you will be sent back to the Kallik home screen. You will see your newly launched project under your active tasks and actions. It is now ready to be reviewed.
If you do not see your project, simply wait a minute or two and click the refresh button. Your project should then appear.

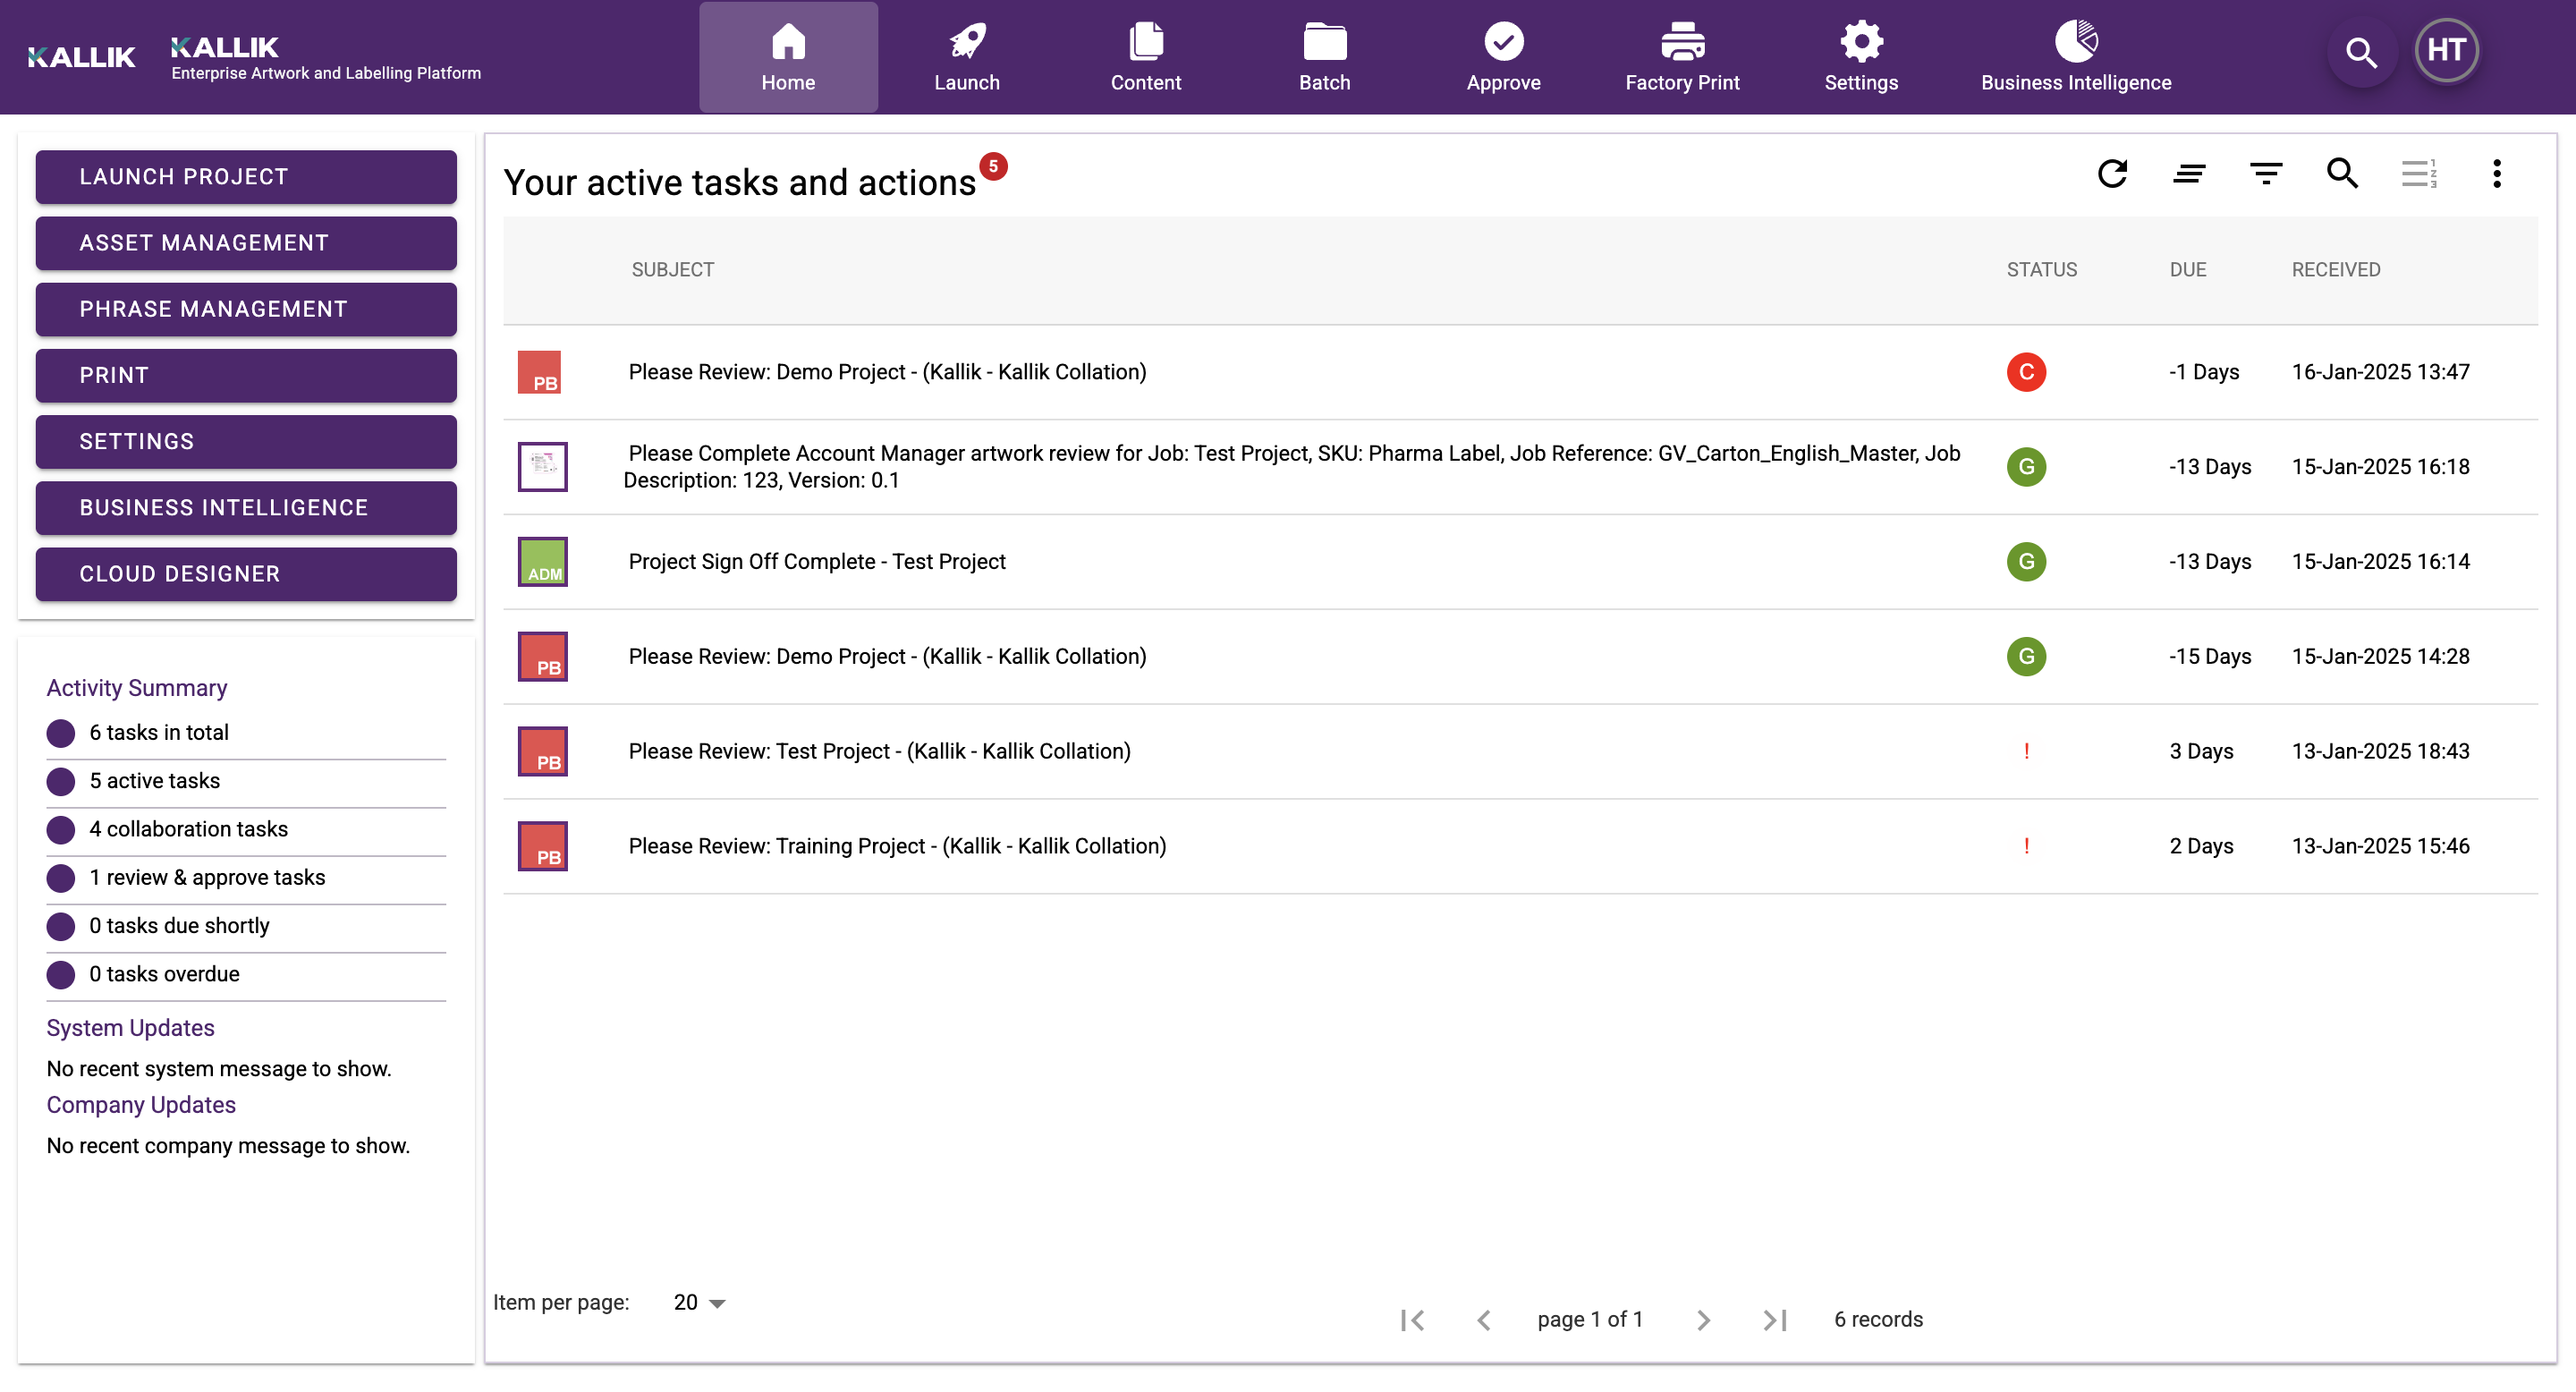
To review a project, look over the project summary and ensure everything is correct. In order to sign off on a project, you will need to ensure all mandatory fields are filled out. If you have outstanding mandatory fields, the Brief Readiness Check on the left-hand navigation bar will appear red.
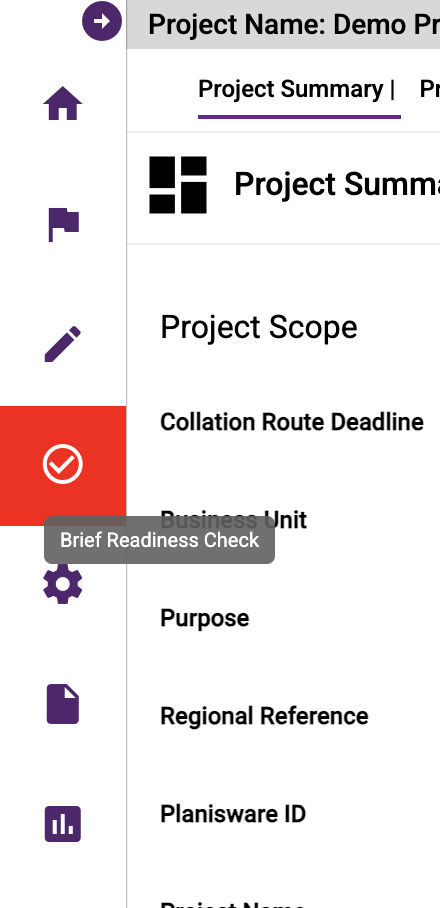
To fill out outstanding mandatory fields, click on the Brief Readiness Check and fill in all missing mandatory data.
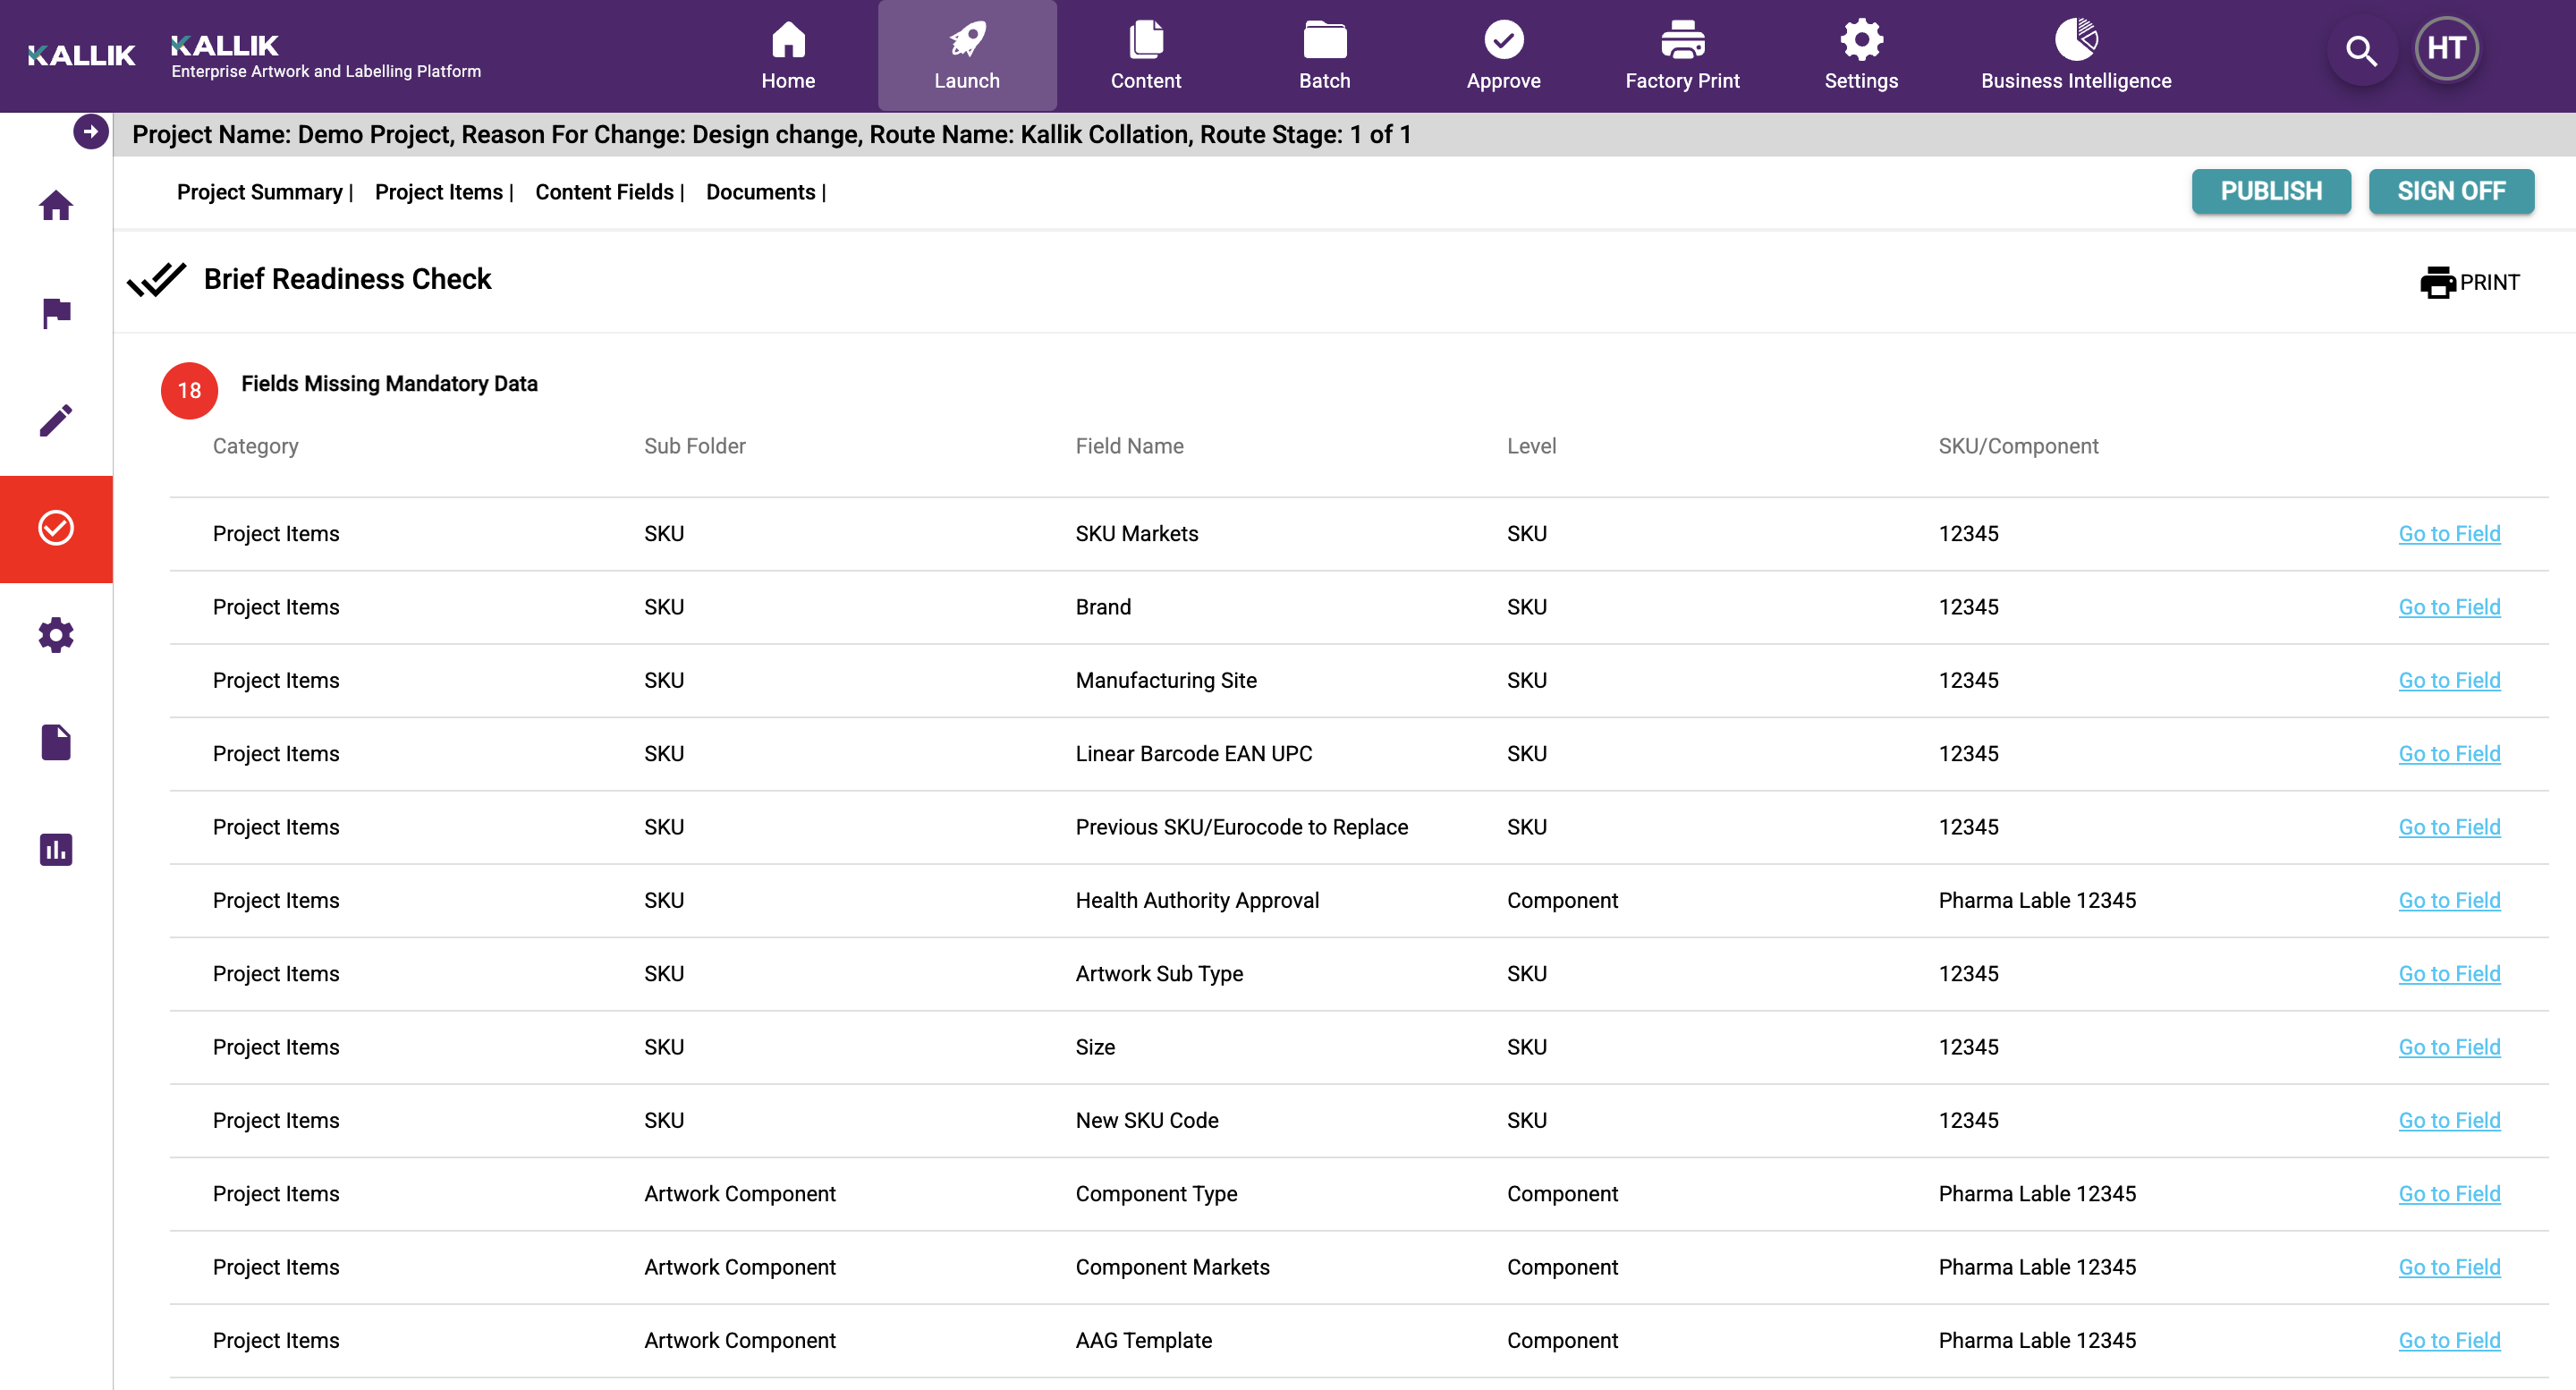
In order to upload your component (artwork) make sure to go to the AAG Template field.

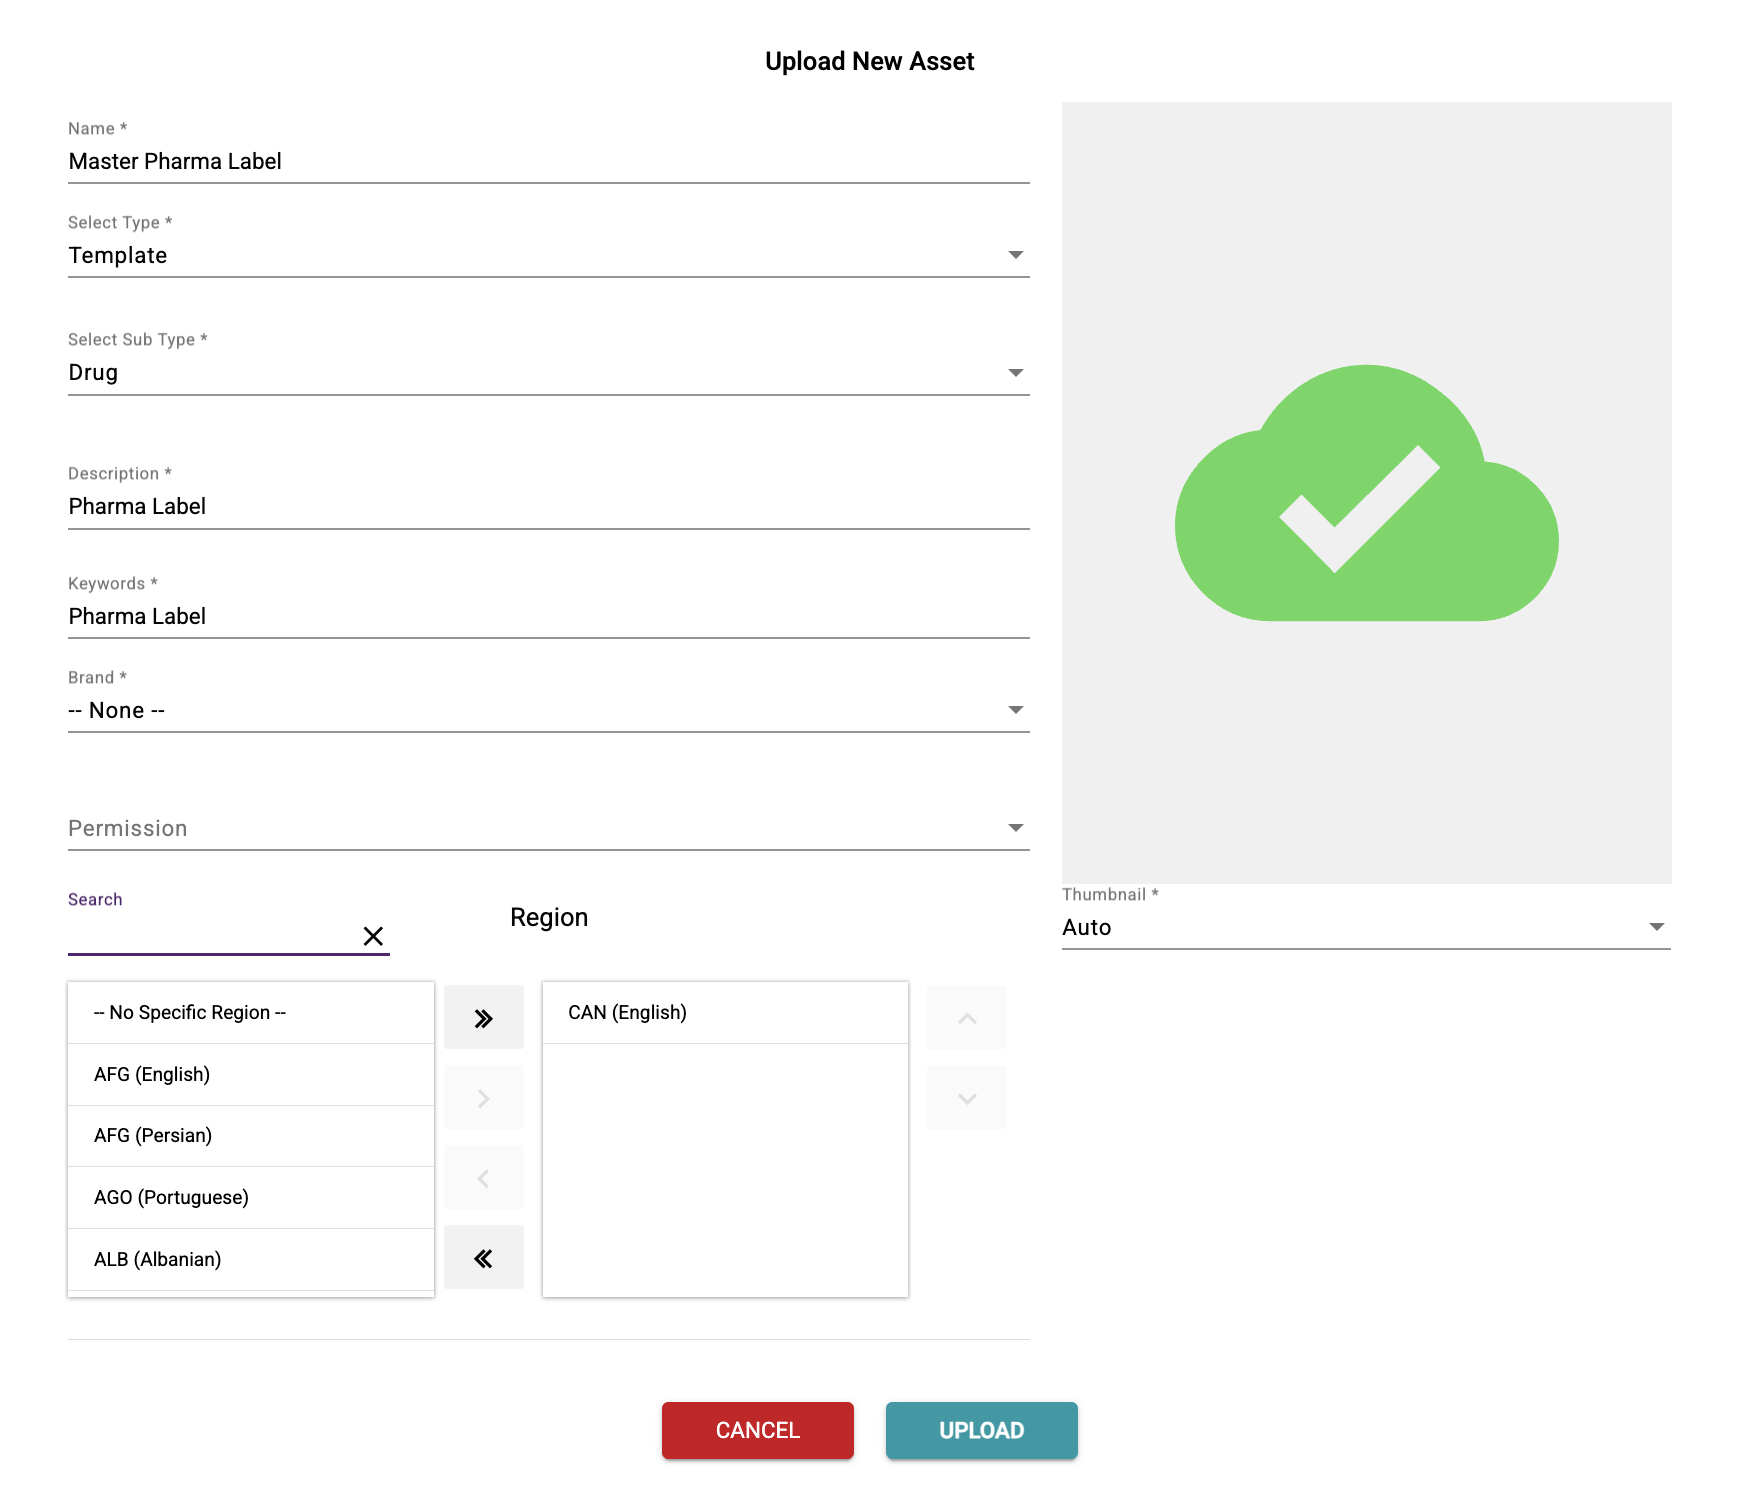
By clicking on “…” you will be brought to a new page and given the option to upload a new asset. Click Upload New Asset.

You will then be prompted to upload your template. Fill out the necessary fields and click Upload.
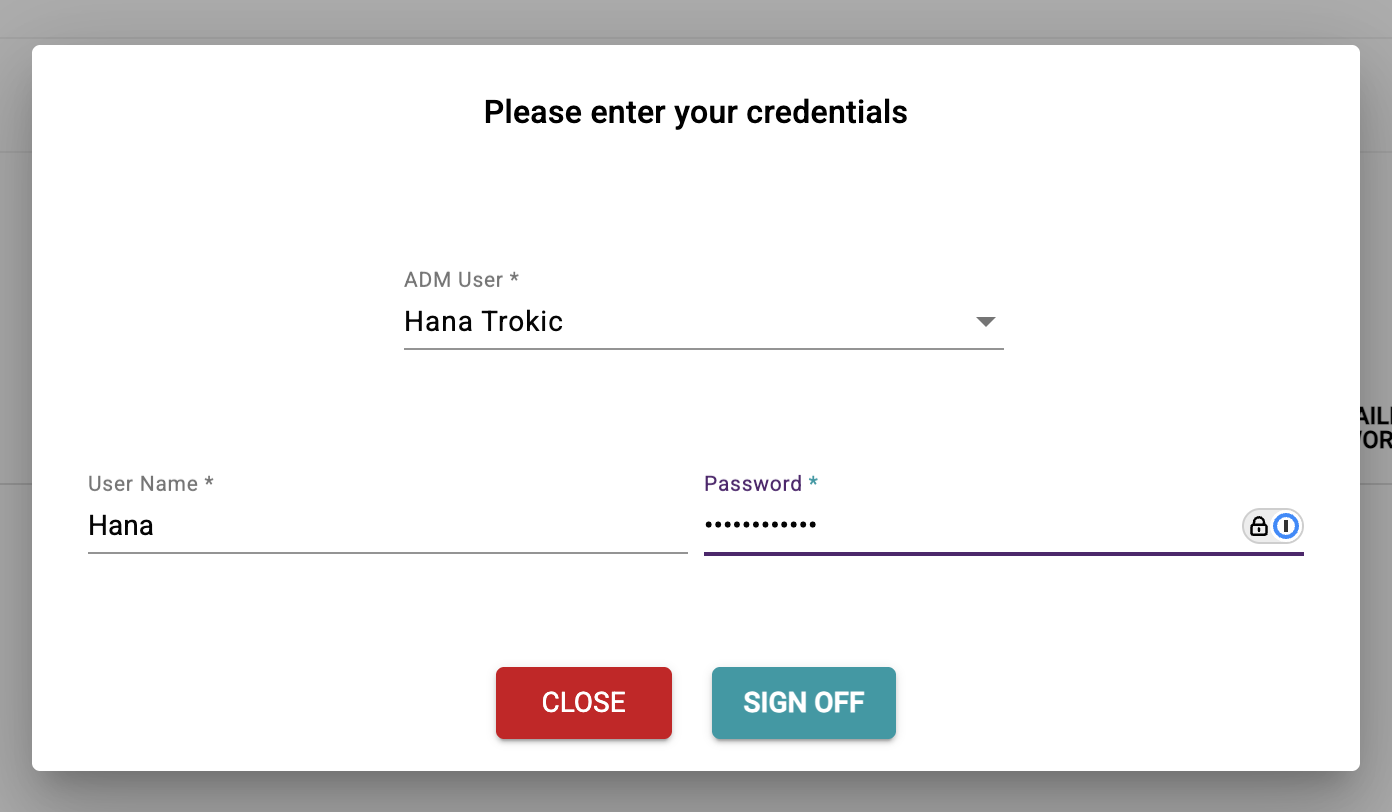
Once all mandatory fields are filled out click Sign Off.
You will be prompted to fill out your username and password to sign off on a project.
click Sign Off once again.
You will then be taken back to the Kallik home screen where you will see that the Project Sign Off has been completed.
Approval Process
When your project is ready to be approved, it will appear green in your active tasks and actions.

Click on your project. You will then be prompted to choose the Authoring Method of your component or artwork. You have two options:
Automated: Choose from an already uploaded template or file
Conventional: Upload a new file
Click the check box, and then Start Process.
A pop-up window will appear to configure your workflow. Choose the Workflow, User, and Approval Group. Add Instructions is necessary. Click Ok.
Upload Artwork
Return to the Kallik home screen. You will see that you are now able to upload your artwork to your project.

Click on the project.
On the left-hand navigation bar, click on the mouse icon, then add.
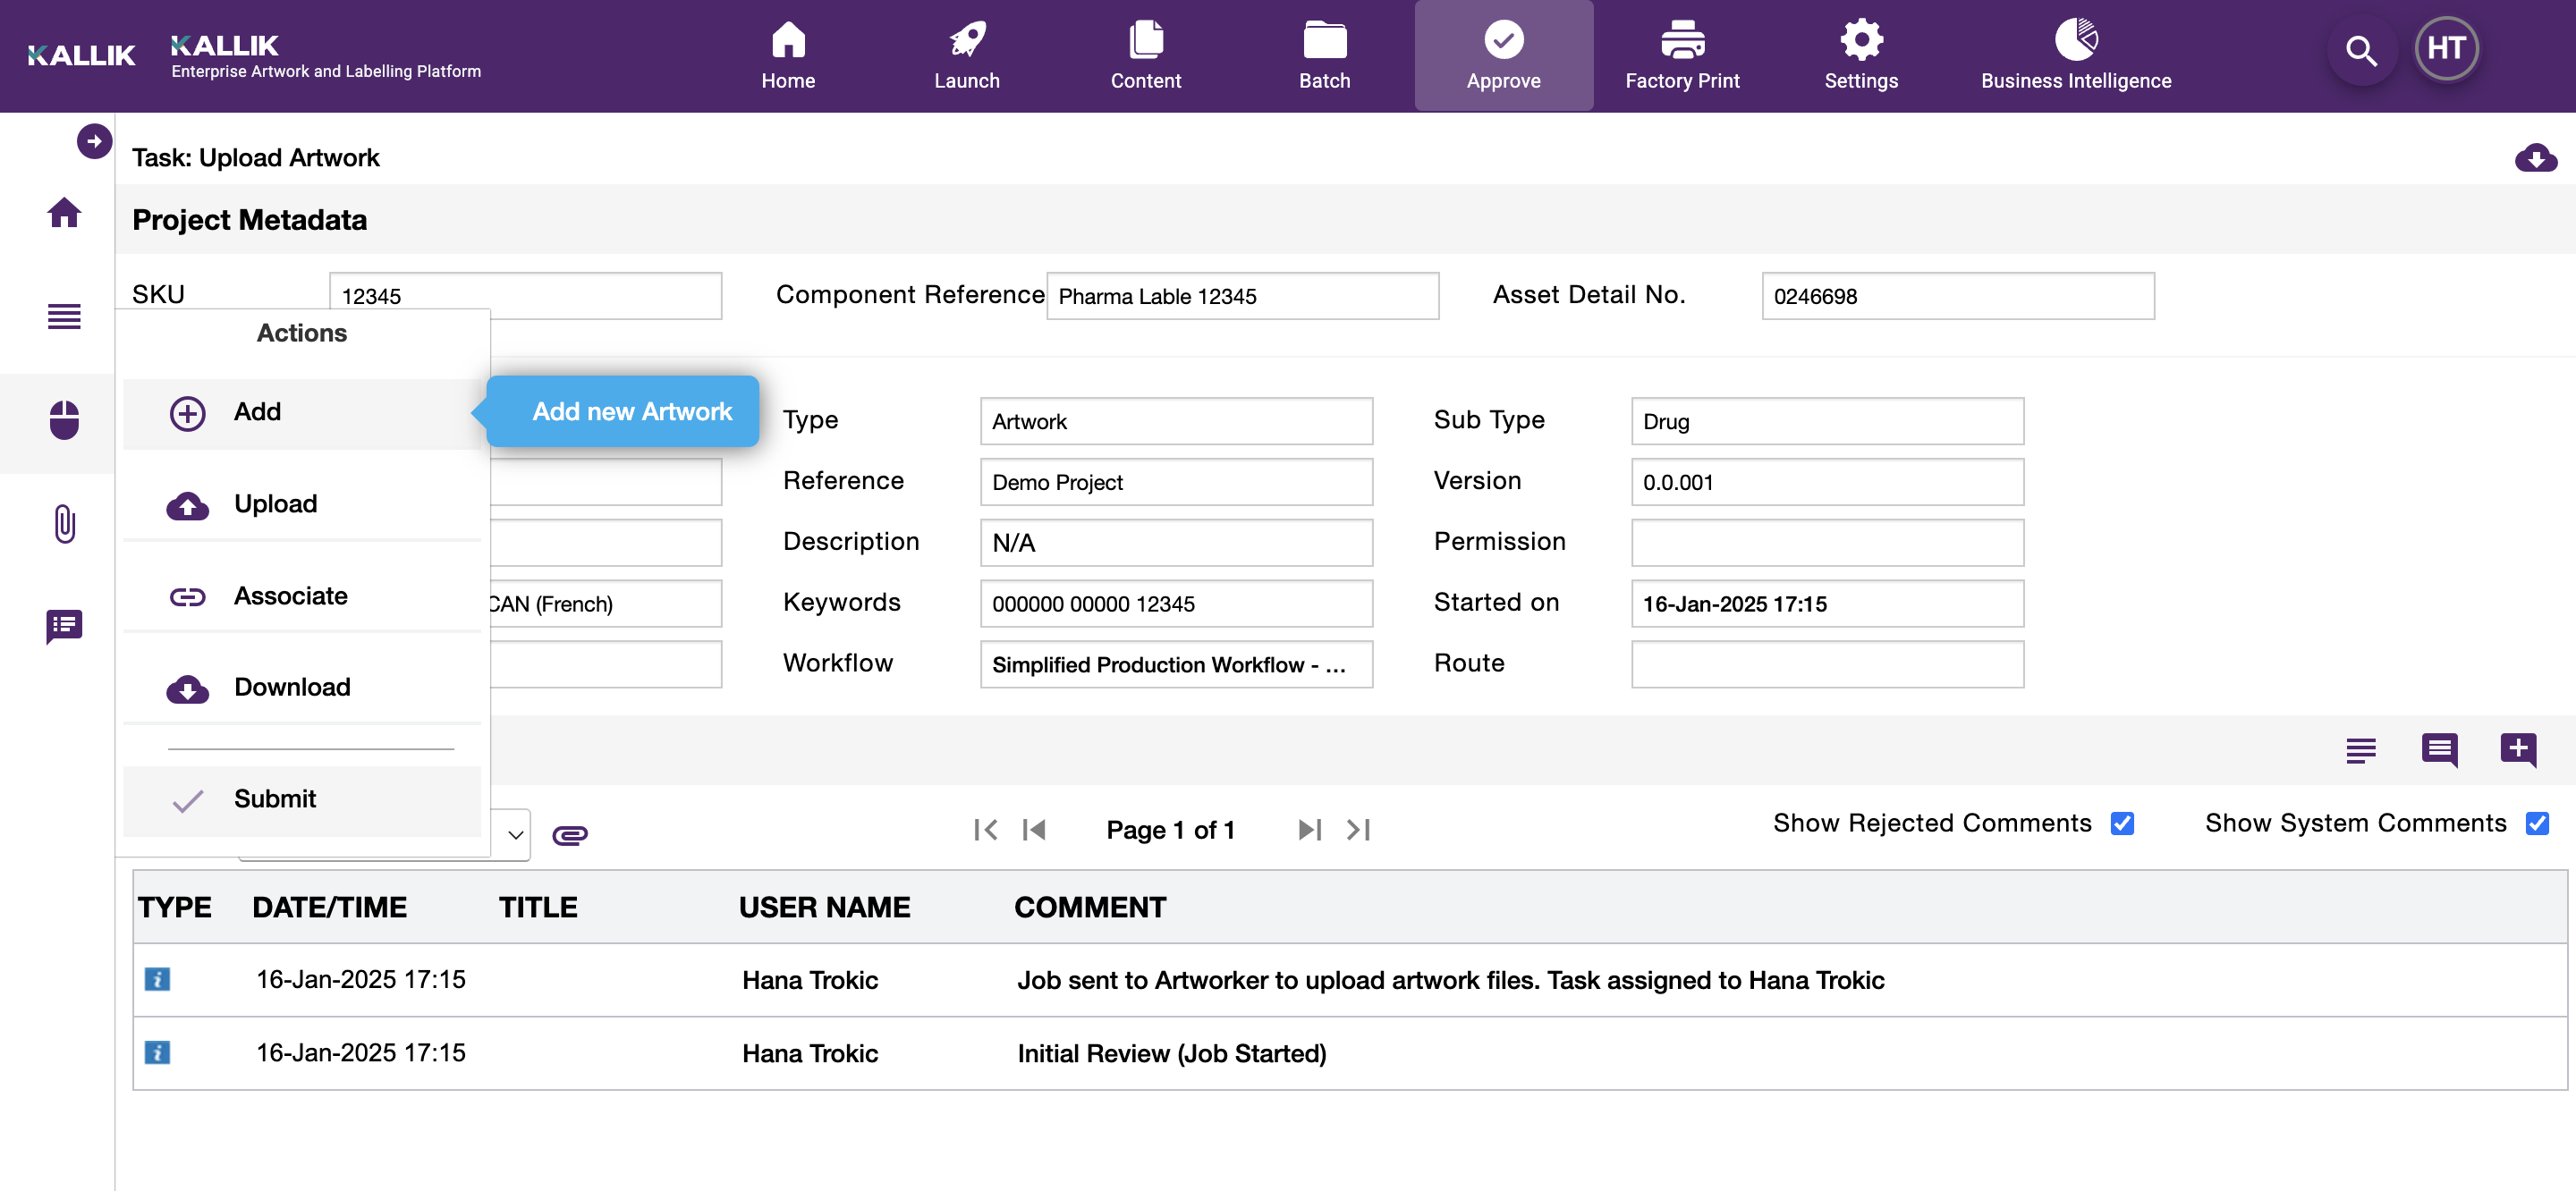
You will be prompted to upload your artwork file.
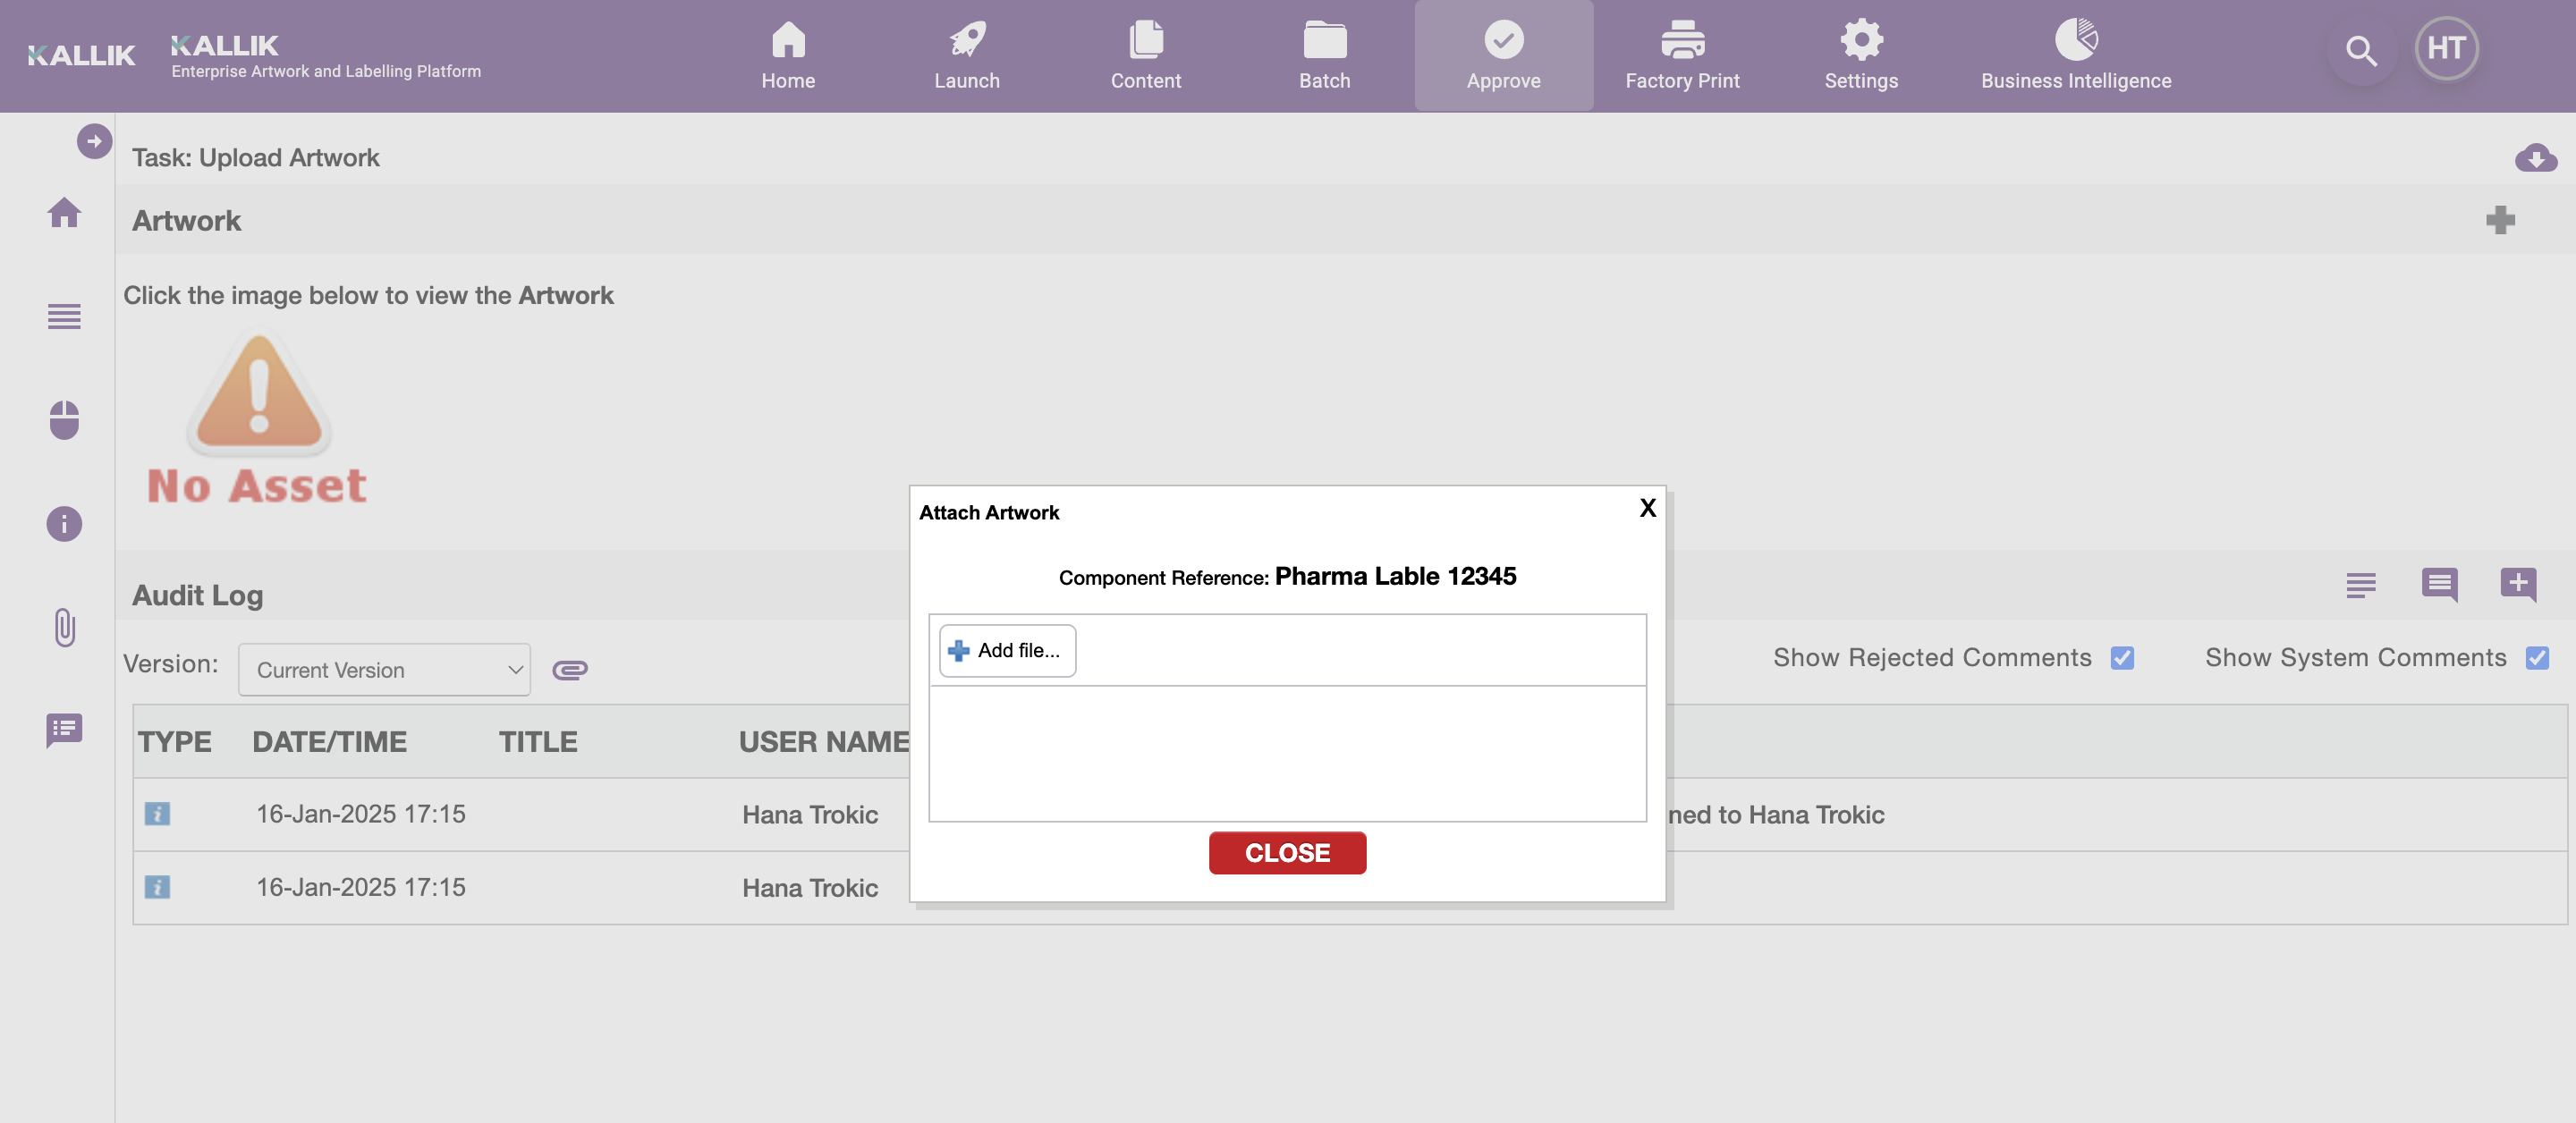
Once uploaded click Upload Files.

Note: The following file types are supported in Kallik Veraciti
PDF
EPS
JPEG or JPG
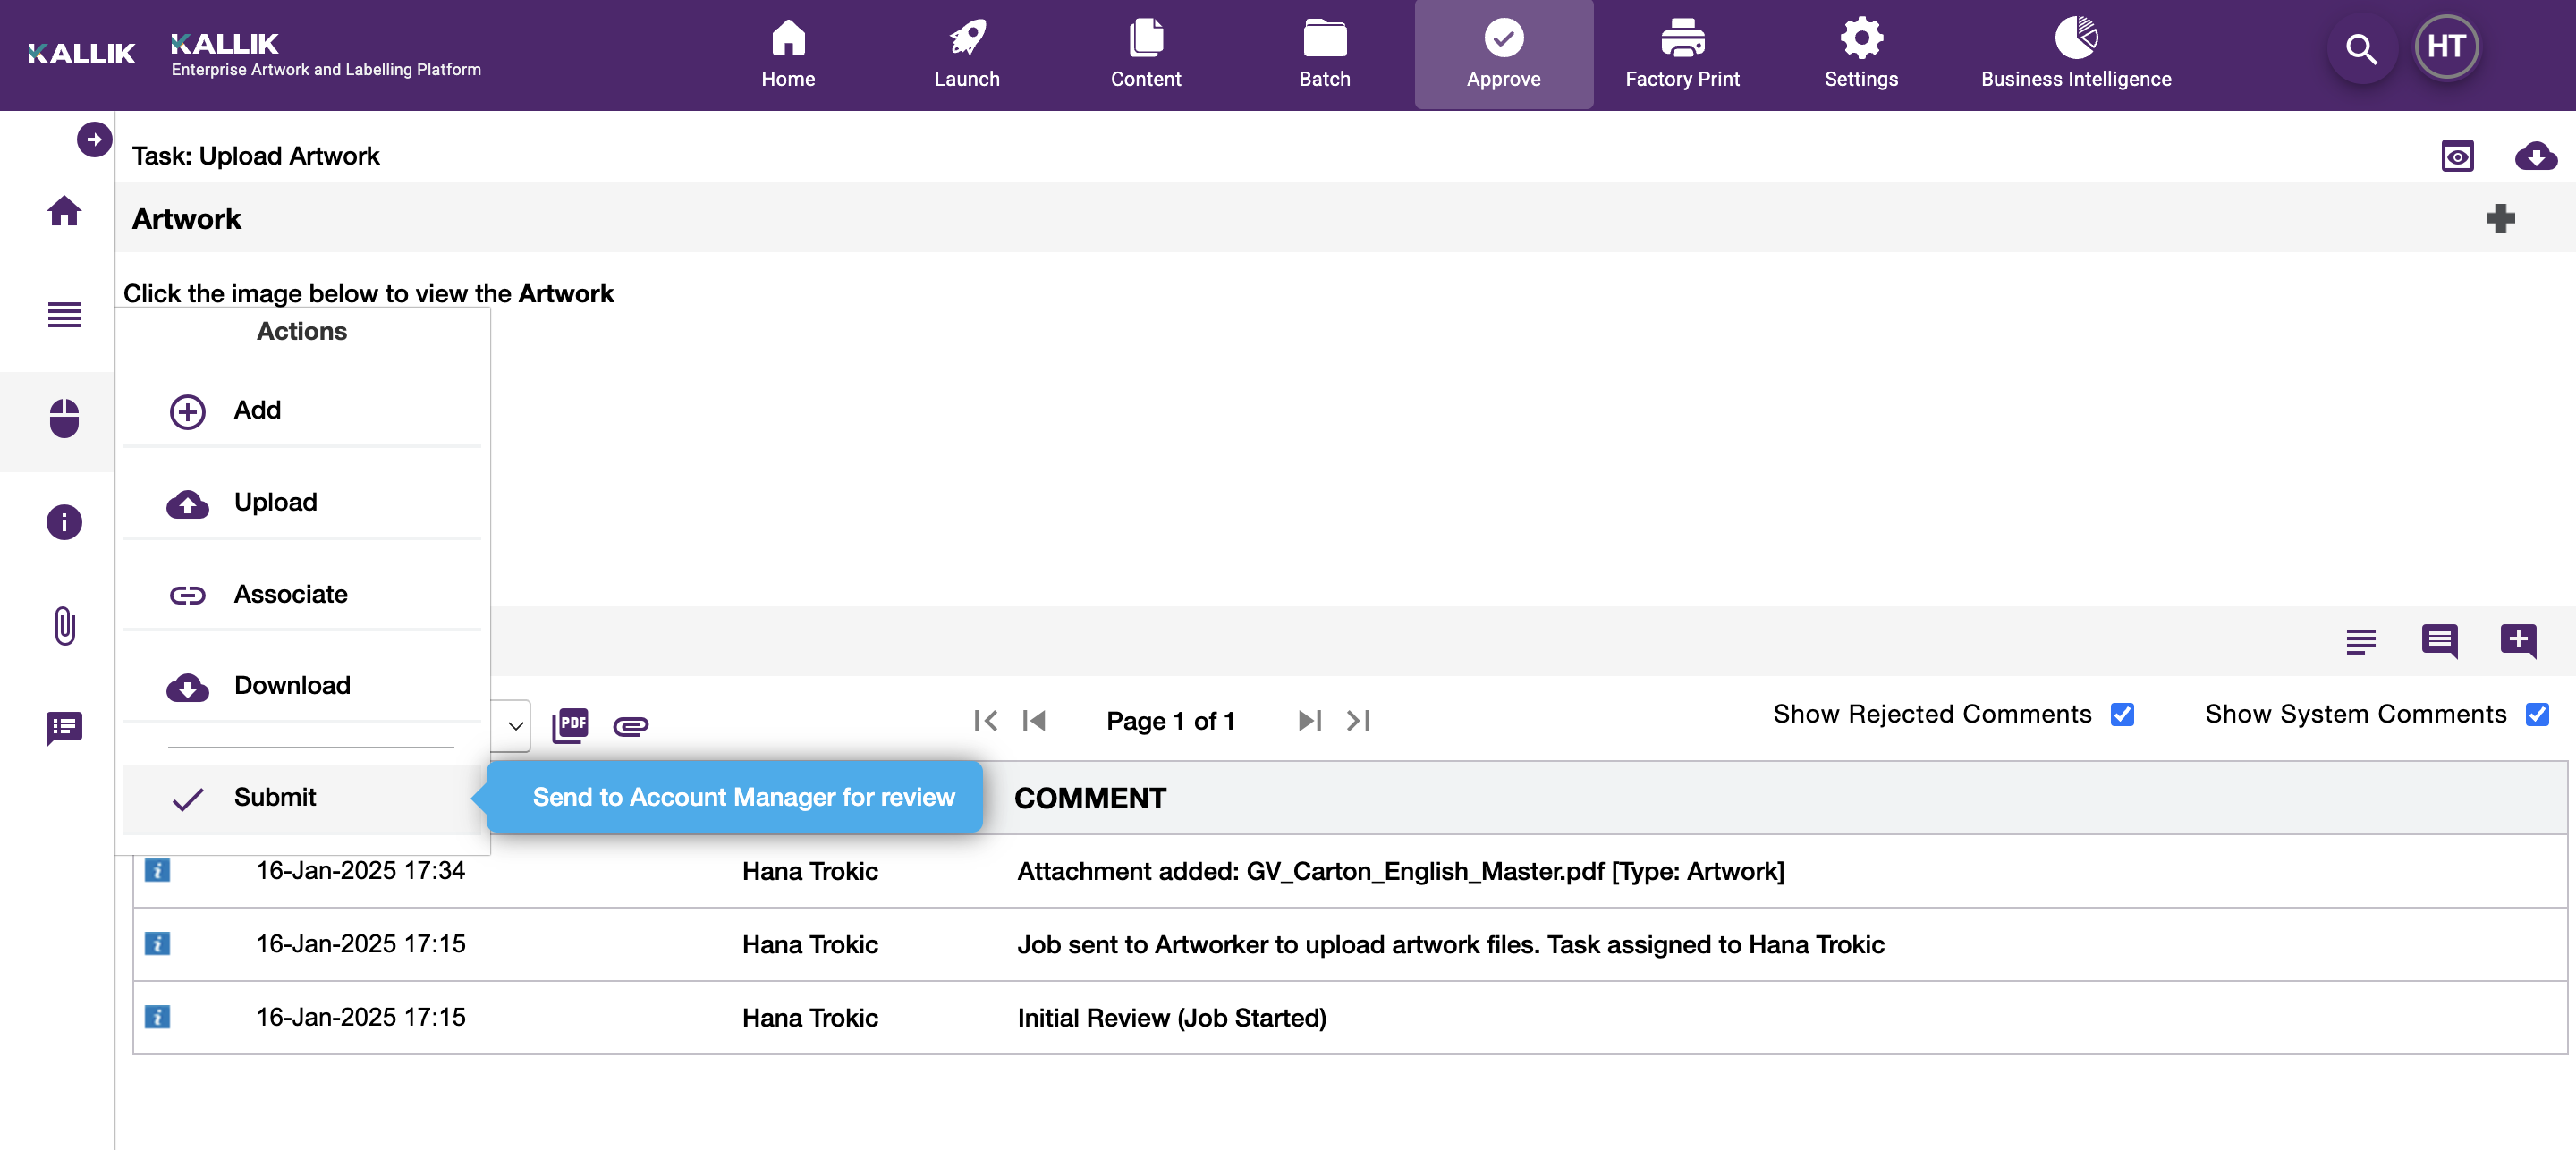
On the left-hand navigation bar, click on the mouse icon, and then submit.
The artwork file has now been sent to the Account Manager for review.
Initiate Comparison
Back on the Kallik home screen the Account Manager will now be able to look over the artwork and inspect it in Verify.

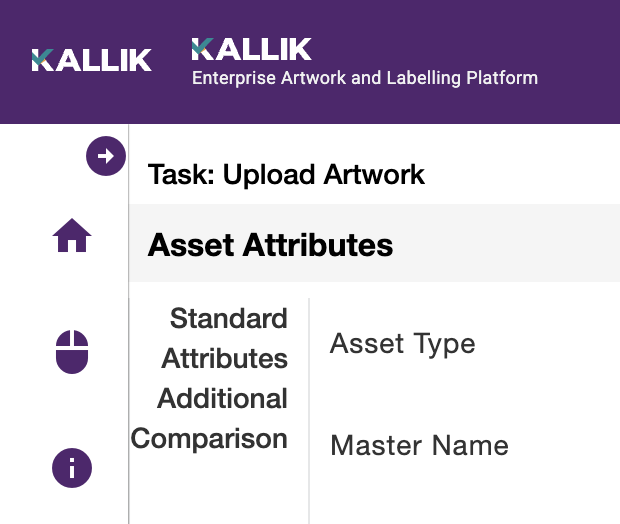
Click on the project. On the left-hand navigation bar, click on Attributes.
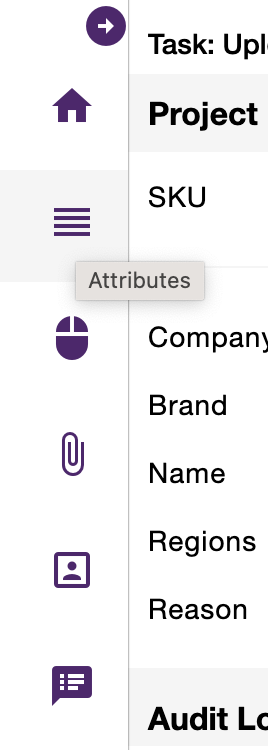
From there, you will be able to initiate a comparison in Verify by clicking on Comparison.
You will then be prompted to choose which file you wish to compare your artwork to. You can choose from:
Alternative Asset
External File
Previous File
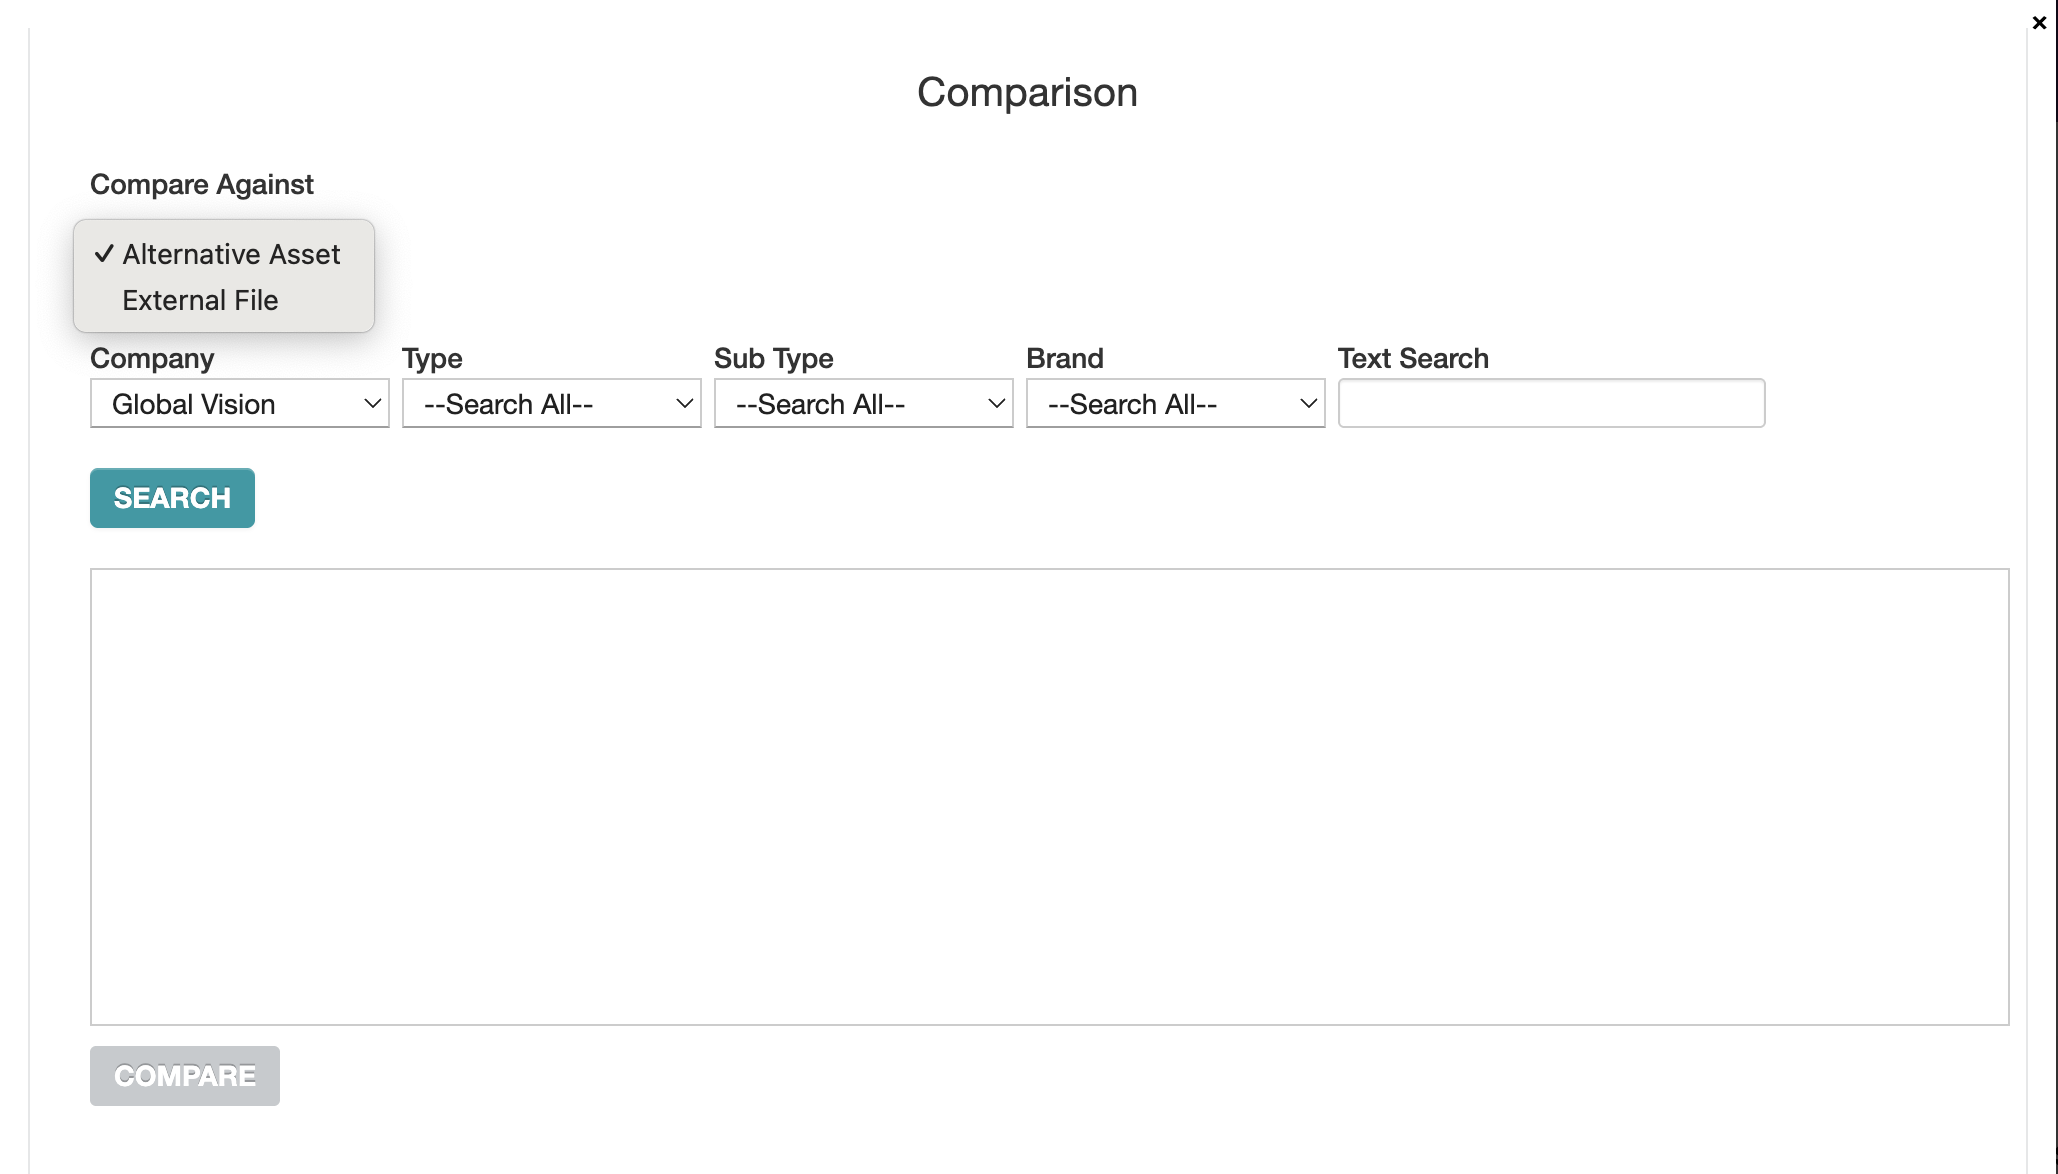
Click Search. You will now be given the option of choosing between files that have been uploaded.
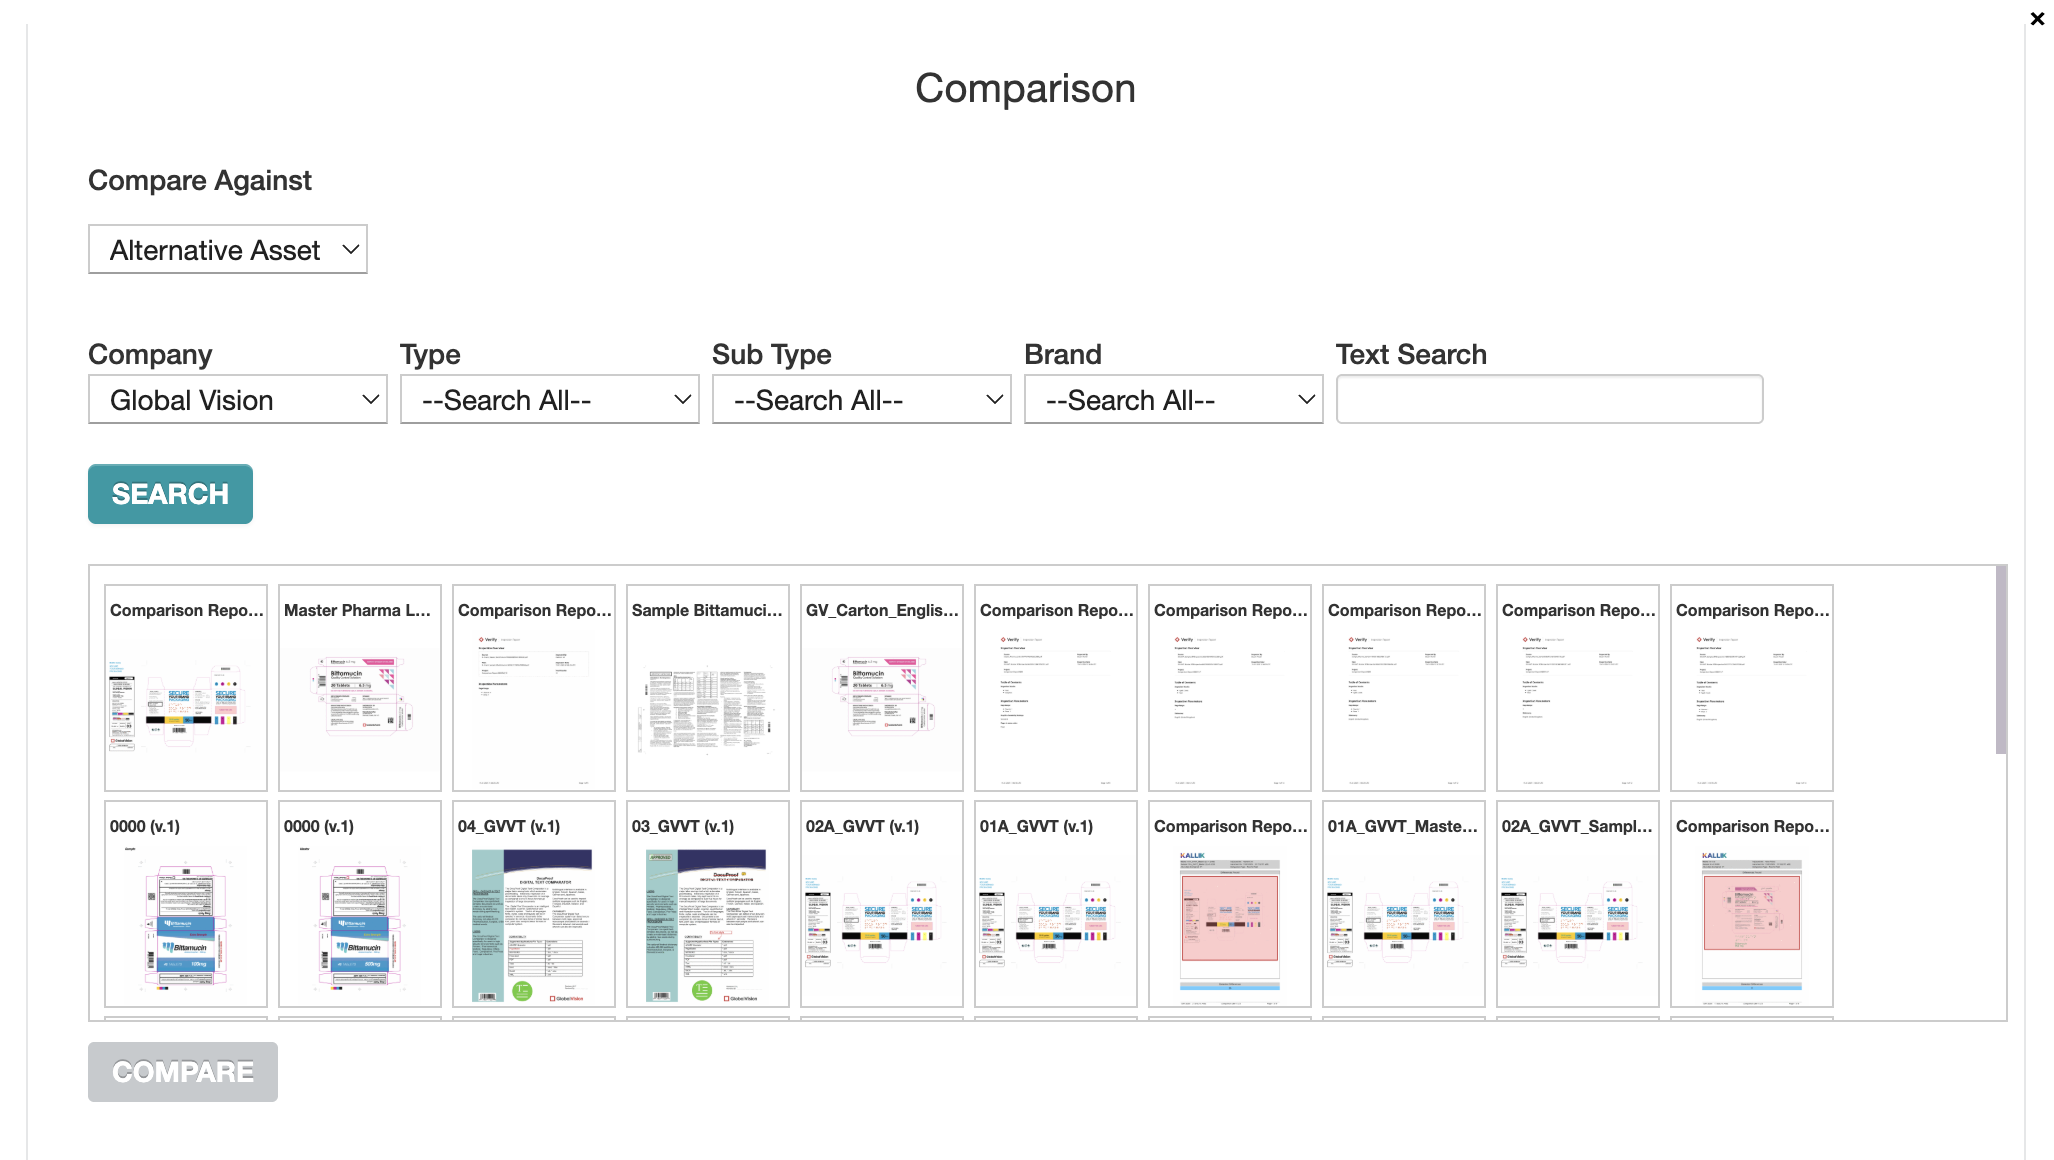
Choose your desired artwork and click Compare.
A new tab will open showing the two artworks you wish to compare. Click Compare to initiate a comparison in Verify.
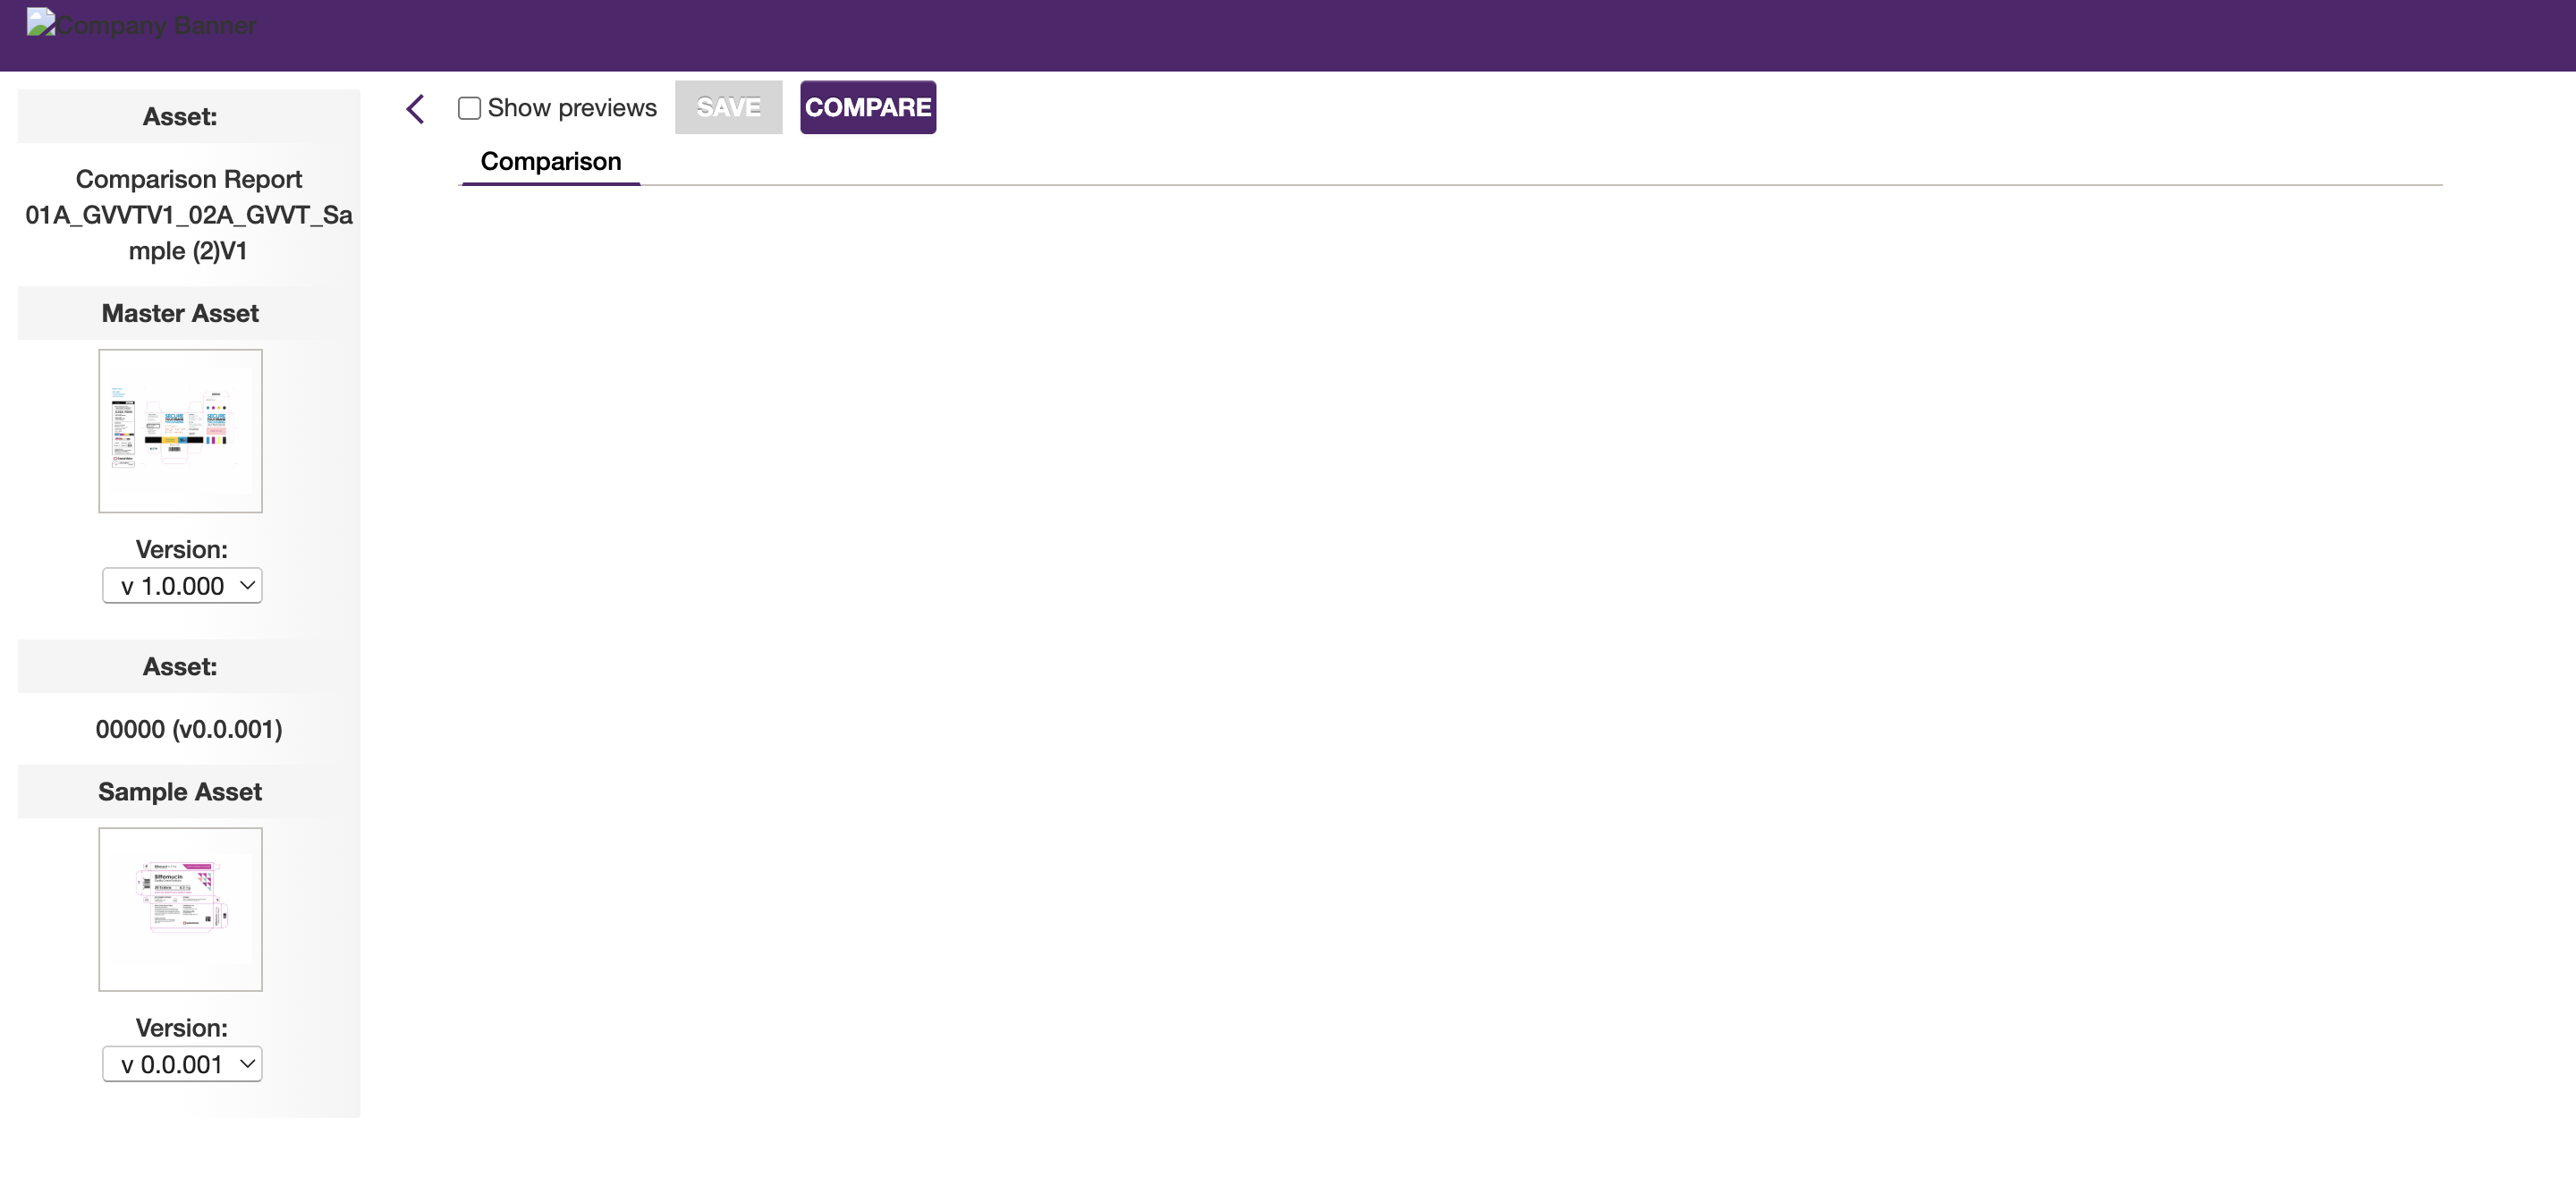
Note: If you have not previously logged into Verify, you will be prompted to log into your account.
Your two files are now ready to be inspected in Verify.
Below is a high-level overview of the inspection process. For more detailed instructions, please refer to the Verify User Guide which is also linked under each stage below:
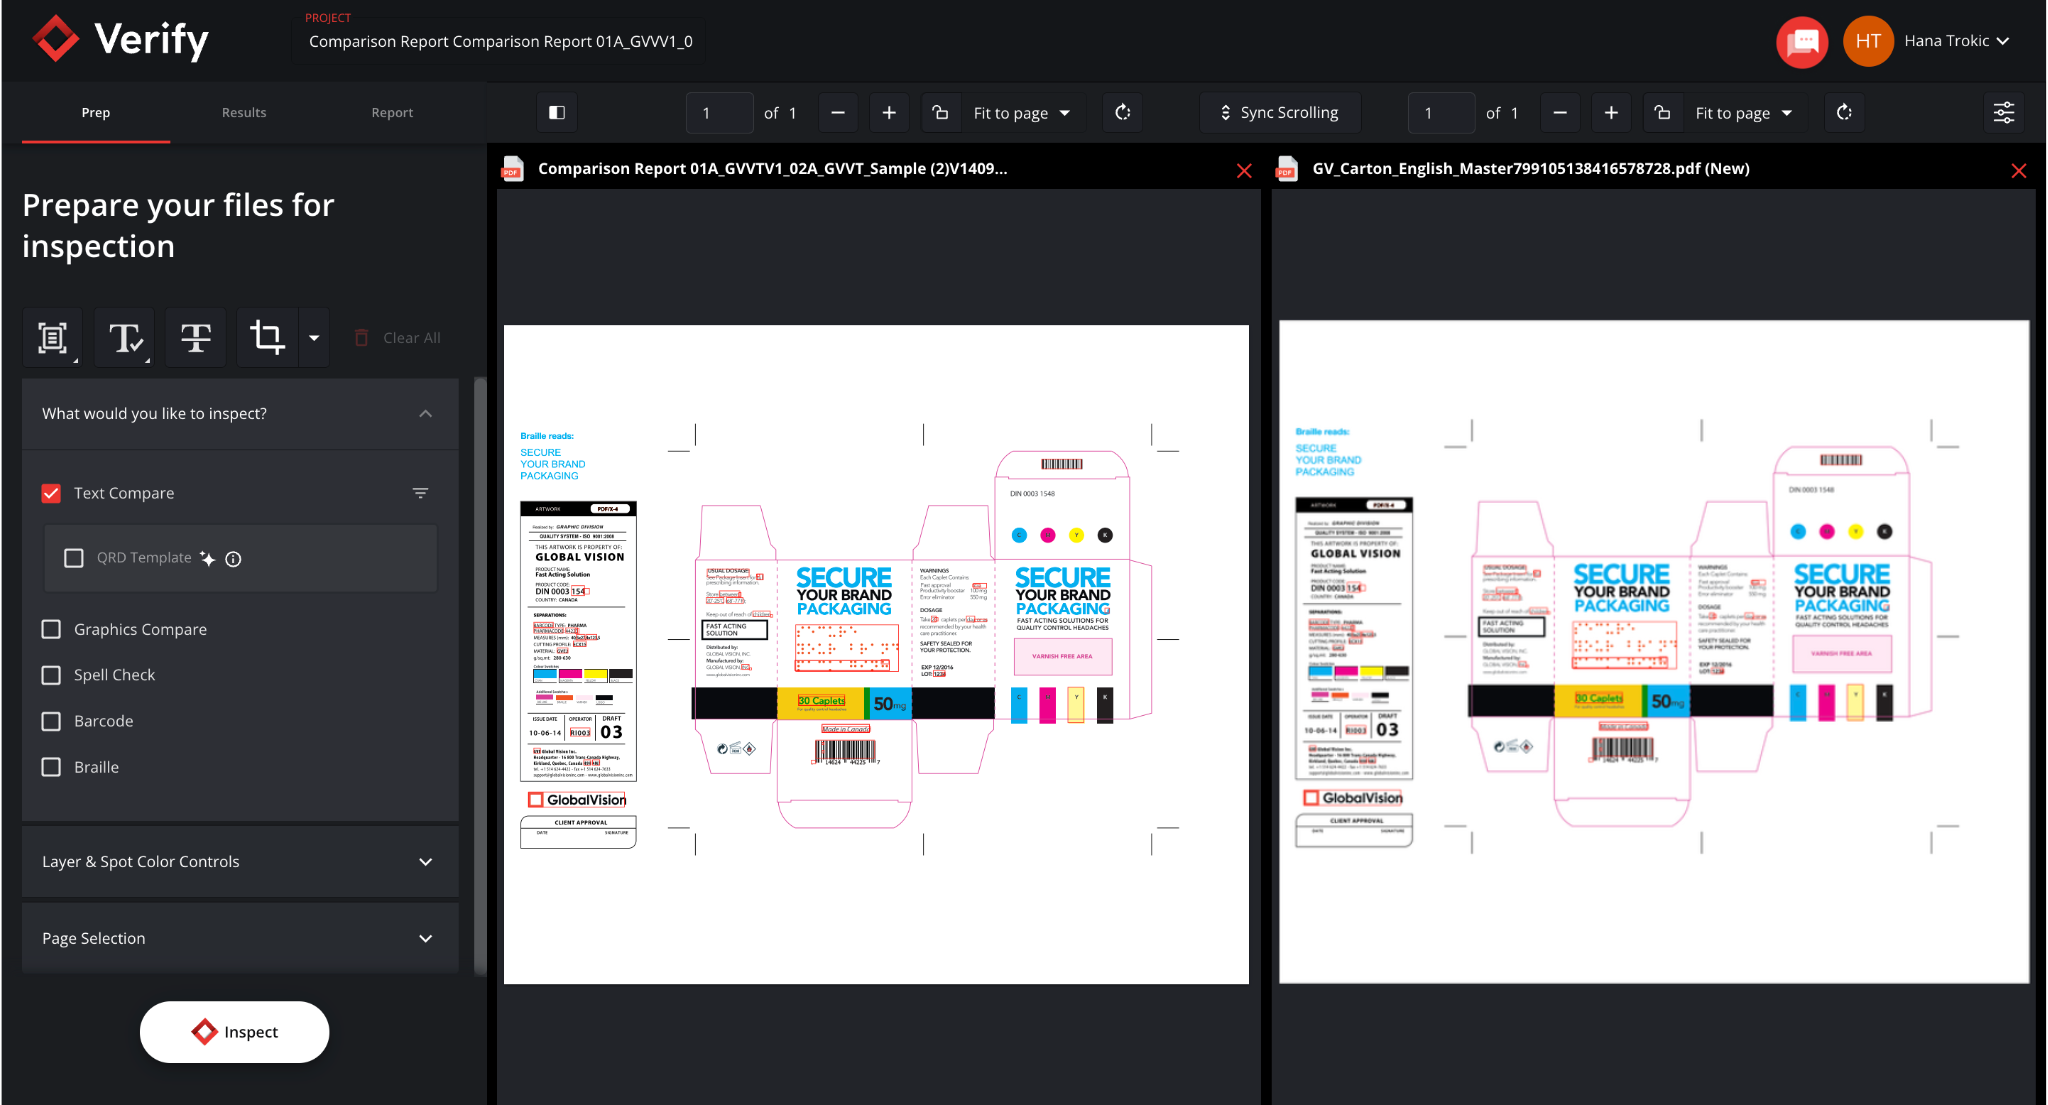
Prepping Your Files
To prep your files for inspection:
Select your required inspections
Refine Layer & Spot Color Controls if needed
Specify the pages to be inspected under Pages Selection if needed
Click on the Inspect button in the bottom left.

For more details on the Prep Stage, refer to Step 2: Preparing Files, in the User Guide.
Examining the Results
Once the inspection is complete, the results will be shown and ready to be reviewed. Each results card will contain key information about all inspection results and/or differences detected.

Generating and Reviewing the Report
Once you have finished your comparison in Verify, you will be able to create a report that will be imported into Kallik Veraciti.
To do so, simply click on the Report tab in Verify.

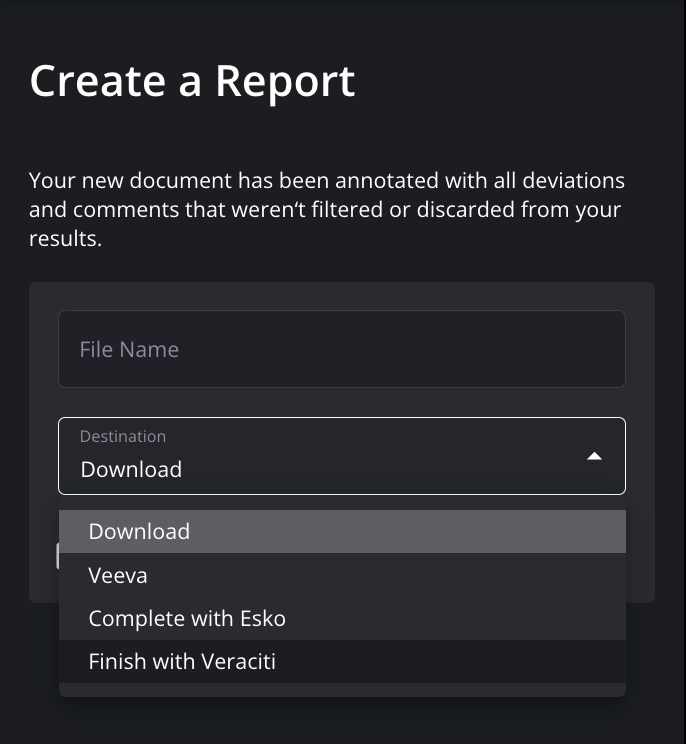
Generate a report of the inspection(s) performed and provide the report with a Name. You can then select Finish with Veraciti from the Destination dropdown menu.
Finally, click on Complete Report at the bottom left of the screen, and the inspection report will be imported to Kallik Veraciti, through the integration with Verify.
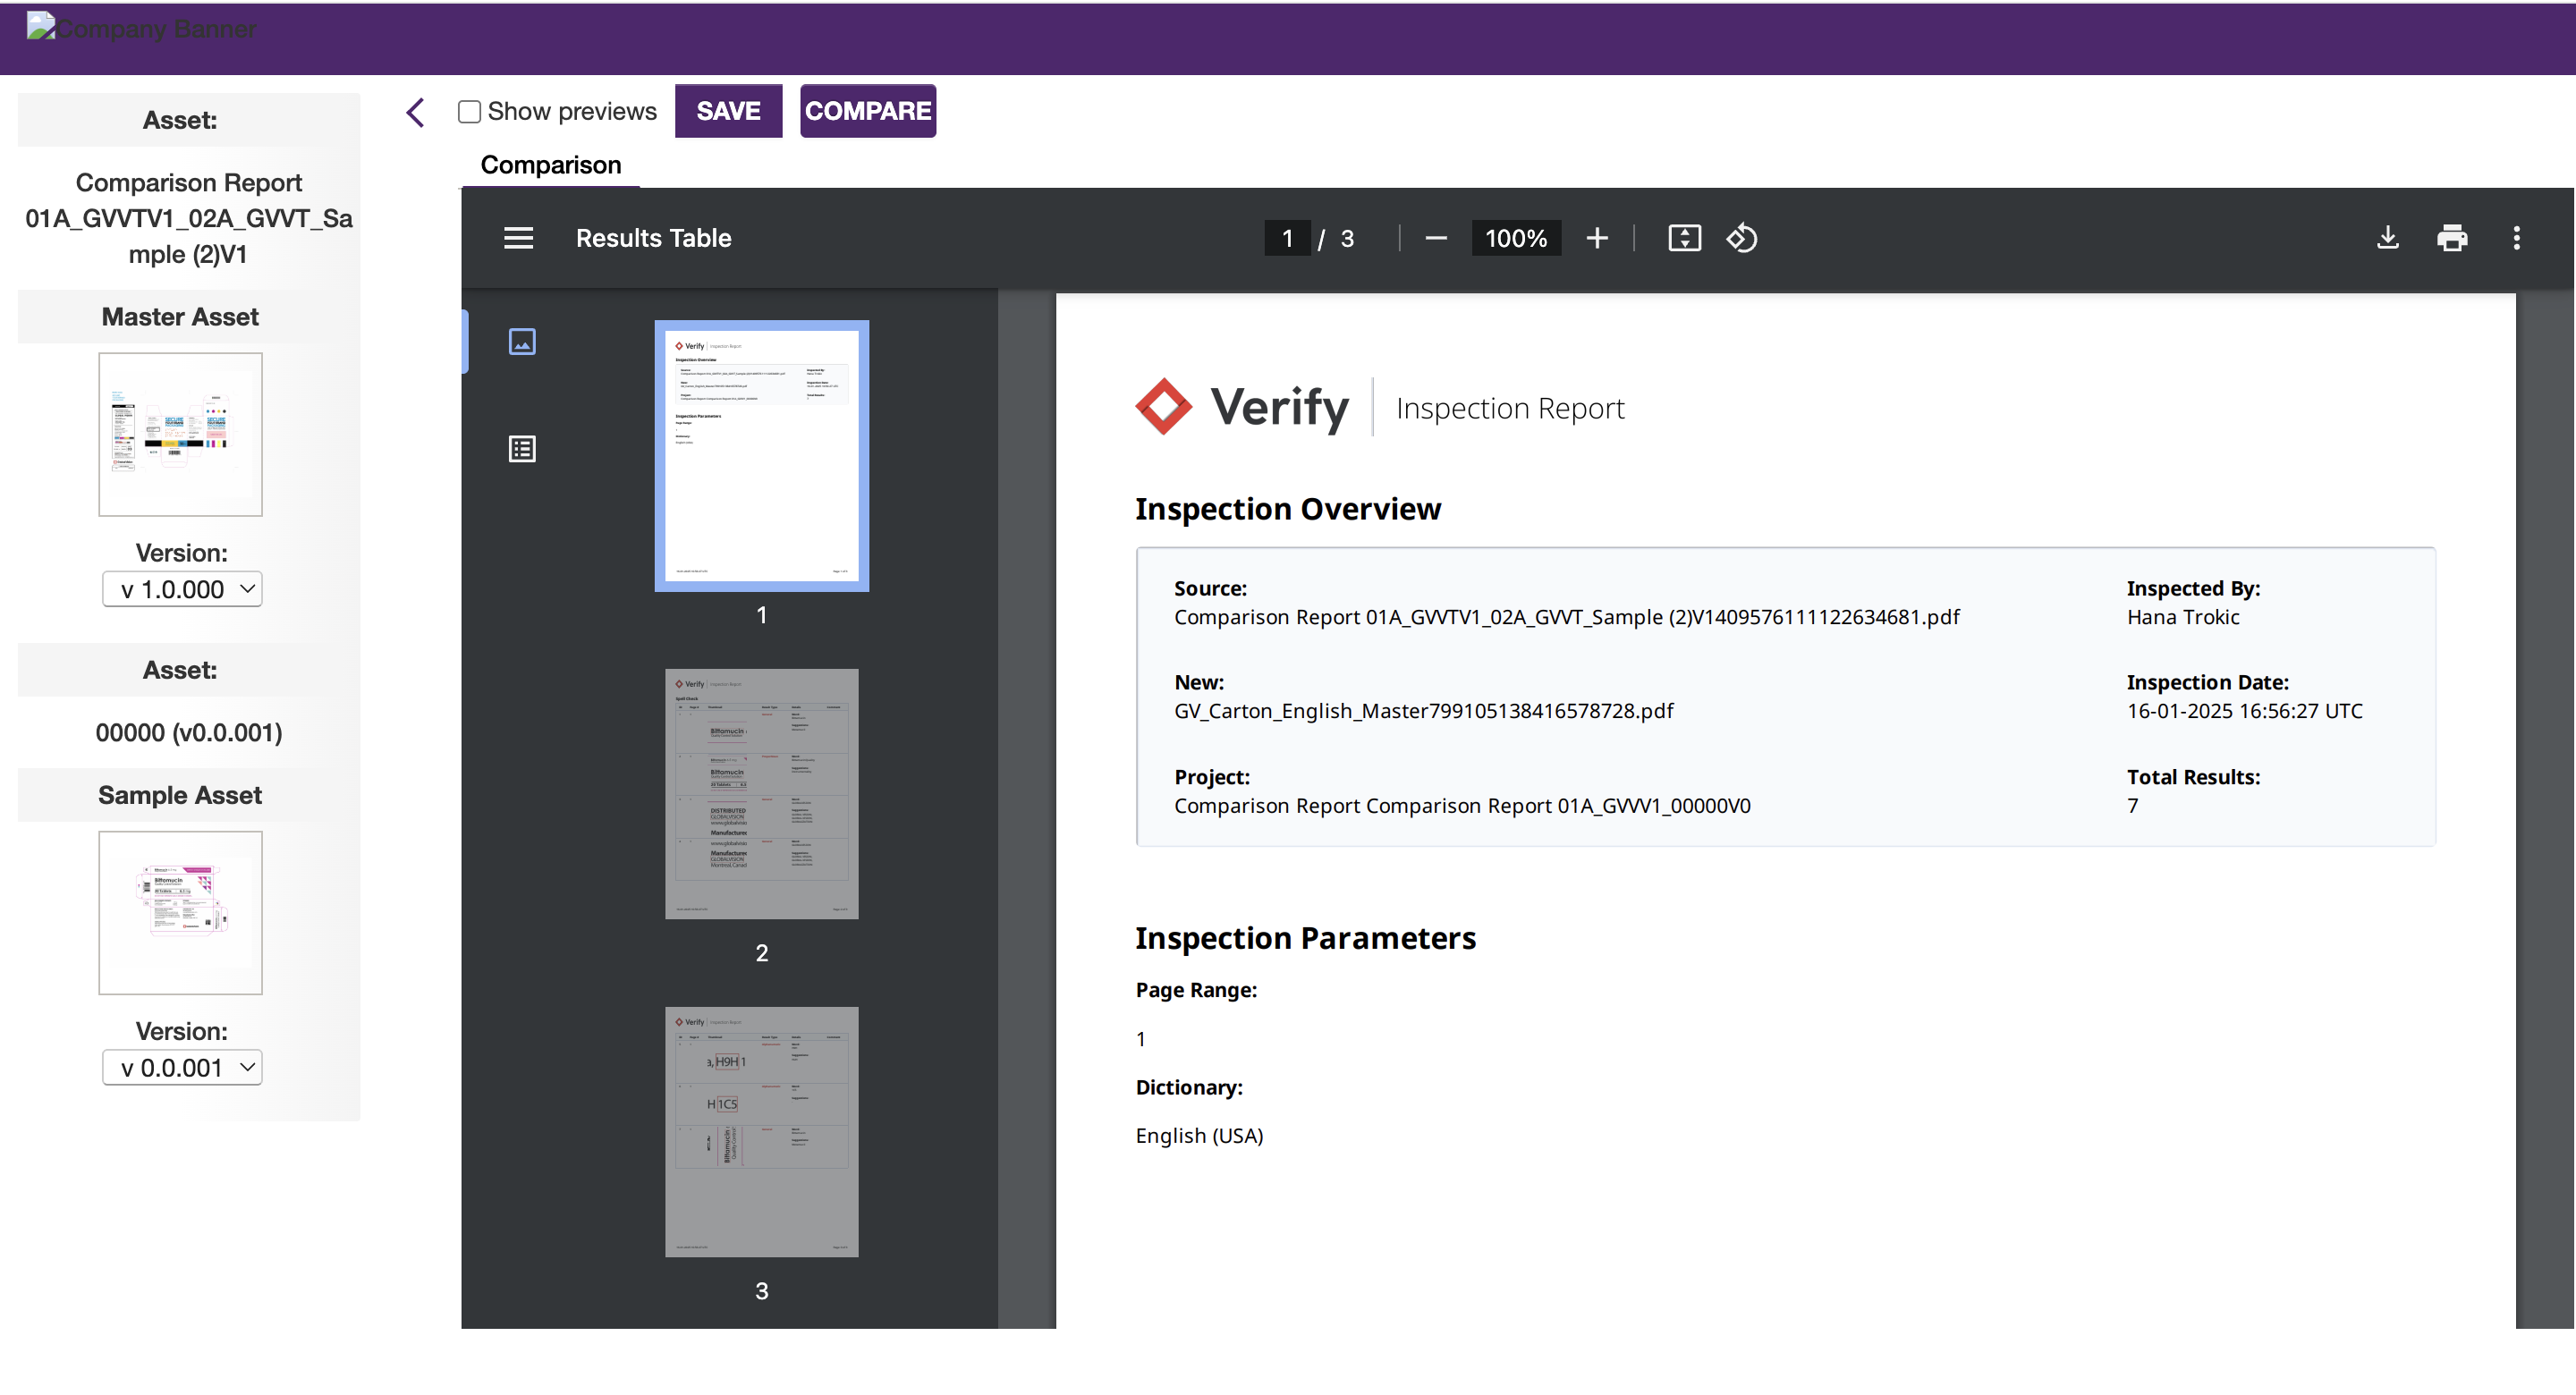
You will then be brought back in Kallik Veraciti where you can save your report.
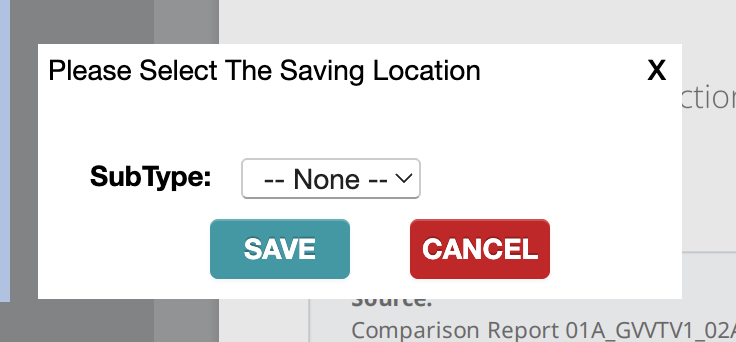
To save your report click Save. Choose the SubType --None-- and click Save once more.

Reviewing the Inspection Report within Kallik Veraciti
To retrieve and review your report in Kallik Veraciti, go to the asset manager by clicking Content then Explore Assets.
In the left-hand navigation bar, click Comparison Reports and --None--.
Click Search to find your saved reports.

Initiate Comparison with Uploaded Artwork
To initiate a comparison in Kallik Veraciti with previously uploaded artwork, and to compare different versions of the same document, go to the asset manager by clicking on Content in the top navigation bar.

Click on Explore Assets in the content dropdown.
Search for the artwork you wish to inspect by clicking on Artwork in the left-hand side navigation bar. Then click on Search.
Click on the artwork you wish and then click on the vertical ellipsis icon.

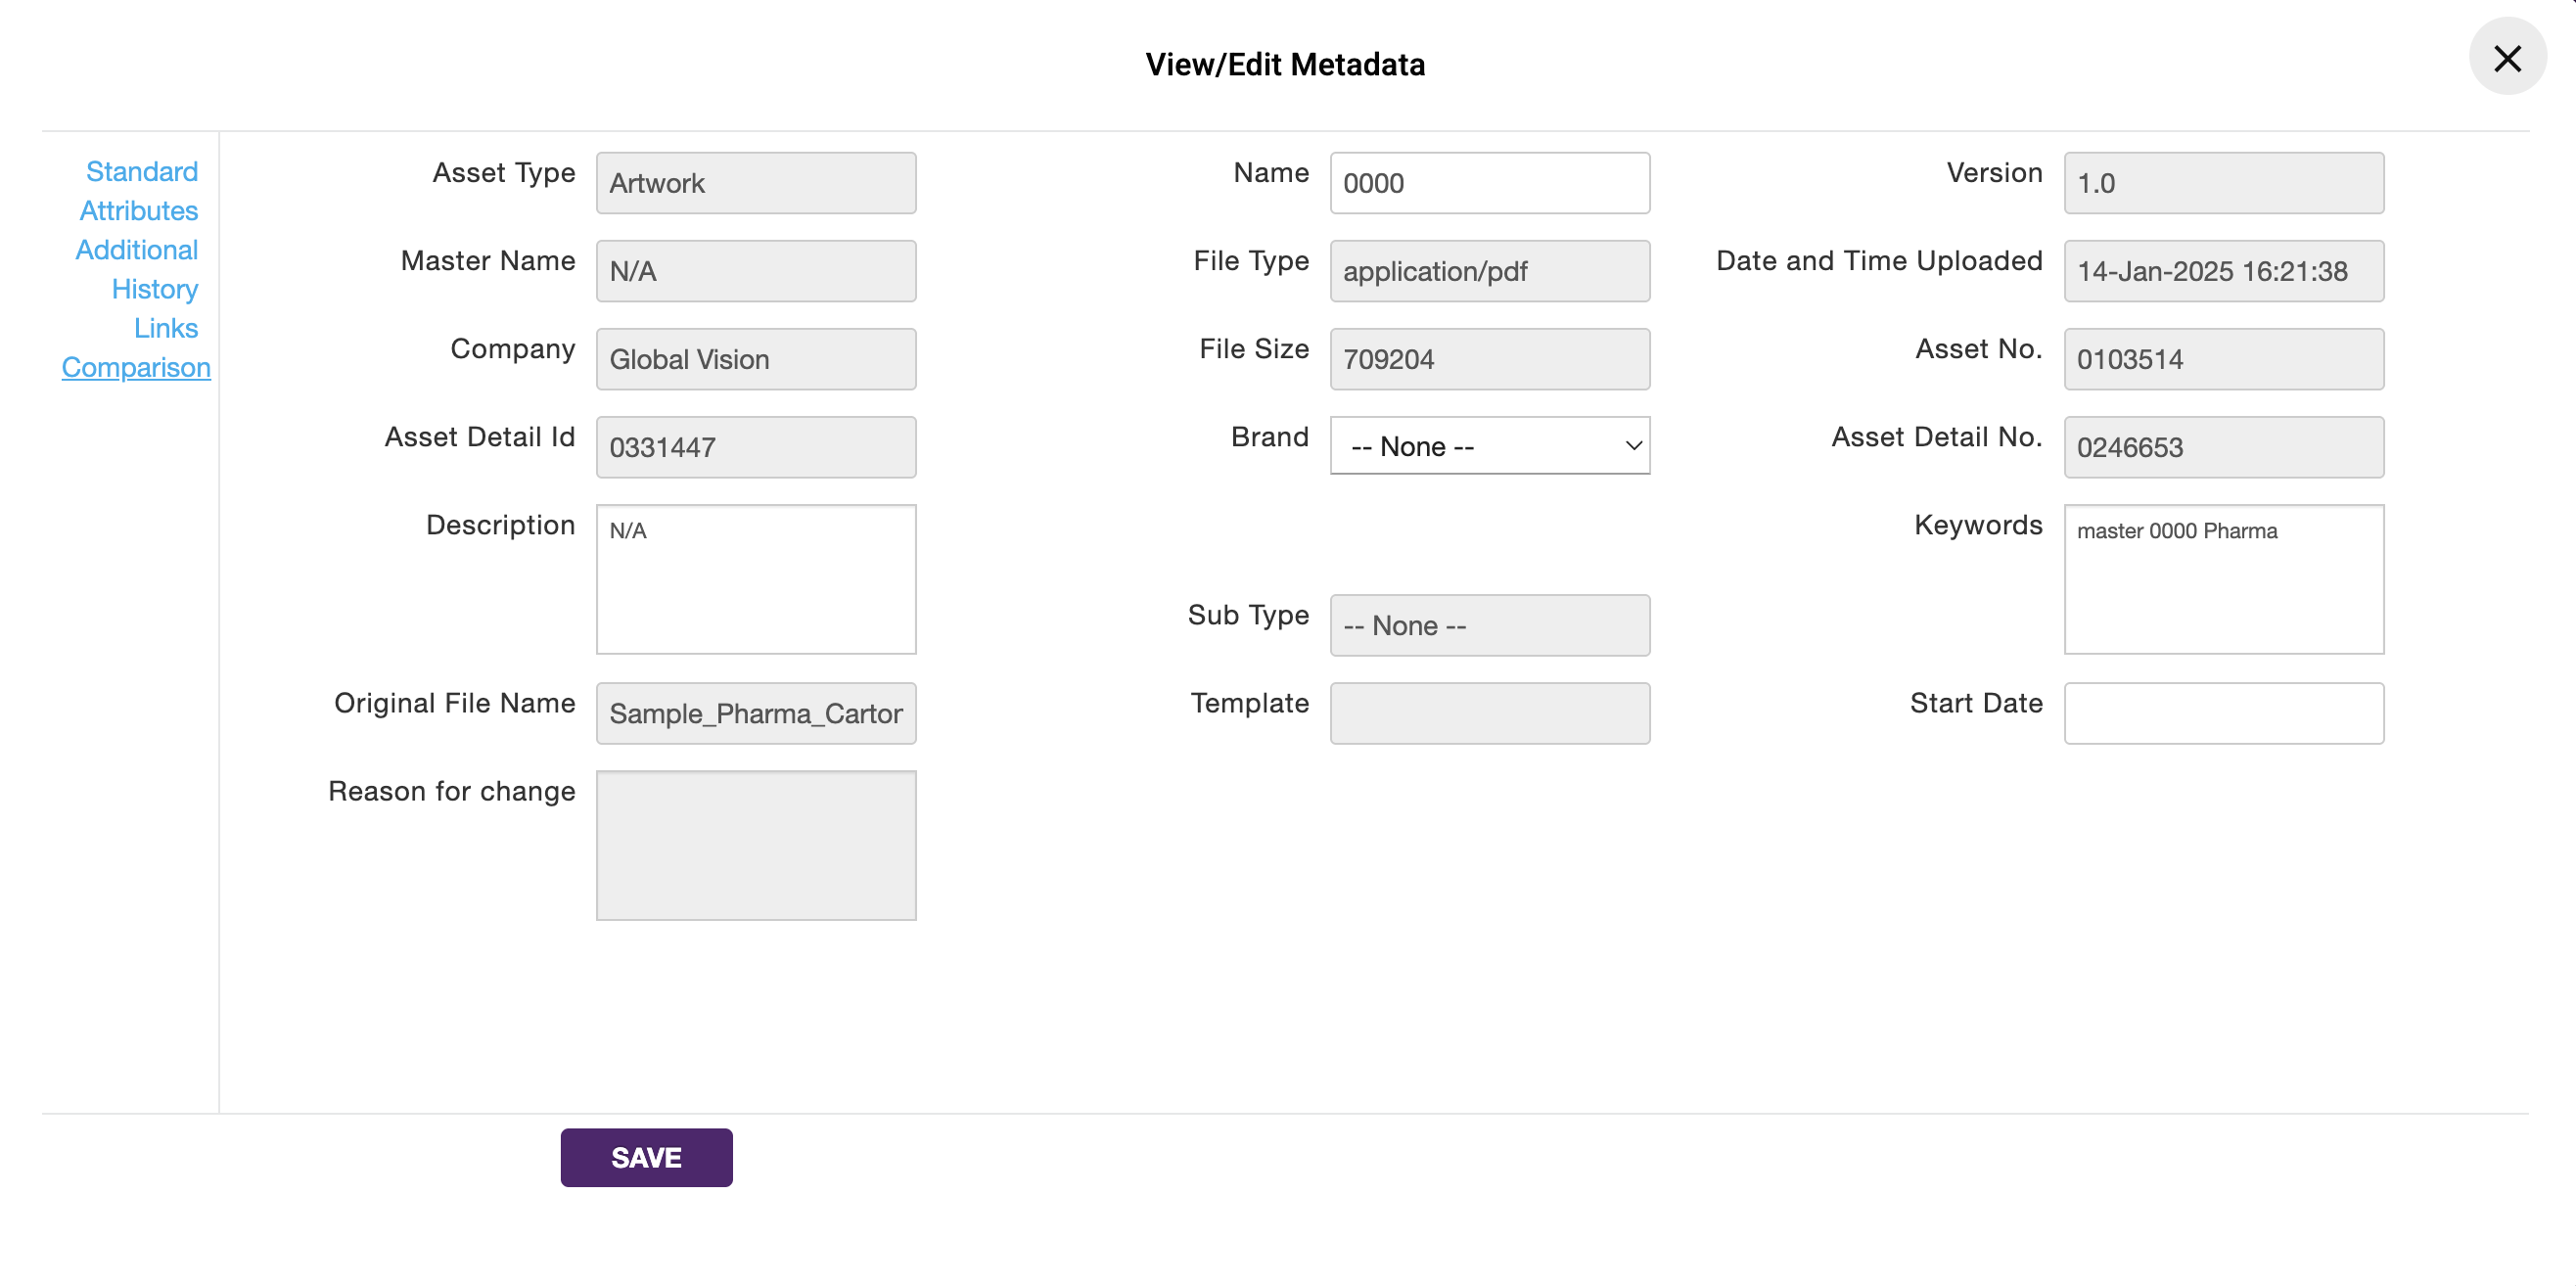
Click on View/Edit Metadata.
A new window will pop-up. On the left-hand side, click on Comparison
Choose which asset you wish to compare.
Click Search then Compare.
You will then be able to choose the version(s) of the document you which to compare and initiate a comparison In Verify.