Verify - Okta SSO Configuration Guide
This guide describes the overview of the typical steps required to configure Single Sign On (SSO) using Okta.
It is possible that such setups require company-specific steps that may not be covered by this description.
Please note that in order to complete this process, the person that is setting up the connection on the customer’s side needs to:
be a Tenant Administrator in Verify,
have access to their company’s Okta dashboard.
Please follow these steps for a base setup:
Please log in to Verify.
Navigate to My Account
To access My Account, click your account name at the top-right corner of the screen, at any point while logged into Verify.
Go to the Single Sign-On details, which can be set under the Security tab within My Team.
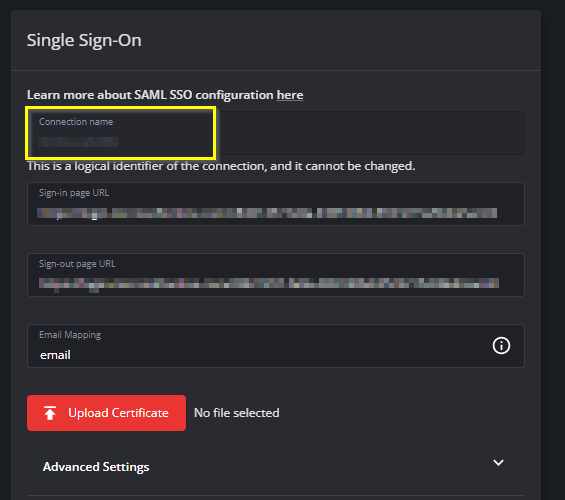
Set the Connection Name in the Verify App:
Login to Okta, which is set up on the customer’s side.
Navigate to Applications →
Applications.Select
Create App Integration.
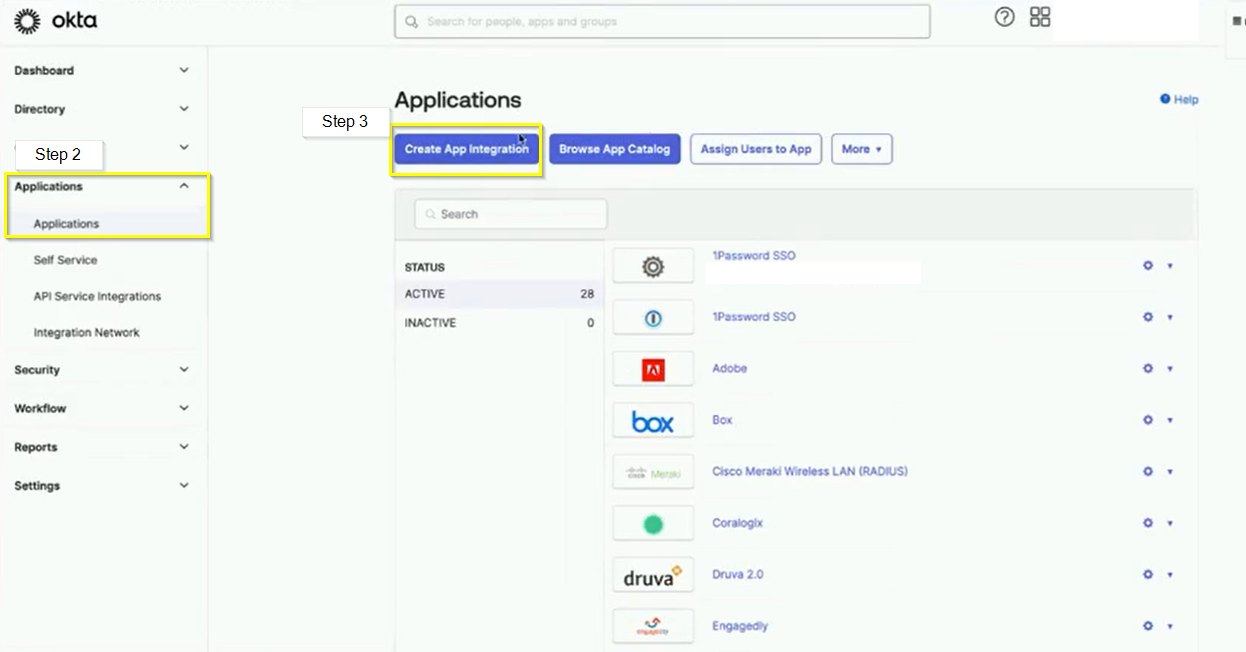
Please note that Verify does not have a built-in App in the Okta catalog.
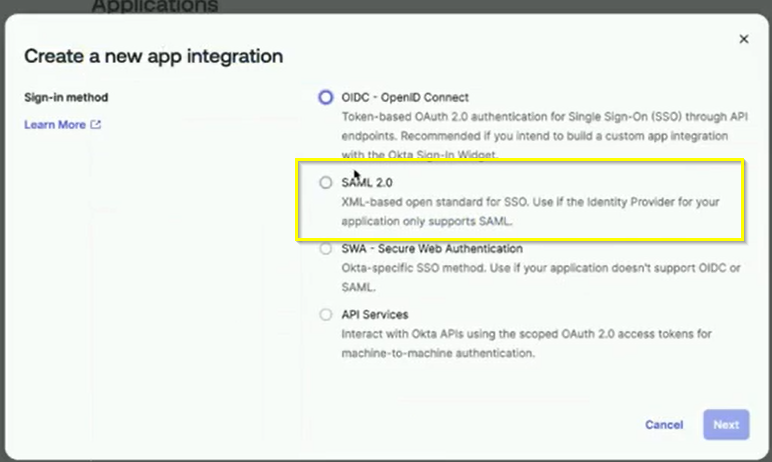
Select SAML 2.0.
Modify
App Settingsas needed.
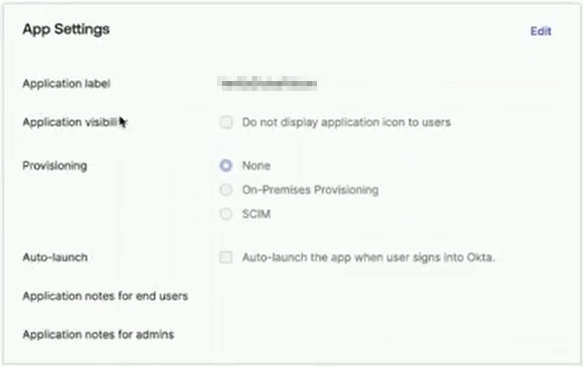
Typical setup is similar to the one illustrated above.
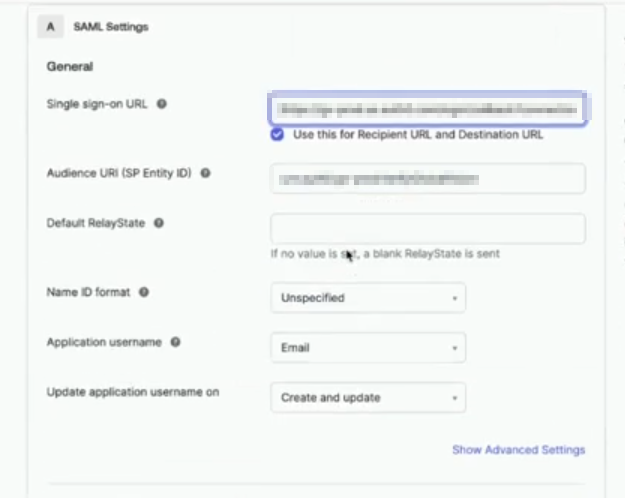
Edit SAML Settings to include the following from the Verify App:
Reply URL - which is called Single Sign-on URL in Okta,
Entity ID - which is called Audience URL in Okta,
Name ID format.
Navigate to
Attribute Statements.Add the following items:
Name should be
email,Name format should be
Unspecified,Value should indicate the email address format.
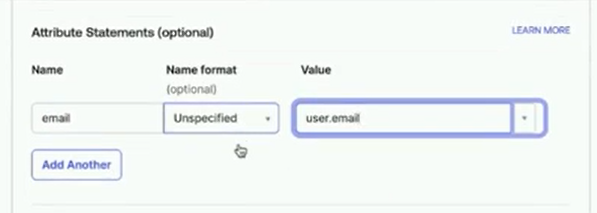
This value can be set differently case by case, some indicating specific technical address, some others opting for a general user.email value, as visible above.
Skip the Feedback step and Click
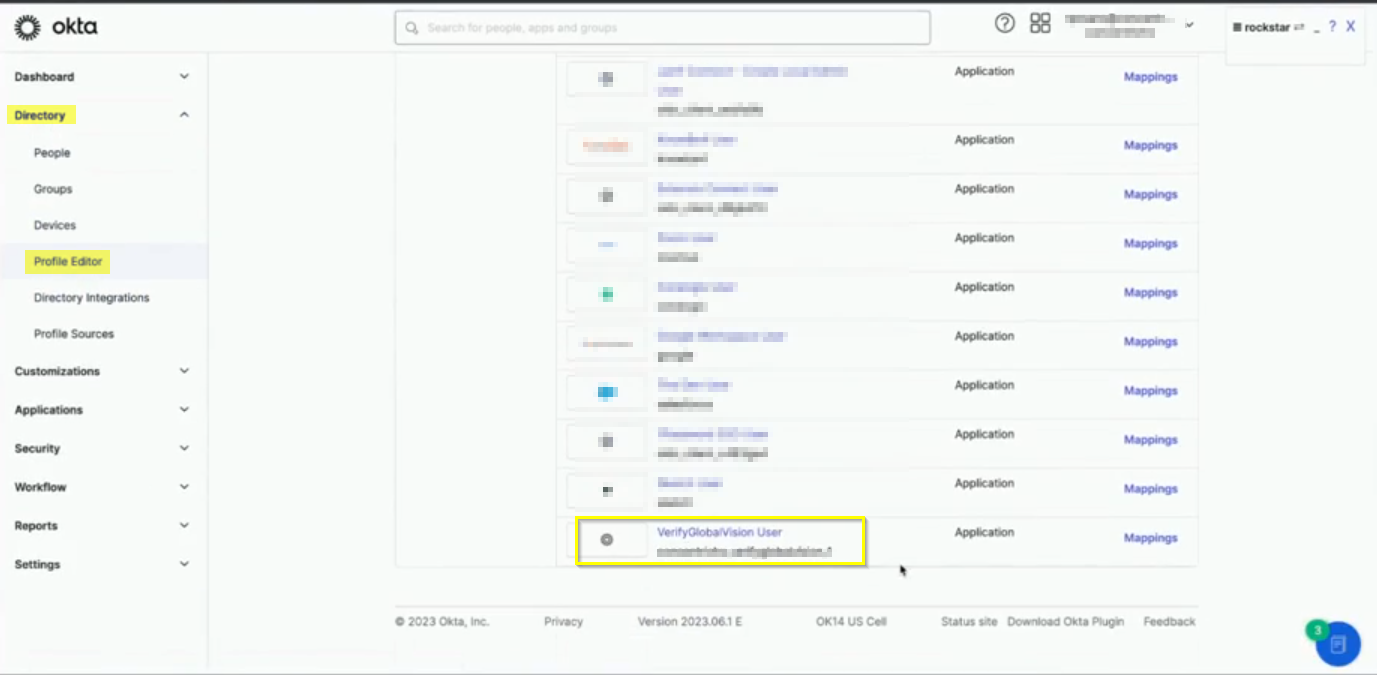
Finish.Navigate to Directory →
Profile Editor.Find the newly created
Verifyapp in the application list.
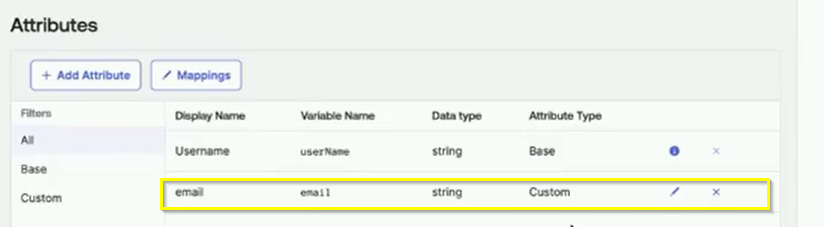
Click
Add Attribute.
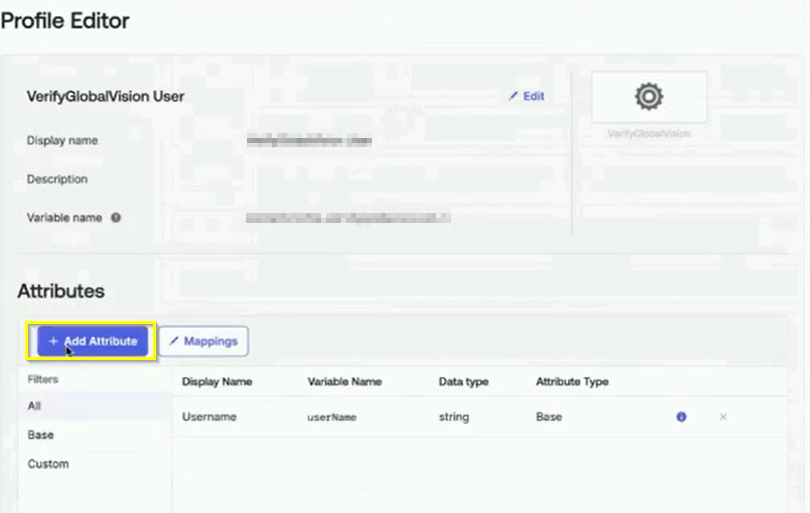
Enter the following:
Display Name should be set to
email,Variable Name should be set to
email,Data Type should be set to
String,
Click
Save.
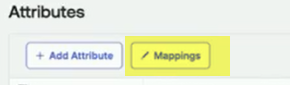
Select
Mappings.
Choose
Okta User to InsertAppNameand then click on the dropdown menu and selectemail.
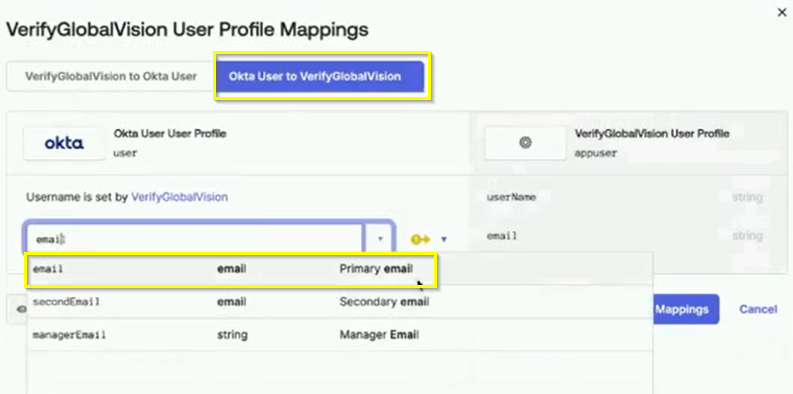
Click
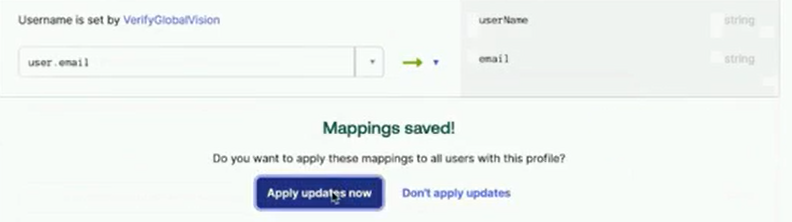
Save Mappings.Click
Apply updated now.Click
Mappings.Ensure the mapping contains a green arrow icon → it indicates
Apply mapping on user create and update.

Please make sure that the mapping value is the same as the attribute value in step 9C.
Click on
Saveand then onApply updates now.
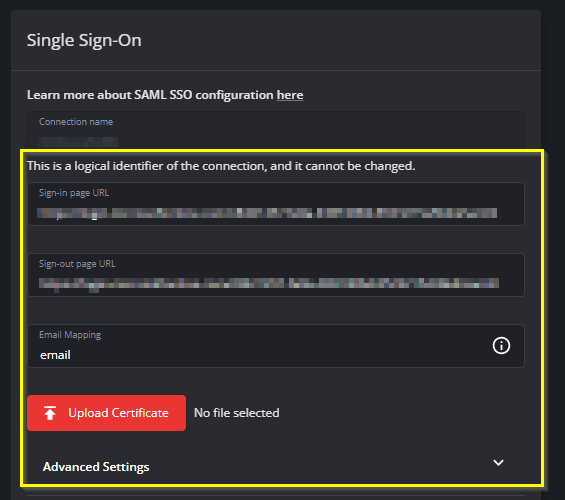
Return to Verify App and fill in the following items:
Sign In Page
Sign Out Page
Email Mapping
Certificate
Advanced Settings (if needed)
This description is based on SSO configuration examples, parameters may differ by company, sometimes requiring additional steps and special settings to be applied for proper operation. Please reach out to us through our support channels for any enquiries about the process.