Step 4: Generating Reports and Sharing Inspections
Once the results have been viewed, following the instructions from Step 3: Viewing the Results, you can click on the Report button, to generate a report.
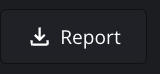
The Report button is located on the right-hand side of the toolbar. It appears after the Prep Stage, only during the Results Stage.
Reminder: The inspection process goes through three stages:
1. Prep
2. Results
3. Report
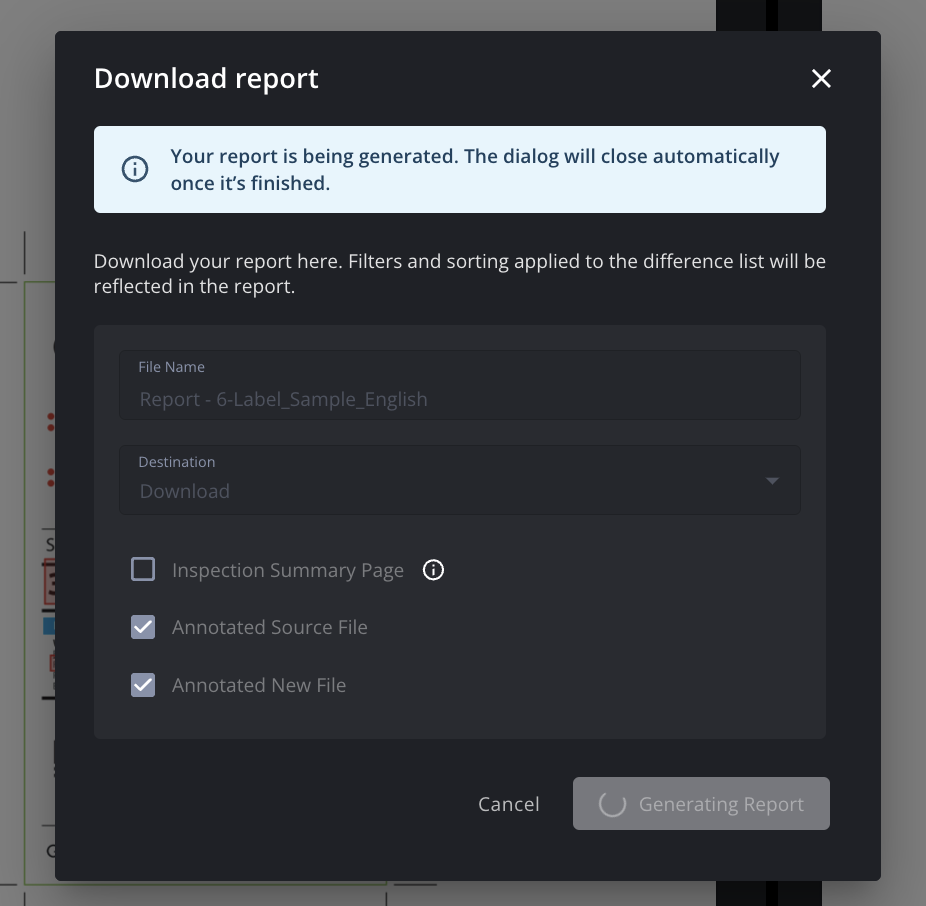
After inspecting your file/s and viewing the results, clicking the report button will prompt the following screen to pop-up.
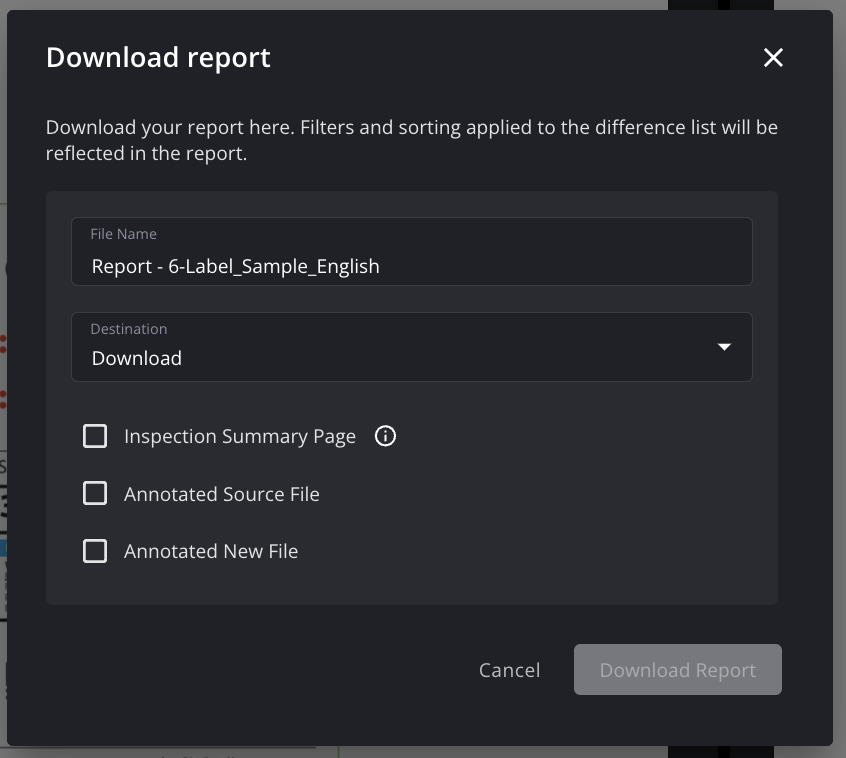
File Name
You can assign a File Name to the Inspection Report and include the necessary information you see fit.
Click on the text field File Name and enter the name according to your preference or standard naming convention. The name is saved as soon as you’re done typing and will be used as the name of the downloaded PDF.
Once a name is provided, choose a destination by clicking the ![]() button.
button.
Note: Unless Verify is integrated with a Partner Platform, there will be one option in the Destination dropdown which is Download.
Download Report
You will have the choice of three difference reports.
Inspection Summary Page
Annotated Source File
Annotated New File
Inspection Summary Page
For this report type, you can chose to download only the Inspection Summary Page or to Include Detailed Thumbnail Report.
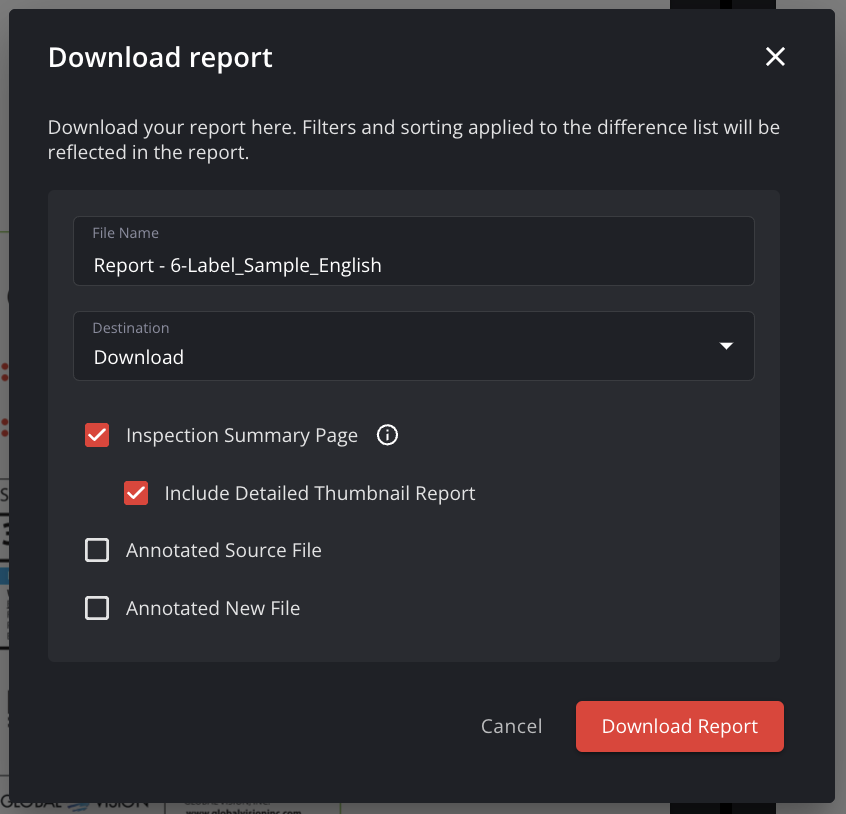
The Summary Report will include relevant details of the inspected files:
Name of the Source file,
Name of the New file,
Page numbers for both files,
Details about the user who performed the inspection.
The Summary Report with thumbnails will include:
The page number, where the difference is available,
Thumbnails of the difference,
Result type,
Details of the difference,
Review notes (if applicable)
Annotated Source File/Annotated New File
These reports will show your files with annotations of the differences found.
After you’ve chosen your desired file/s to download, click Download Report.
Your report will automatically start downloading. You can then retrieve your PDF report.
Sharing Inspections
Inspections can be shared by using the Share option next to the report in the top right corner.
The share icon turns red when an inspection is actively shared.

Sharing Options
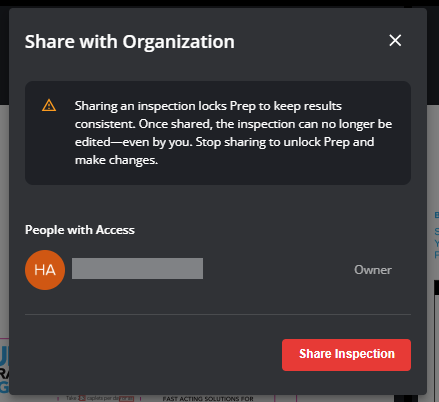
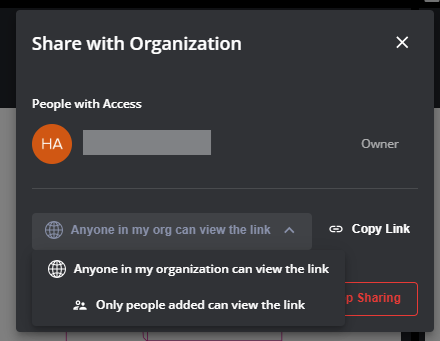
By default, sharing makes the inspection accessible to your entire organization.
You can also share with specific collaborators by choosing ‘Only people added can view the link’
To share with specific colleagues, they must have an active Verify license.
Once an inspection is shared, the prep stage is locked to keep results consistent.
To make changes, the inspection owner can stop sharing and then update settings.
Inspections Shared With You
Shared inspections appear in the Recent Sessions panel on the home screen.
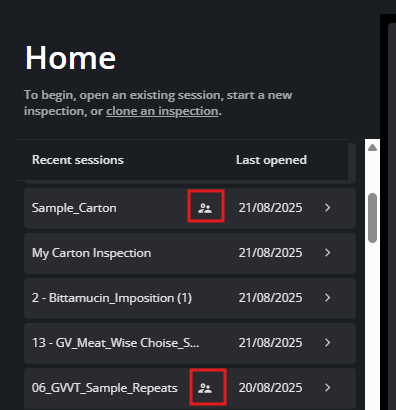
A shared icon marks inspections that have been shared with you.
You can add comments, statuses, and markups to shared inspections.
Both the Report and Audit Trail will display the inspection owner and all named collaborators.
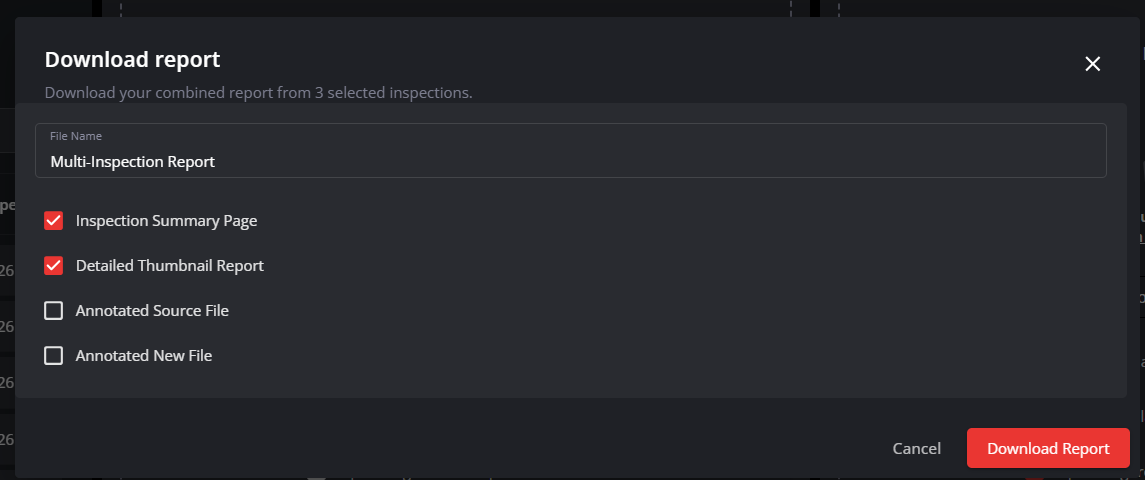
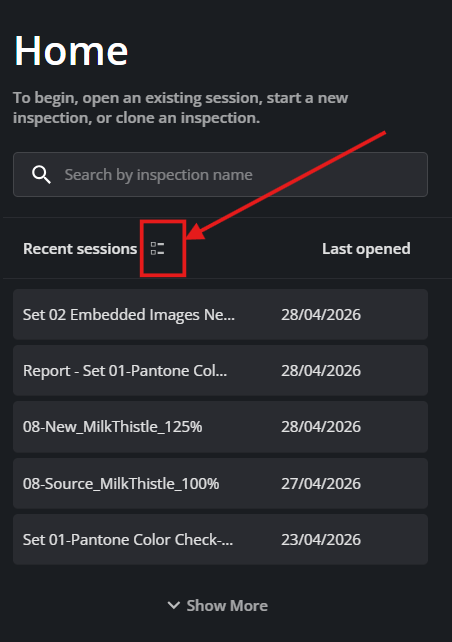
Merge Multiple Inspection
You can merge multiple inspection into a single report using the merge Generate Multi-Inspection Option.
From the Verify homepage, click on the ‘Generate Multi-Inspection’ option
Select the recent session inspection that you would like to merge.
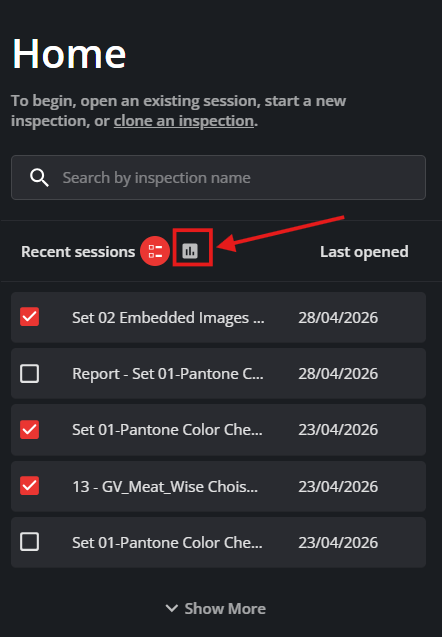
Select the type of report that you would like to generate. Verify will merge the reports of the selected inspections into a single document.