Step 1: Loading Files
Loading Your Files
Verify allows you to run two different types of inspections. They are:
Comparison: Compare two files to find the differences between the two.
Single File Inspections (Proofreader): Perform an inspection of a single file.
Comparison
To begin, in the top panel, click Comparison.

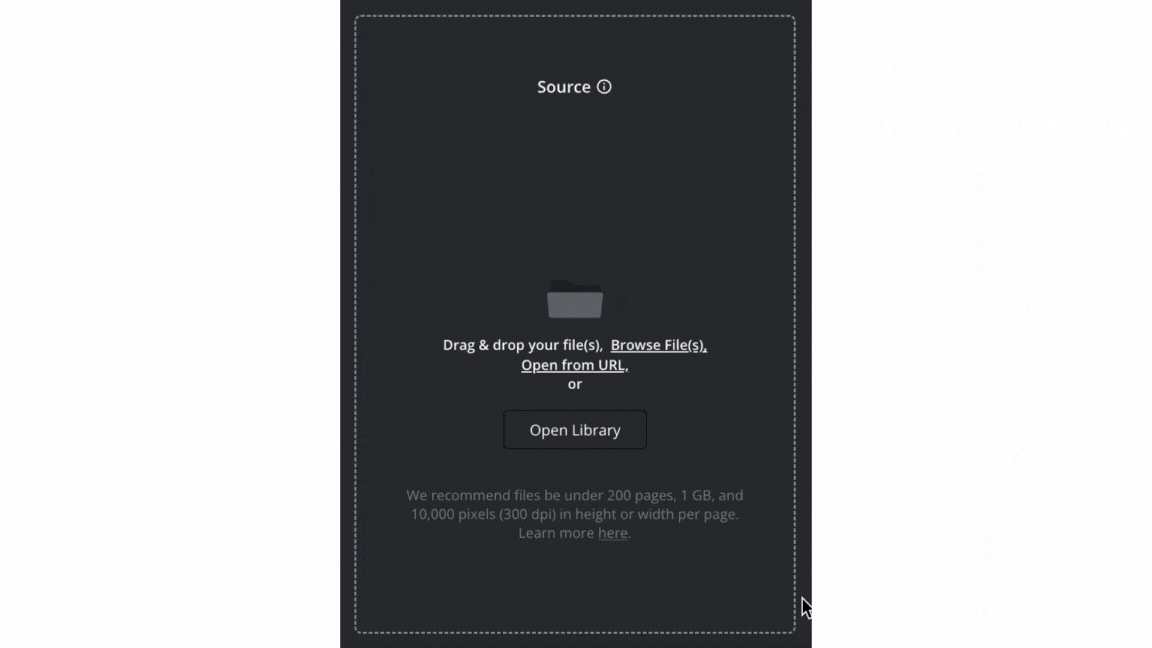
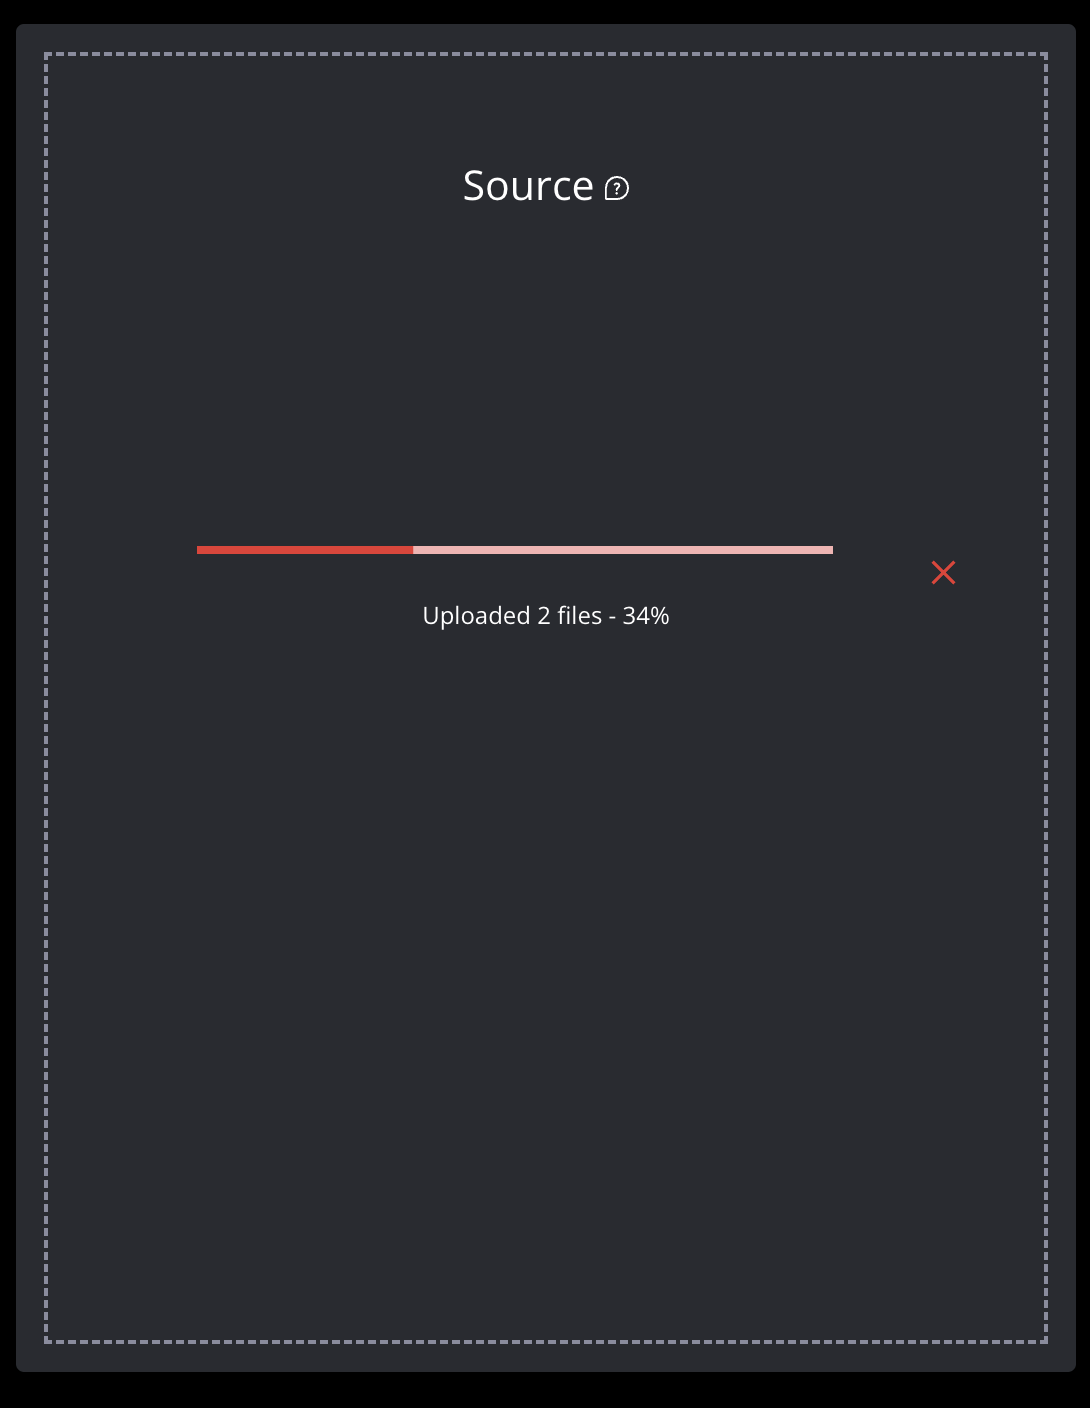
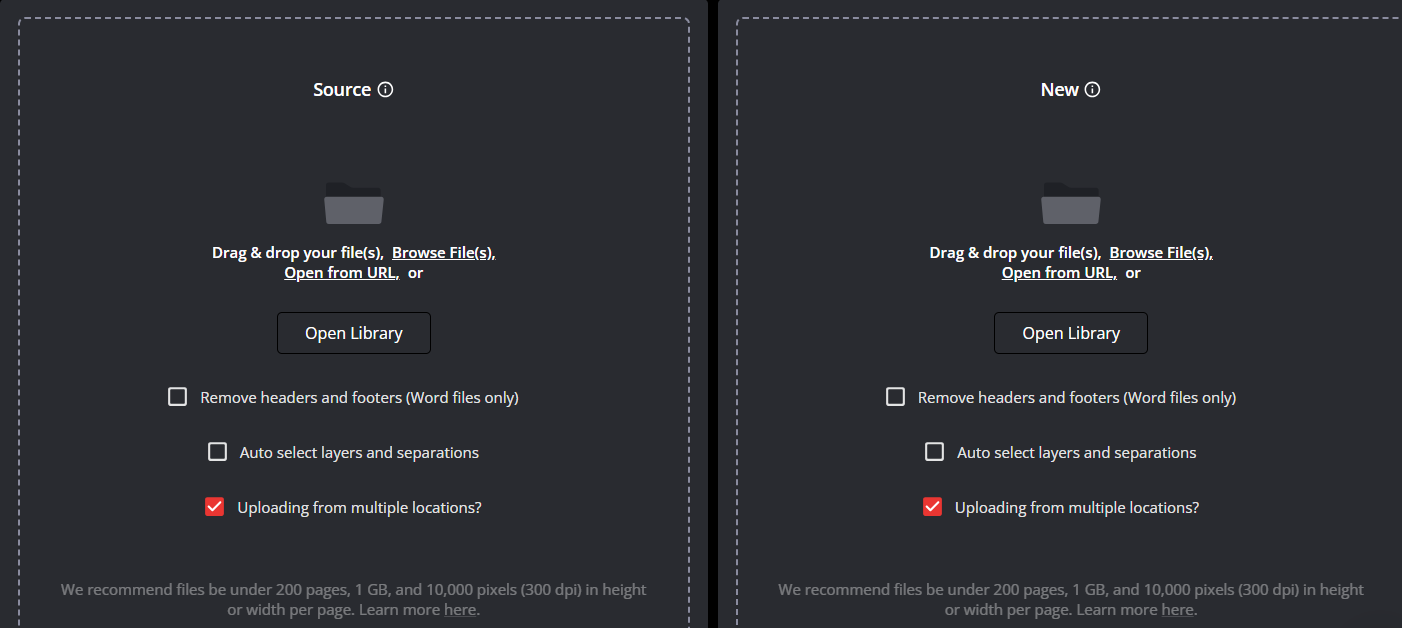
To initiate a Comparison, upload files in both the 1. Source and 2. New panels.
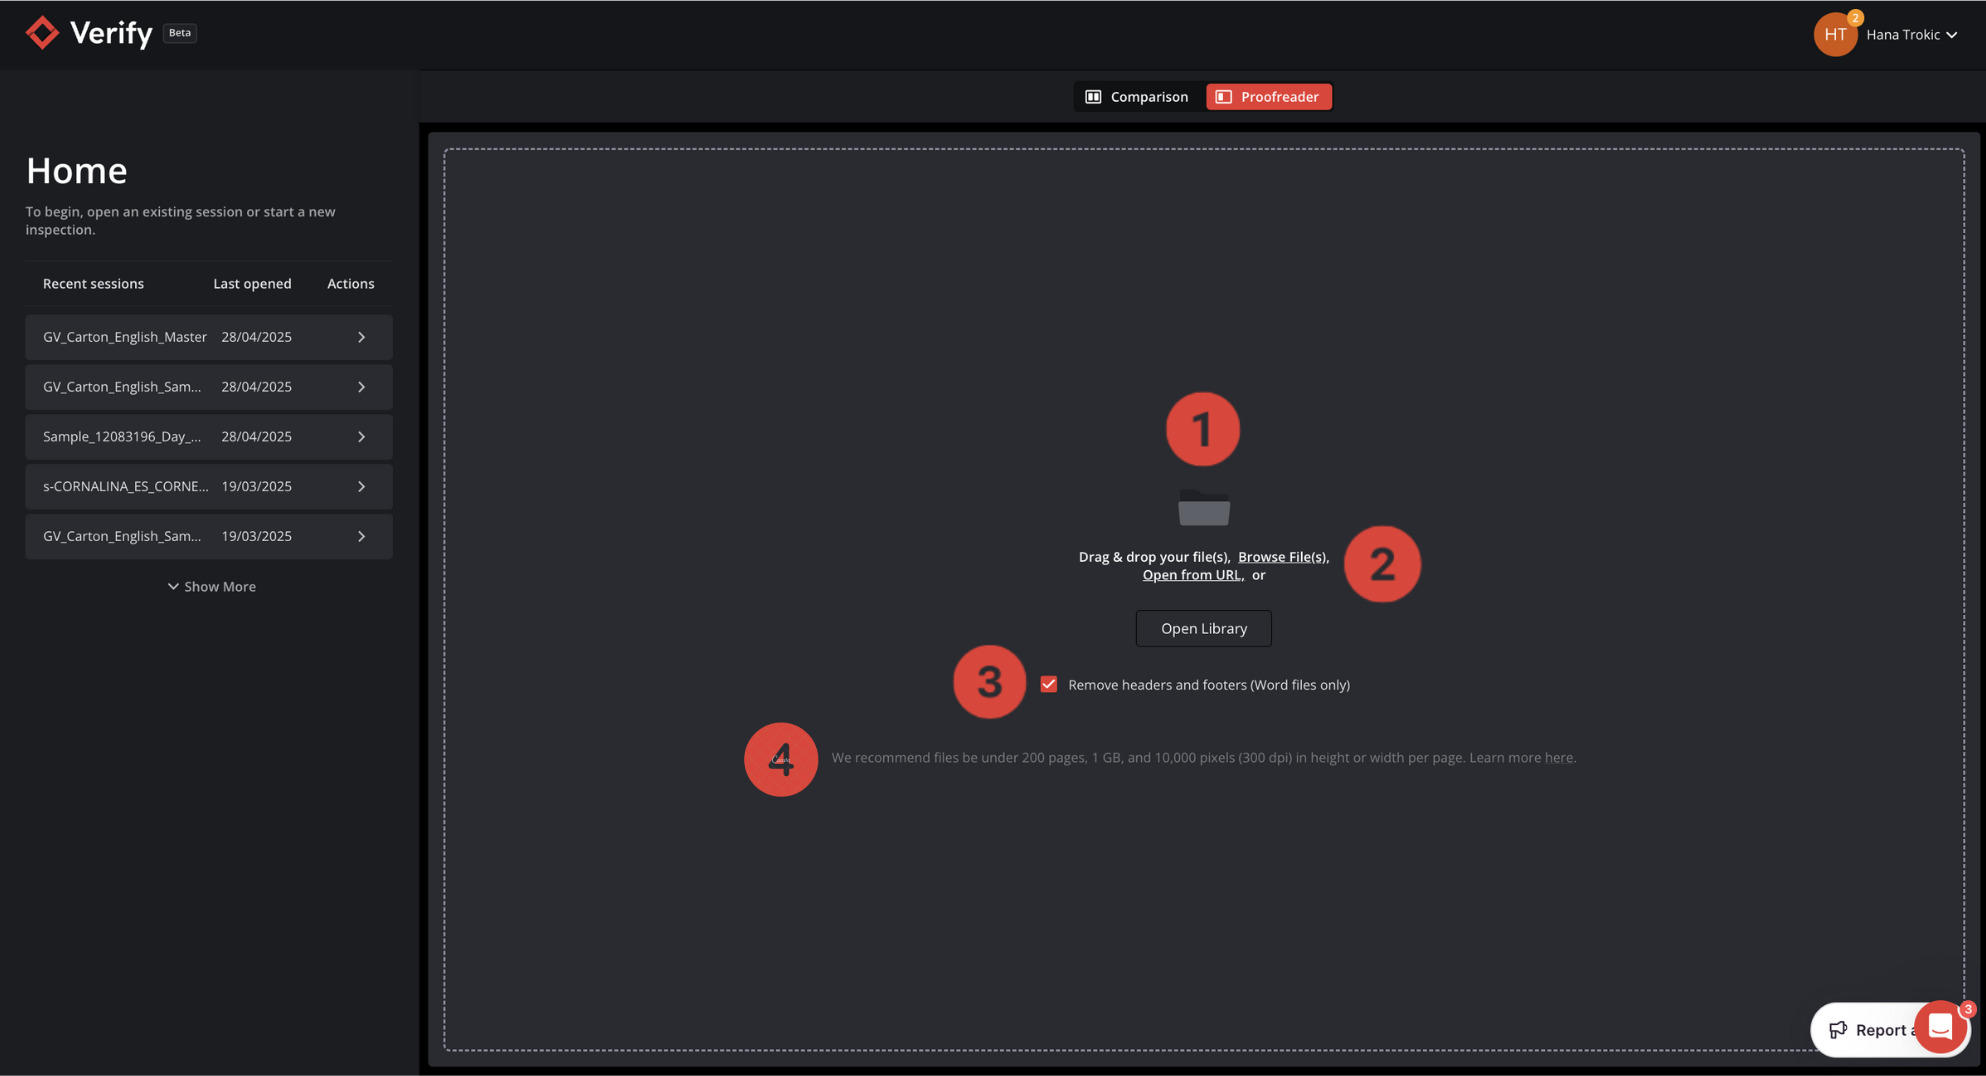
Start a New Session
To start a new session, you must load files using one of the following 3 methods:
3. Drag and Drop
4. Load files from the File Browser
5. Load files from a Library
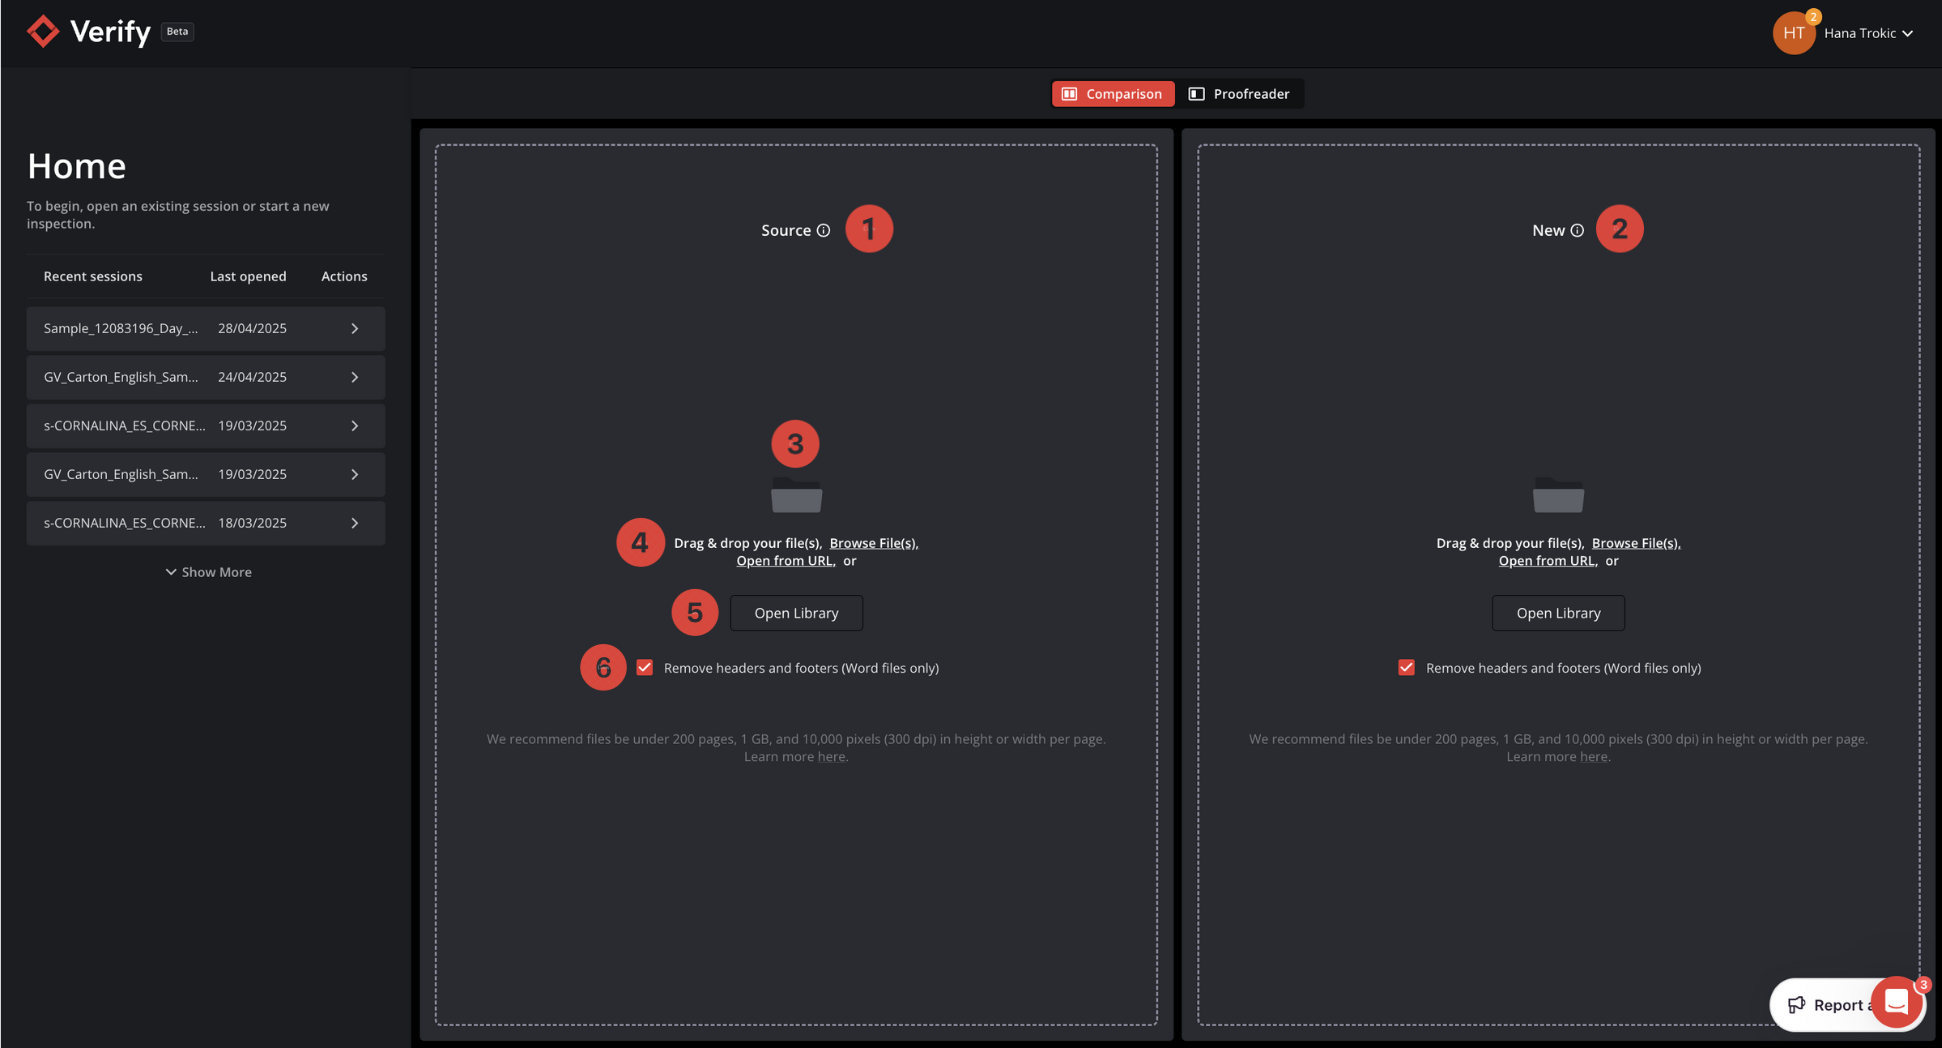
6. Remove headers and footers from Word files
Note: File types that are supported include:
DOC/DOCX
PPT/PPTX
PDF
XLS/XLSX
XML (new XML upload support, refer to section below for more details) - including SPL format support
PNG
JPG
JPEG
TIFF files
ZIP files (only containing SPL documents)
CSV
AI (in compatibility mode)
HTML
Figma exported PDFs
Note: All methods apply for both the Source and New panels
Note on FIGMA Files:
For best results, export your PDFs from Figma so text stays extractable.
Keep text as real, copyable text (not outlines) and preserve font→Unicode mapping.
How to export from FIGMA (recommended path)
Use Figma’s built-in multi-frame export
File → Export → Export [n] frames to PDF (top-left menu).
Avoid per-frame exports.
Keep text live
Don’t convert to outlines. If you see options like Keep text as text / Embed fonts, turn them on.
Fix fonts before export
Resolve any Missing font warnings (Resources → Fonts).
Prefer widely available fonts (e.g., Google Fonts).
![]() Avoid:
Avoid:
Third-party exporters when not needed as they may inject unwanted text into the file.
“Optimizers/compressors” that rewrite or subset fonts, or add invisible OCR layers.
If you see random characters in your inspections or files when uploading in Verify, especially around “fi/fl” ligatures, this may indicate that the you need to follow the steps above.
3. Drag and Drop
Load any file by dragging it from your chosen file storage location and releasing it in the Source and/or New panel.
Click on the file you wish to upload
Drag the file into the desired panel
Release the file
Once a file has been released in the appropriate panel, it will begin uploading and rendering.
4. File Browser
Upload a new file in the Source and/or New panel through File Browser.
Click Browse File(s) in the chosen panel
Select the file you wish to upload
Click Open (or double click the desired file)
Uploading XML Files
XML file support was introduced with the Verify 2023.5 release, which provides a much more user-friendly experience when dealing with these files.
When uploading an XML file, Verify will create a PDF based on the tags available in the raw file. The newly created PDF can then be prepared for inspection as any other document.
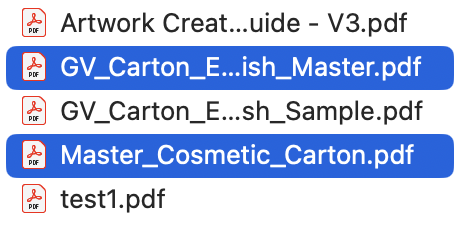
5. Library
Reload a previously uploaded file from the Library.
Click on Open Library or the
 button
Select the file you wish to upload under Recent Files
The file will load once selected.
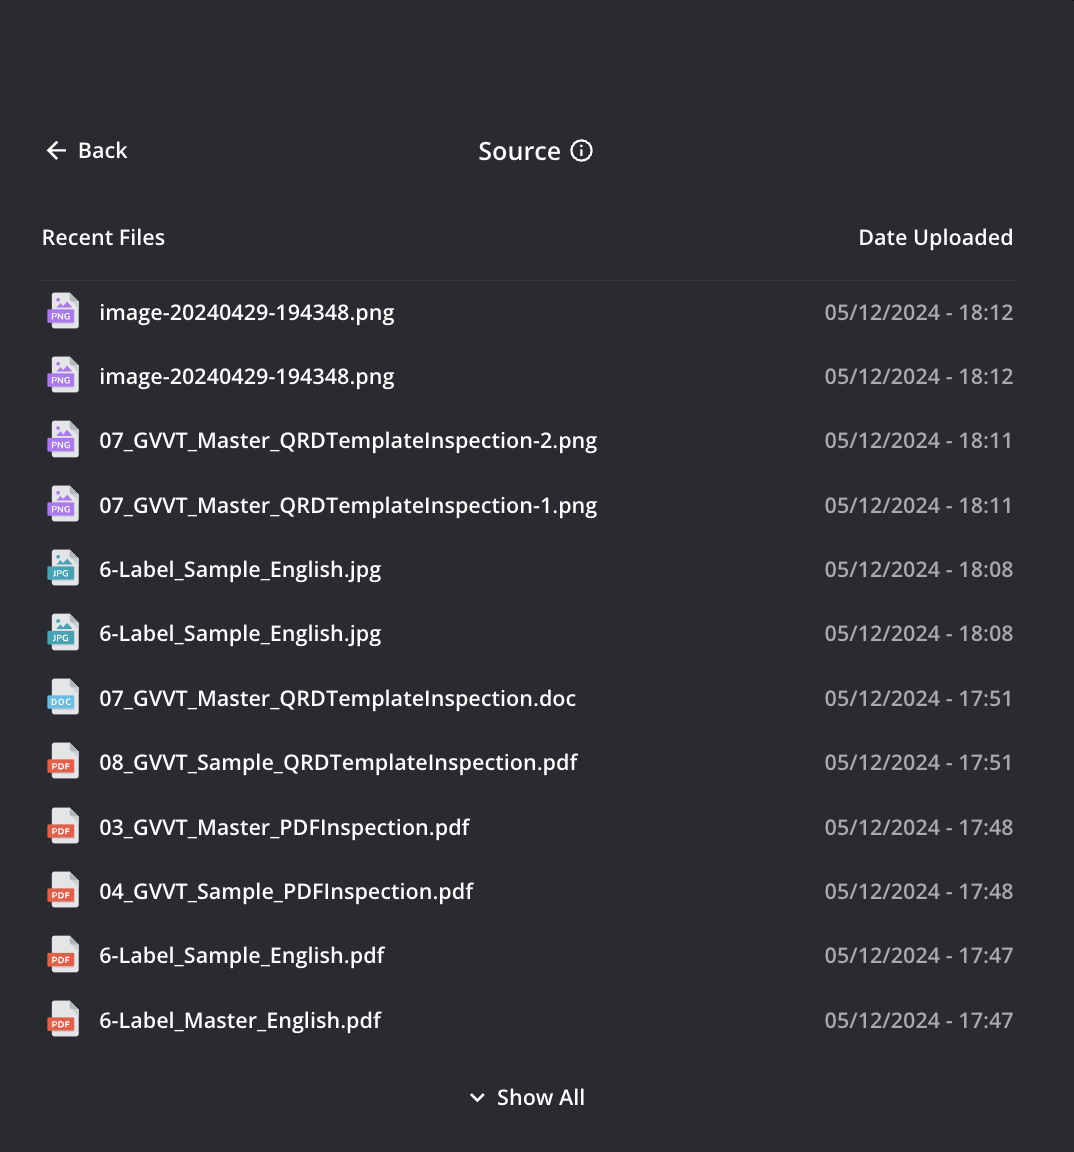
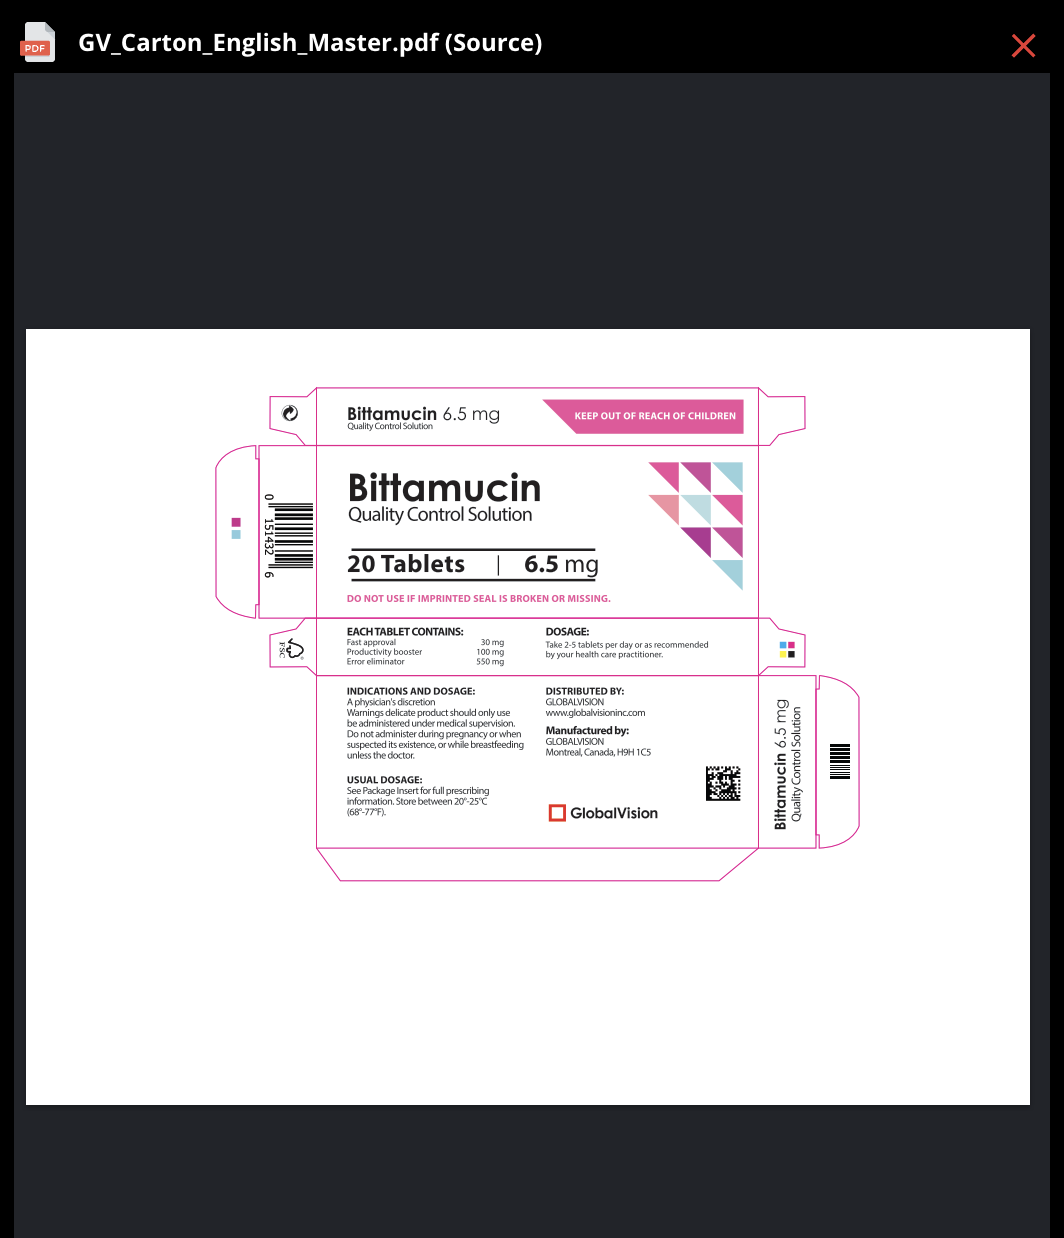
Note: For easier navigation in the file finder, file types will show as different icons, as seen in the image above.
If you select the wrong file, click the X at the top right corner of the Source and/or New panel. You will then return to the Library page where you can select another file.
Single File Inspection in Proofreader Mode
It is possible to initiate a Single File Inspection through Proofreader Mode rather than performing a comparison of two files.
To begin, in the top panel, click Proofreader.

Start a New Session
Much like with a Comparison, to start a new session in Proofreader Mode, you must load files using one of the following 3 methods:
Drag and Drop
Load files from Library
Load files from a File Browser
4. Remove headers and footers from Word files
Once your file is successfully uploaded, you may perform Spell Checks, Barcode and QR Code Inspections, Braille Inspections, or Font Size Checks.
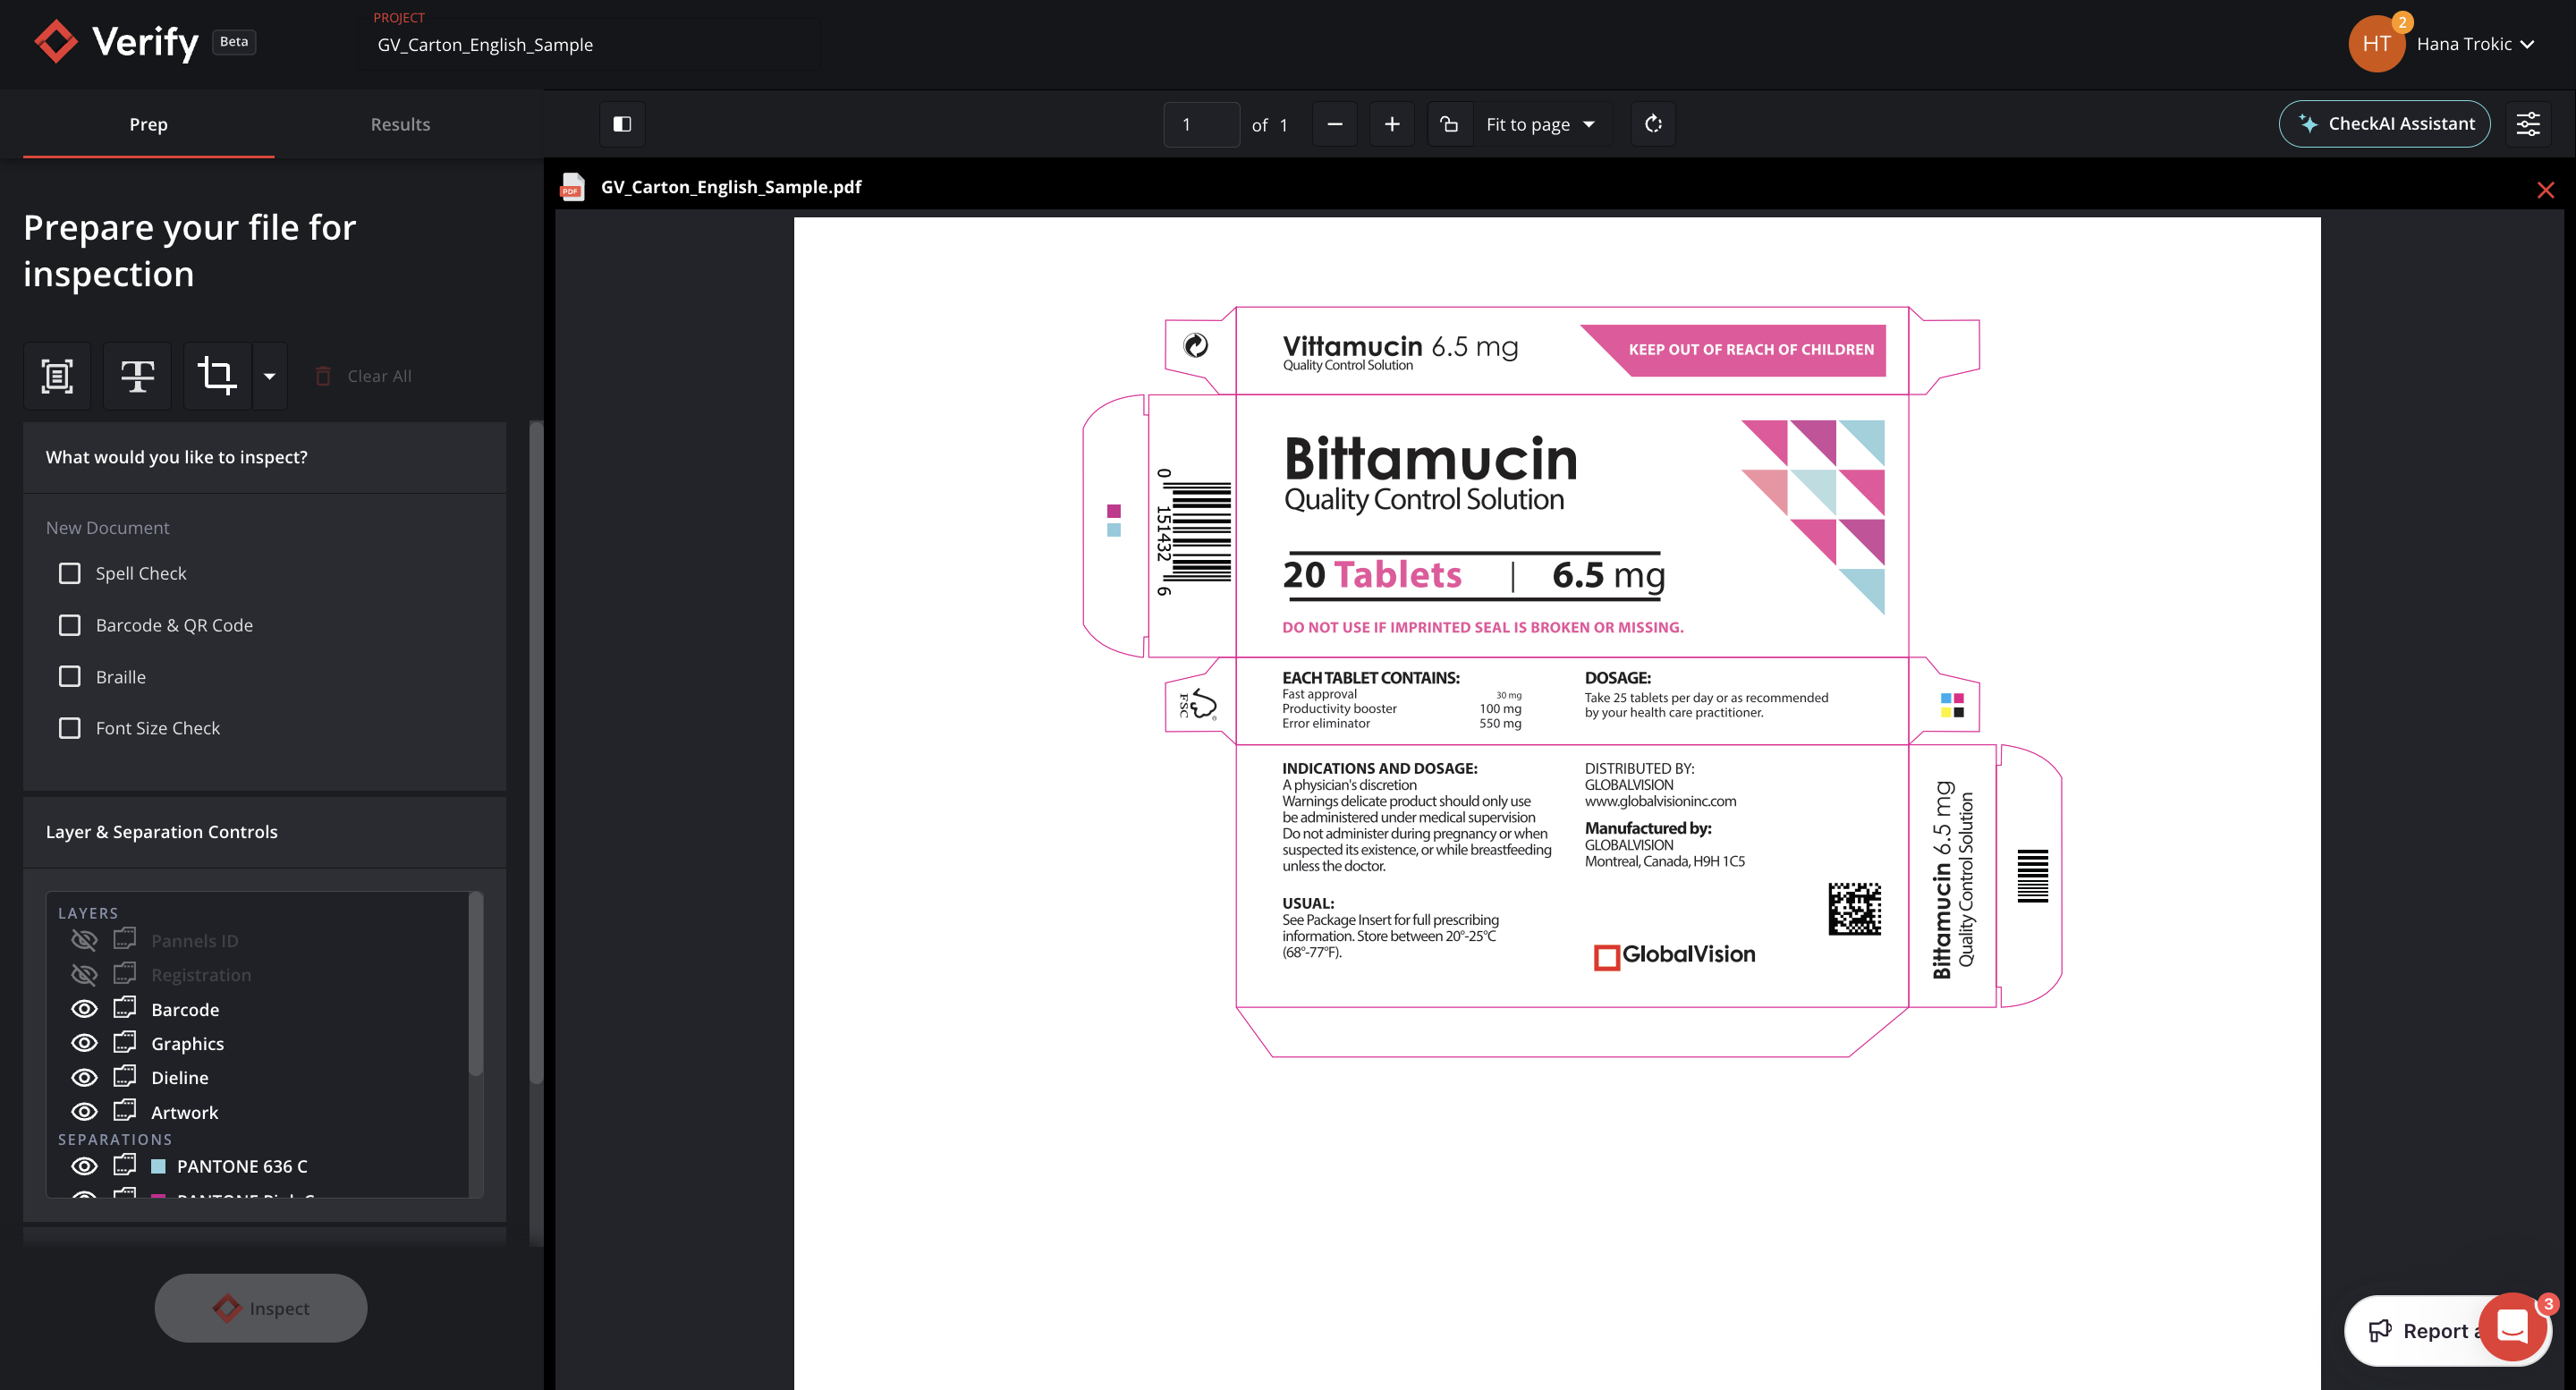
Proofreader Mode currently allows Spell Check, Barcode, Braille Inspections, and Font Size Checks
Layer & Spot Color Controls are also available for you to refine your inspection.
Naming Your Session
You have the ability to name your Sessions. To do so:
Click on the Project text field in the top panel
Enter the desired name

Note: If you choose not to provide a name, the default name of your session will be the name of your New File.
For example, if your New File is named “Carton-Sample-File,” this will be the default name of your session.
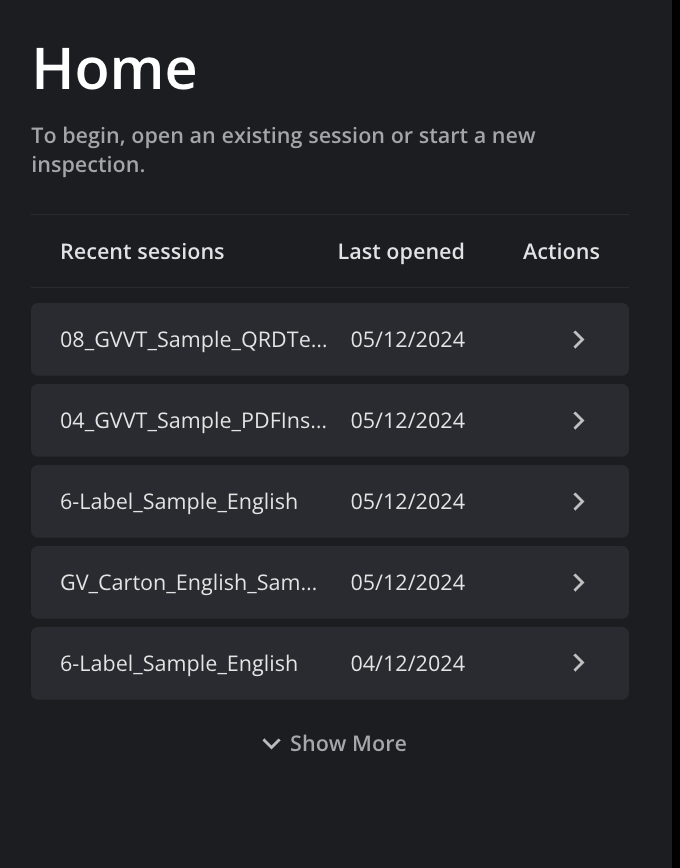
Loading Recent Sessions
Reloading a recent session will display previously initiated or completed inspections.
Click one of the sessions listed under Recent Sessions
The session will load the way it was before closing
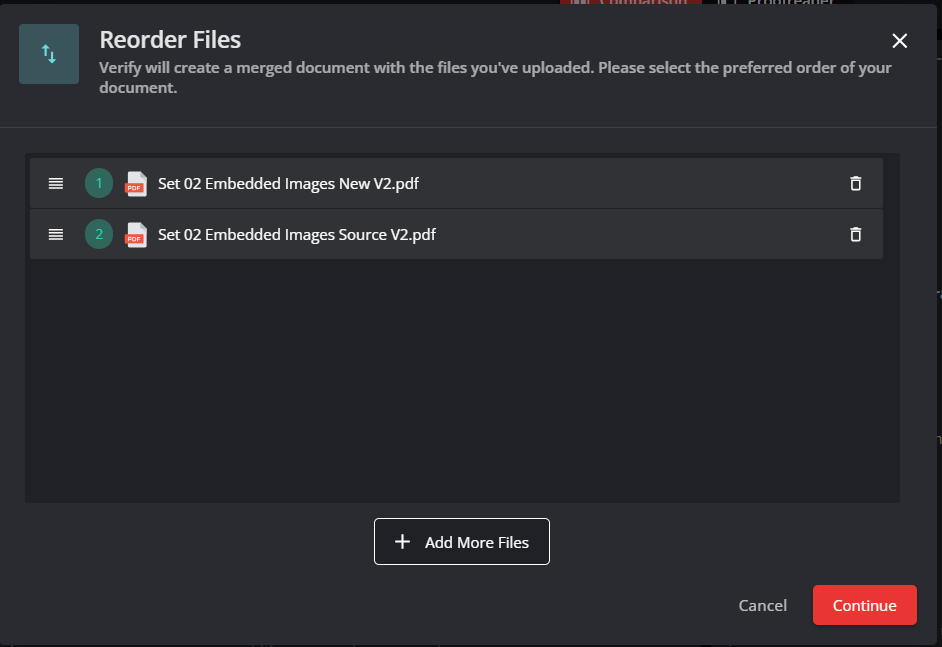
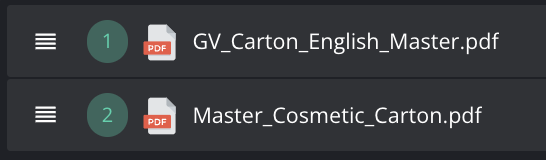
Multi-File Upload
In both Comparison and Proofreader Inspections, it is possible to upload more than one file for inspection, where all the uploaded files are merged into a single file for comparison.
To do so, when uploading files, choose more than one file when browsing.
When all required files are selected, Verify will upload and merge the files.
You will then be able to reorder (1) the files as desired, and - in case of a mistake - delete (2) the file/s selected for inspection and exchange them for another file.
%20copy.png?inst-v=b4519d53-9034-4f45-8874-97e871a20605)
The application will then show the last accepted order of the files for inspection.
Once the order is accepted, the files are merged for inspection. The naming convention of the files will show that they contains multiple files. It will also highlight the number of merged files and insert the file name of the first file in the order.

Naming convention: multiplefiles - Number of files_name of the first file.
%20copy%202.png?inst-v=b4519d53-9034-4f45-8874-97e871a20605)
If running a Comparison Inspection, repeat the steps above in the New Panel, choosing the files and setting their order (ideally in the same order as the Source files).
Once your files are accepted and uploaded, the files are ready for inspection.
No more than 10 files can be uploaded for one inspection. In case the number of files exceeds 10, an error message will pop up.

Uploading from multiple locations
If you need to upload files from multiple locations, you can select the multi-upload box and load files individually, and arrange them as needed.
You can click on Add More Files to load each document as needed, rearrange them to your liking, and when you are ready, click continue to merge and load the multiple files.