API Guide
Getting Started
List of all available endpoints you can always find at
https://{{your_GVW_server_name}}/swagger-ui/index.html
E.g. https://gvweb01.globalvision.co/swagger-ui/index.html
To be able to use GVW REST API appropriate user has to be registered in GVW. Token-based and Basic authorizations are supported. Switch between authorization method is done in web.xml
<!-- REST API Authorization method 'BASIC' OR 'TOKEN'-->
<context-param>
<param-name>RestApiAuthorization</param-name>
<param-value>TOKEN</param-value>
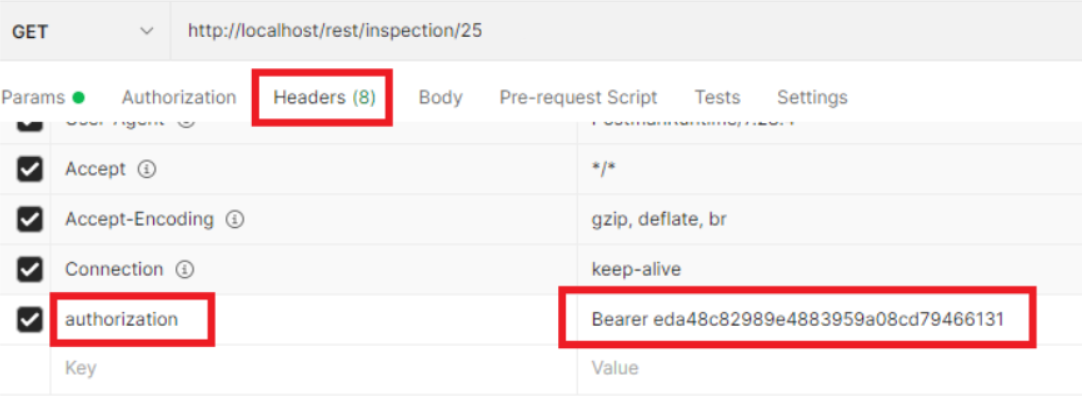
</context-param>For basic/token authentication, you have to add an appropriate header to each call.
You have 2 options for how to get the token for Token-based authentication (default setting)
via UI: login to GVW (admin user), go to System Setup → App Options → Rest API Token.
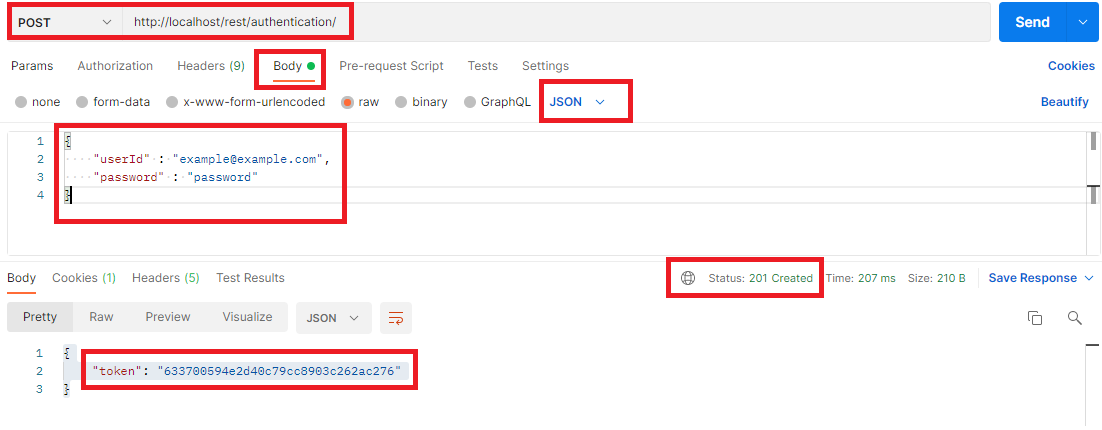
via the POST /rest/authentication endpoint. (Note that after successful completion of this call previous token/session of the given user will be invalidated)
Token expiration interval is configurable and defined in web.xml:
  <!-- REST API token expiration interval in days-->
  <context-param>
    <param-name>RestApiTokenExpirationInterval</param-name>
    <param-value>14</param-value>
  </context-param>
POST /rest/authentication
Parameters
Accepted Content types |
|
Request Body |
CODE
|
Responses
201 |
CODE
|
400 |
CODE
|
POSTMAN
Getting token example
Token-based auth example
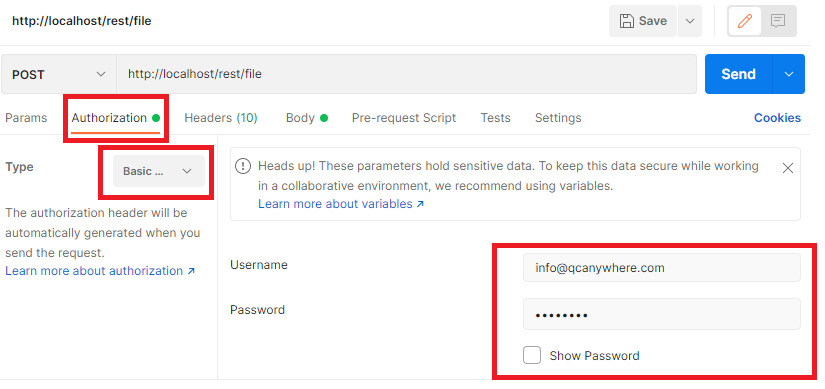
Basic authentication example
Follow these simple steps to start your inspection.
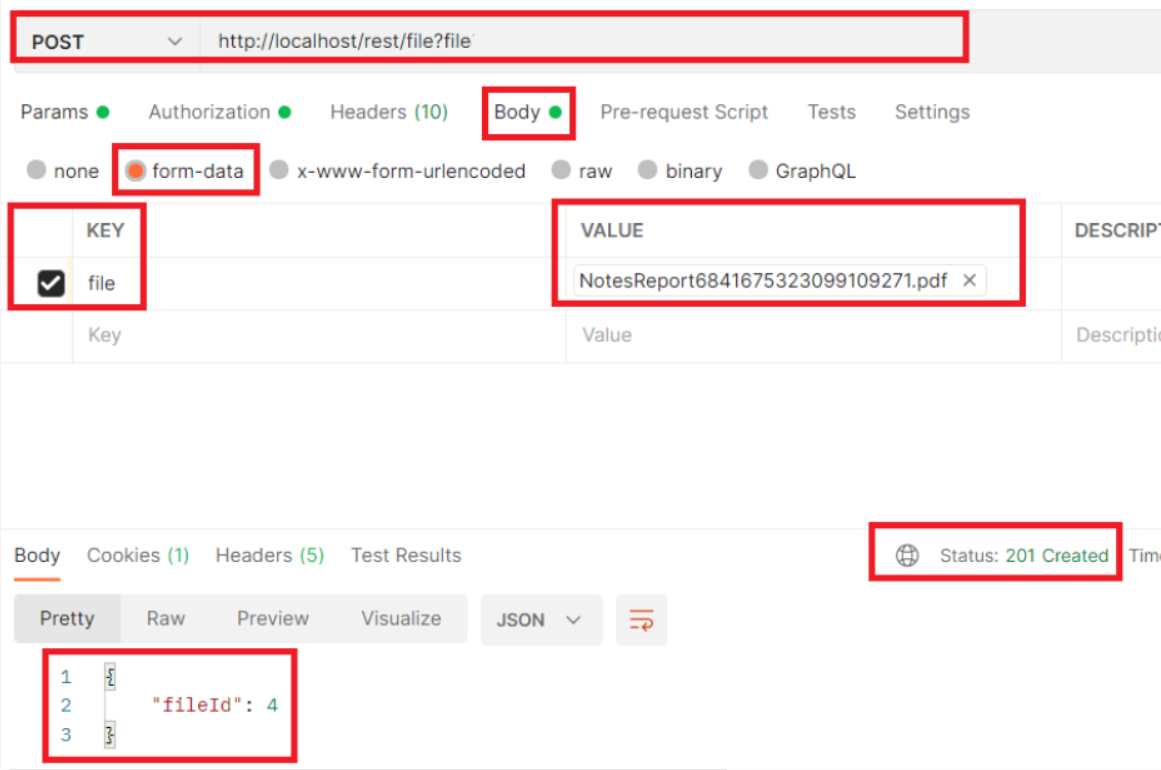
STEP 1: Upload the master file
Upload a new file
POST /rest/file
Accepts files with following extensions: "pdf", "doc", "docx", "ai", "txt", "rtf", "xls", "xlsx", "xml"
For word files (“doc“ or “docx“), you can use the optionalremoveHeadersAndFooters URL parameter to remove all headers and footers. By default, headers and footers are not removed.
Parameters
Authorization Header |
|
Accepted Content types |
|
Accepted Parameters |
|
Request Body |
|
Responses
201 | { |
400 |
CODE
. |
POSTMAN
STEP 2: Upload the sample file
Upload a new file (optional for some inspections; process same as above)
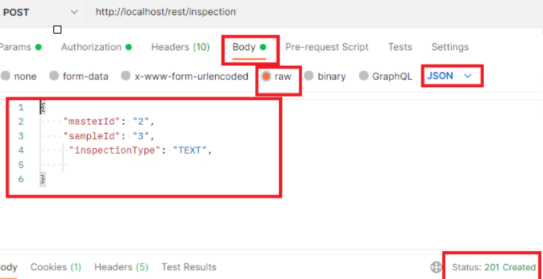
STEP 3: Create a new Inspection
After steps 1 and 2. The next step is the creating the inspection with the following parameters:masterId, sampleId, additionalMasterFileIds, inspectionType
WARNING: userId (user email) is required only in GVW 3.9.2 Starting from 3.10 it is not needed and userId info is extracted directly from the authorization method.
If you want to specify more than one input file for master, you would need to add additionalMasterIdsparameter, where you should enumerate all additional file ids except the first one, which is defined by masterId parameter. E.g. if you want to add three master files with ids 29, 30, 31, then in the JSON body, you should have:
“masterId” : “29“,
“additionalMasterIds“ : [“30“, “31“]
Note that the order of these parameters matters. (same order will be maintained in result master file).
Supported inspection types are NOTES,TEXT, GRAPHICS, SPELLING, BARCODE, BRAILLE
POST /rest/inspection
Parameters
Authorization Header |
|
Accepted Content types |
|
Request Body |
CODE
|
Note: “masterId” and “sampleId” are references to the fileId obtained in steps 1 & 2
Responses
201 | The inspection has been created successfully
CODE
|
400 | Wrong request parameters
CODE
|
POSTMAN
STEP 4: Open inspection in GVW
Token-Based
http://localhost/RestRedirect.jsp?inspectionId={{inspectionId}}&token={{tokenValue}}
Basic Authentication
to create {{basic auth header value}} you can use
https://www.blitter.se/utils/basic-authentication-header-generator/
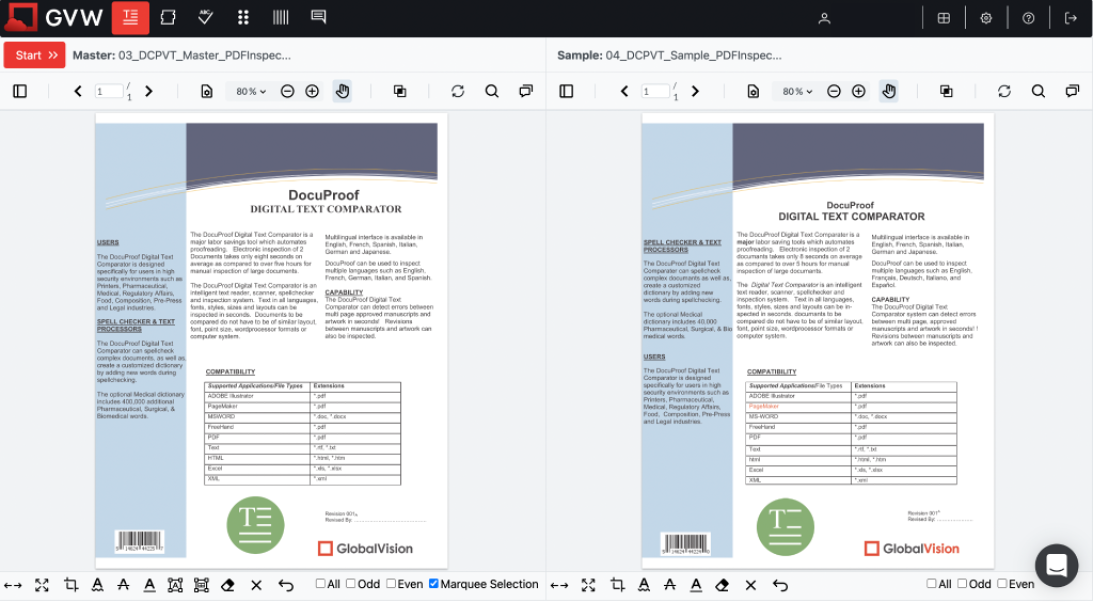
STEP 5: Run inspection and wait for completion
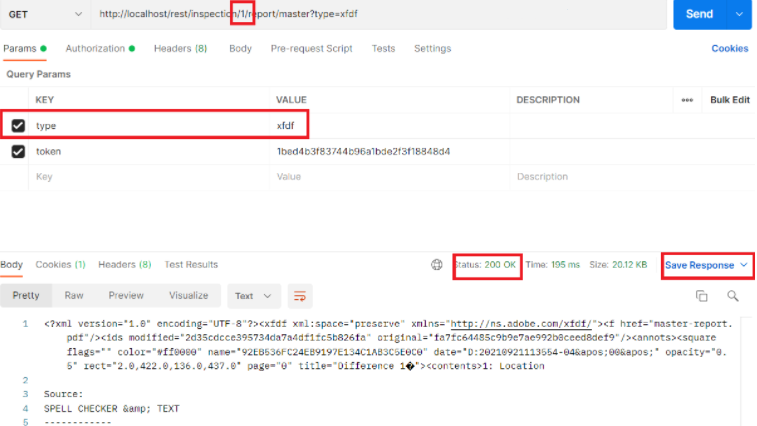
STEP 6: Reports download
Note: you can use these endpoints only when inspection status is DONE (for GRAPHICS inspection DONE OR THUMBNAILS_GENERATION).
Now you can use the following calls to get master and sample reports:
2 report types are supported: pdf (pdf file with added inspection annotations) and xfdf (just annotations - Adobe xml kind file formats for annotations)
GET /rest/inspection/{inspectionId}/report/master
GET /rest/inspection/{inspectionId}/report/sample
Parameters
Authorization Header |
|
Accepted Parameters |
|
Responses
200 |
CODE
|
400 | Wrong request parameters
|
POSTMAN
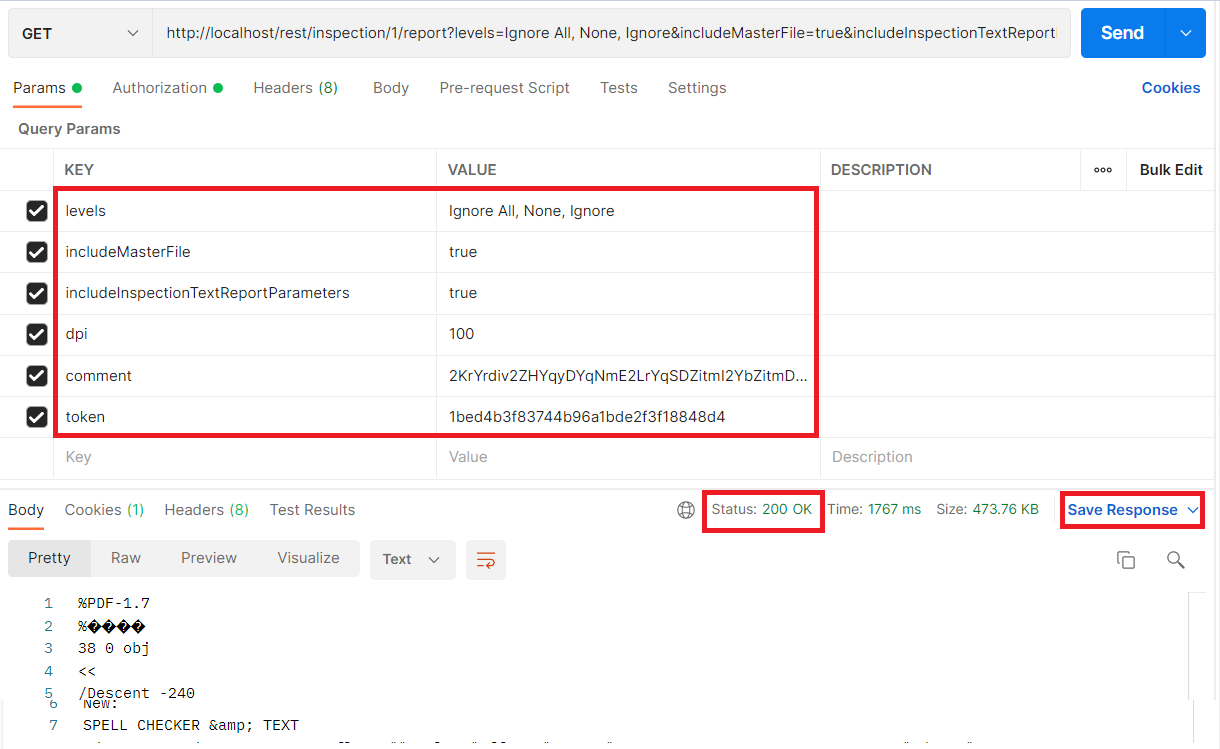
STEP 7: To get GVW inspection report:
Note: you can use this endpoint only when inspection status is DONE.
This is the GVW report, the same as you can access through the GVW UI.
GET /rest/inspection/{inspectionId}/report
Parameters
Only levels parameter is mandatory.
Authorization Header |
|
Accepted Parameters |
|
Responses
200 |
CODE
|
400 | Wrong request parameters
|
POSTMAN
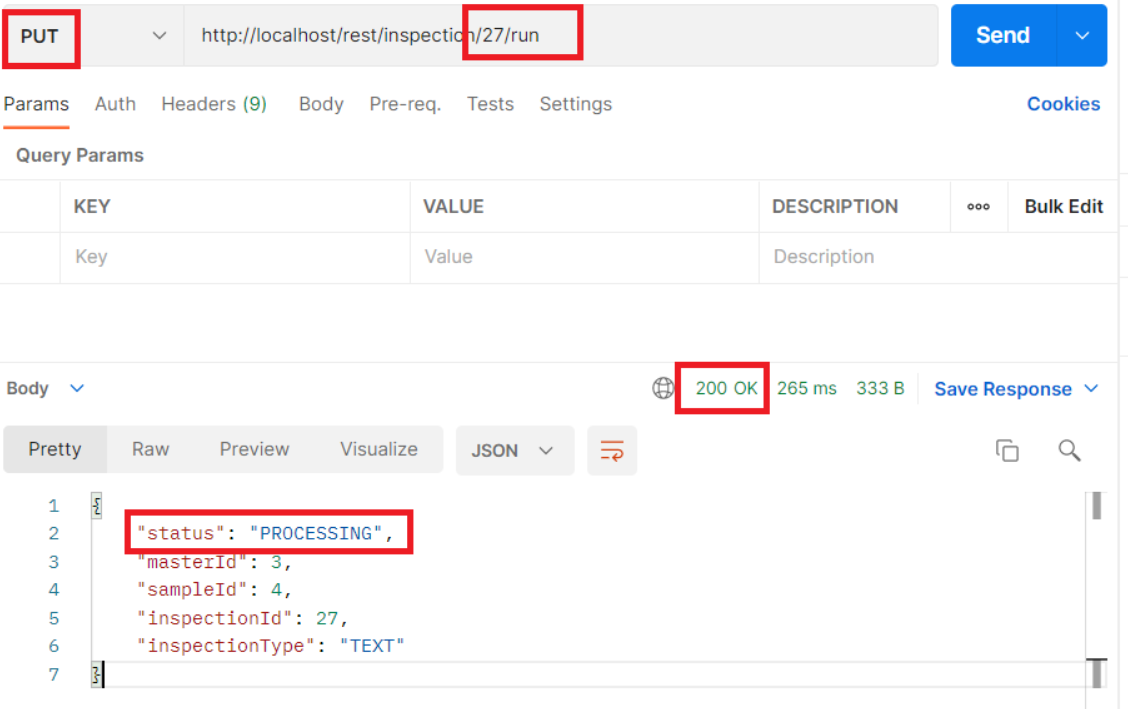
Optional - Endpoints for running, cancelling and deleting reports
You can run a newly created inspection via the following endpoint. (default inspection parameters will be used)
PUT /rest/inspection/{inspectionID}/run
Parameters
Responses
200 | The inspection has been cancelled successfully
CODE
|
400 | Wrong request parameters
CODE
|
POSTMAN
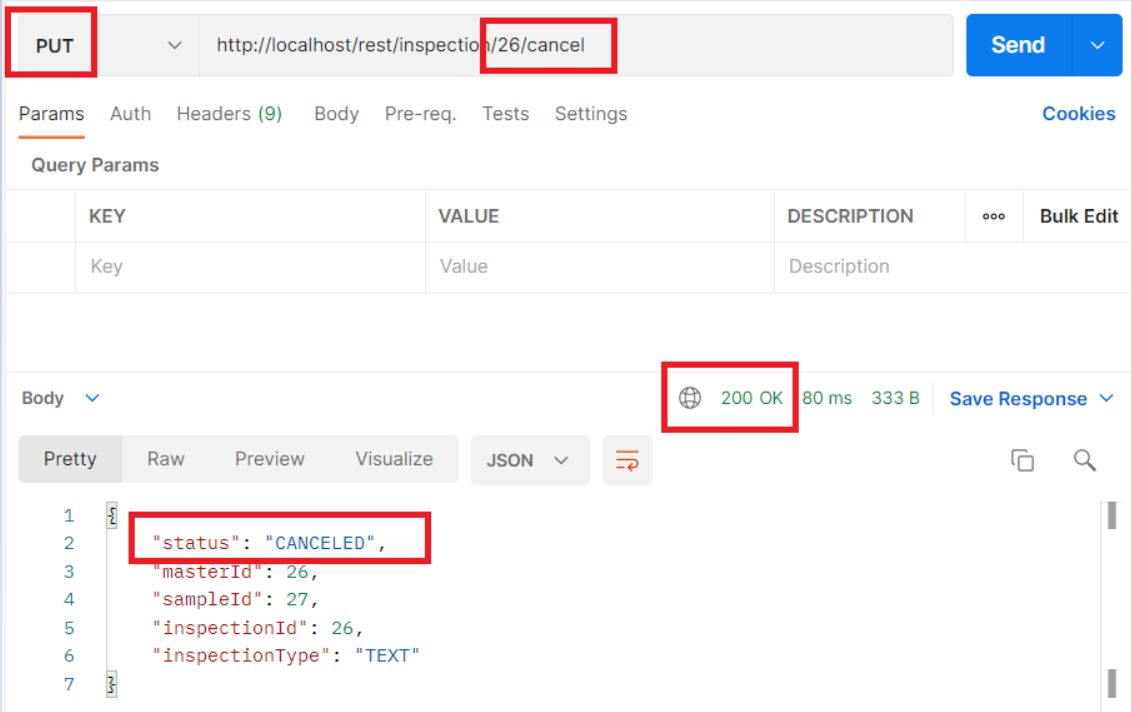
To cancel running inspection:
PUT /rest/inspection/{inspectionID}/cancel
Parameters
Responses
200 | The inspection has been cancelled successfully
CODE
|
400 | Wrong request parameters
CODE
|
POSTMAN
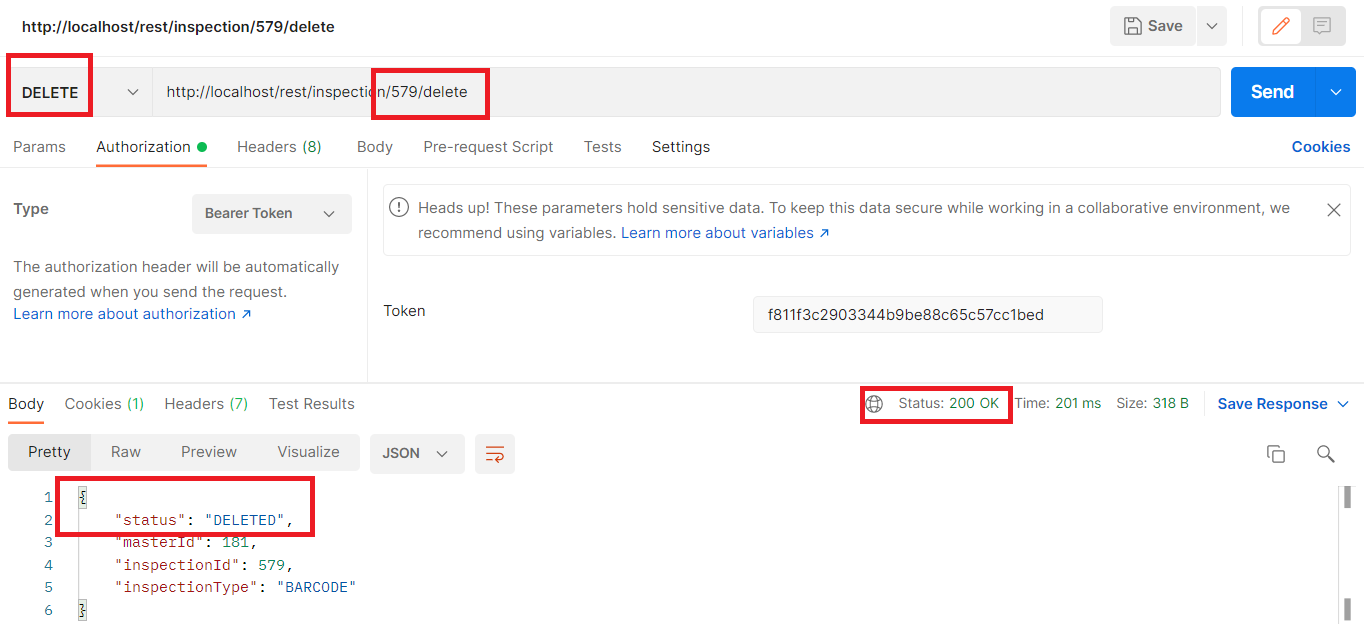
DELETE /rest/inspection/{inspectionID}/delete
Parameters
Responses
200 | The inspection has been cancelled successfully
CODE
|
400 | Wrong request parameters
CODE
|
POSTMAN