How to set a static IP address on the R44 and F2 Scanners
This description illustrates the steps required to set up a scanner into a network that is using static IP for these two scanners: R44 and F2.
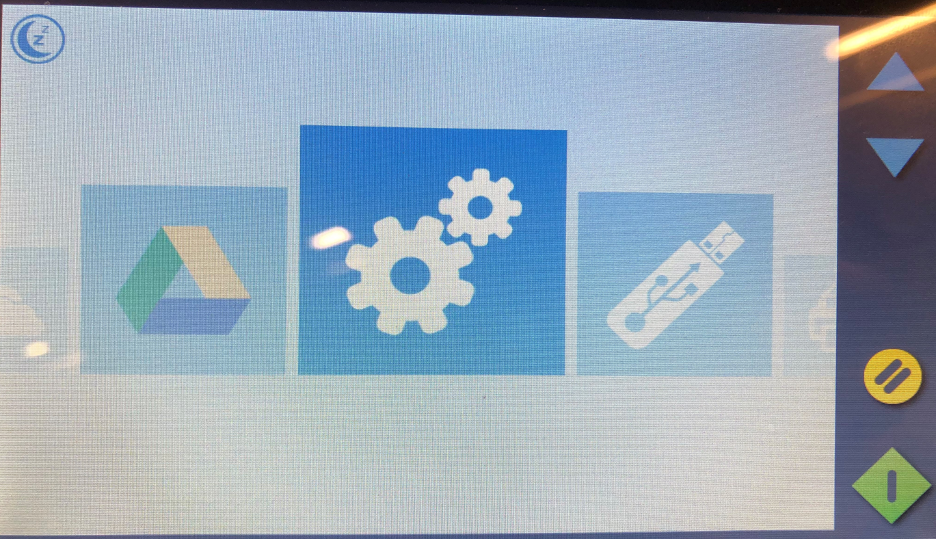
Navigate and click on the gear cogs icon on the scanner’s LCD display.

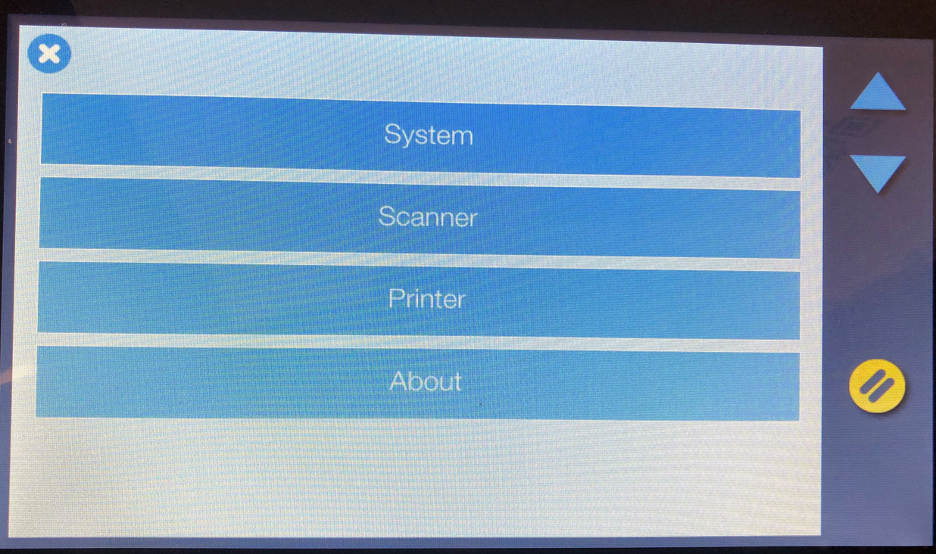
Select System.

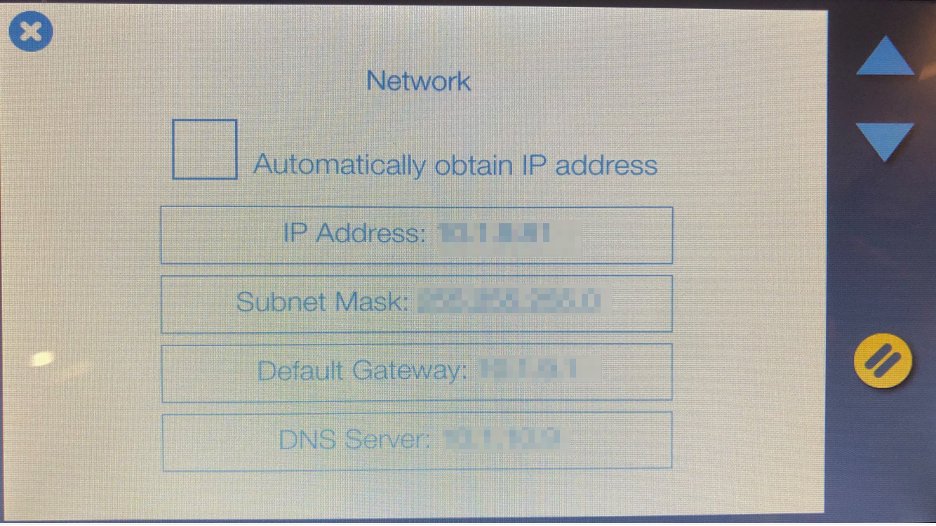
Select Network.

Uncheck the Automatically obtain IP address checkbox.
Enter the following details, which are provided by your IT team:
IP address,
Subnet mask,
Default gateway,
DNS server.provided from your IT.
Click the X in the upper left corner to save the changes.
Once these steps are completed, it is possible to connect the PC directly to the scanner using the static IP address, provided that the PC has a static IP configured as well for the direct connection. The guide for the required steps is available here.
