How to connect a R44 or F2 scanner directly to a PC via network cable with a static IP address
This description illustrates the steps needed to connect the R44 and F2 scanners to the PC using the customer network with a static IP address.
Please refer to this guide for how to set up a static IP address.
Connect a network cable to the second ethernet port and the scanner ethernet port.
Open the control panel and select Network and Sharing Center

Select Change Adapter settings. Right click on the 2nd ethernet and select Properties.
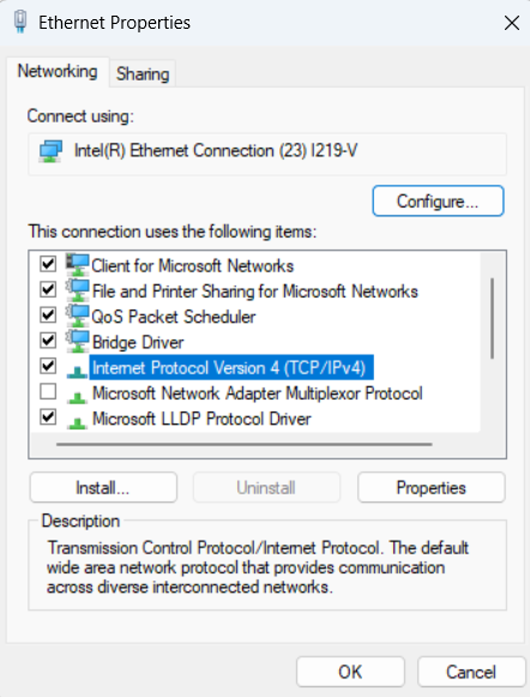
Select TCP/IPv4 then click Properties.
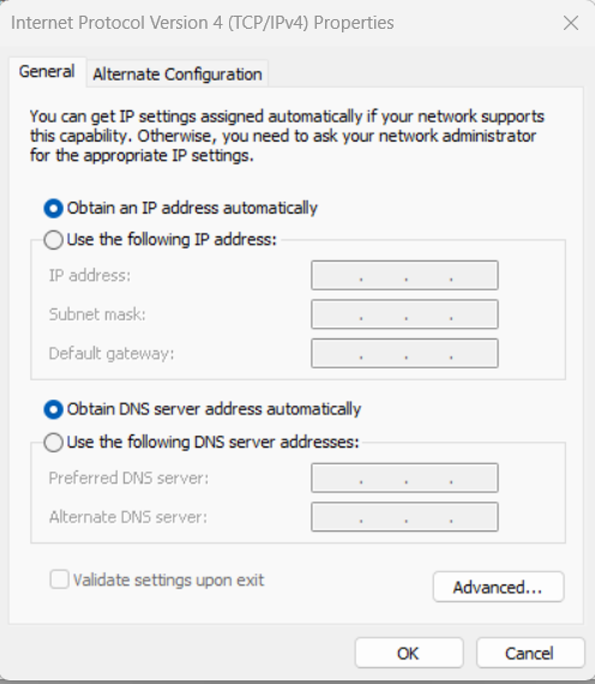
Select Use the following IP address.
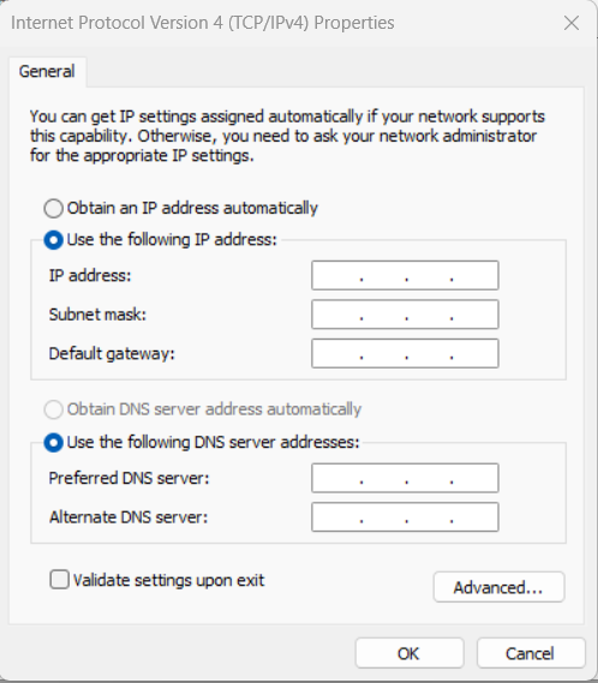
Enter a static IP address, Subnet mask and use the same IP address as the Default Gateway. Leave the DNS blank. For example:
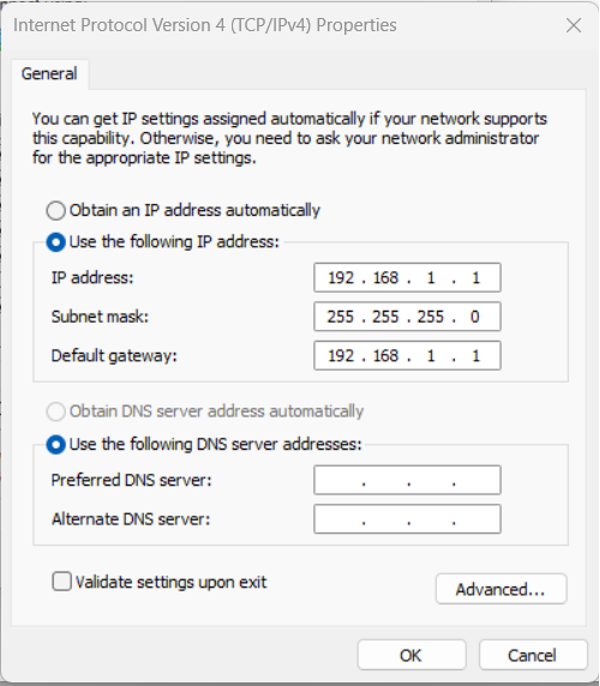
Click OK.
Navigate and click on the gear cogs icon on the scanner’s LCD display.
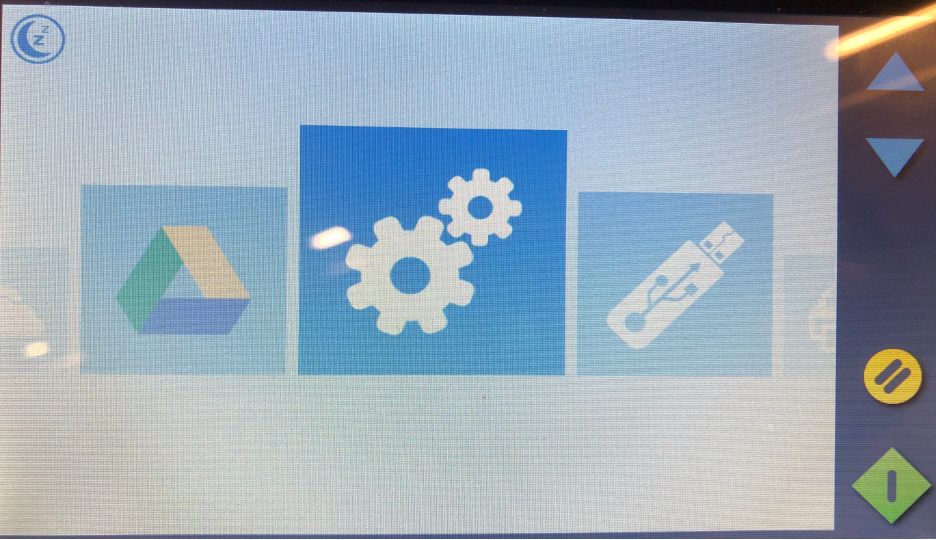
Select System.

Select Network.
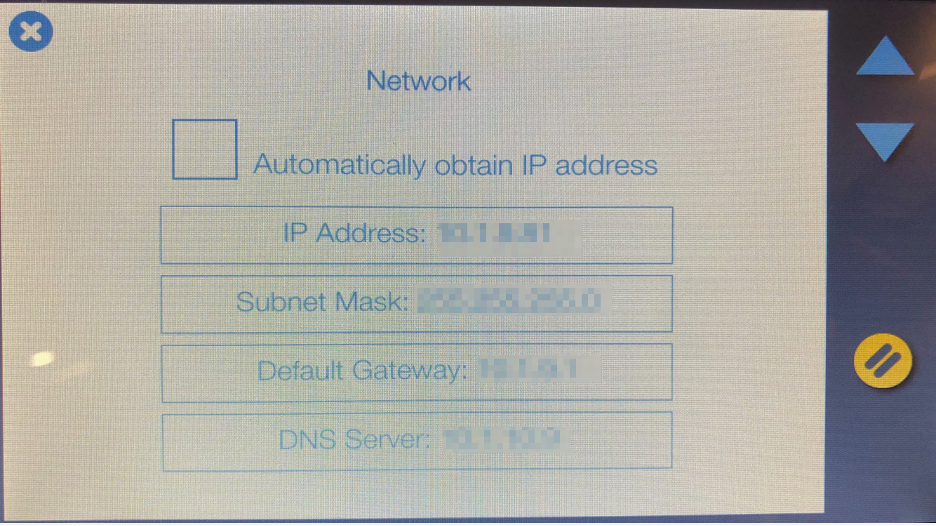
Uncheck the Automatically obtain IP address checkbox.
Enter an IP address, subnet and make the default gateway the same IP address as the PC. Leave the DNS blank.
For example
IP Address = 192.168.1.2
Subnet Mask = 255.255.255.0
Default Gateway = 192.168.1.1
DNS Server = 0.0.0.0
Launch Widesystem on the PC. Click on the refresh button if the scanner doesn’t appear in the list.
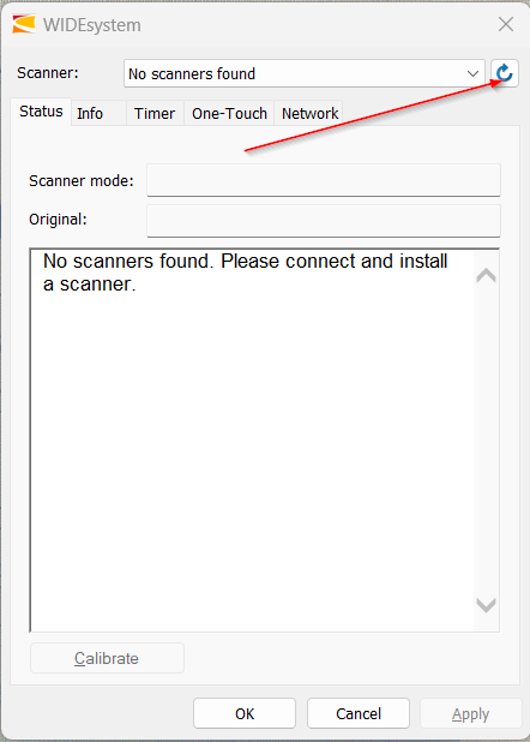
Follow the steps below in case the scanner still doesn’t show.
Click on the Network tab if the scanner doesn't appear after clicking refresh.
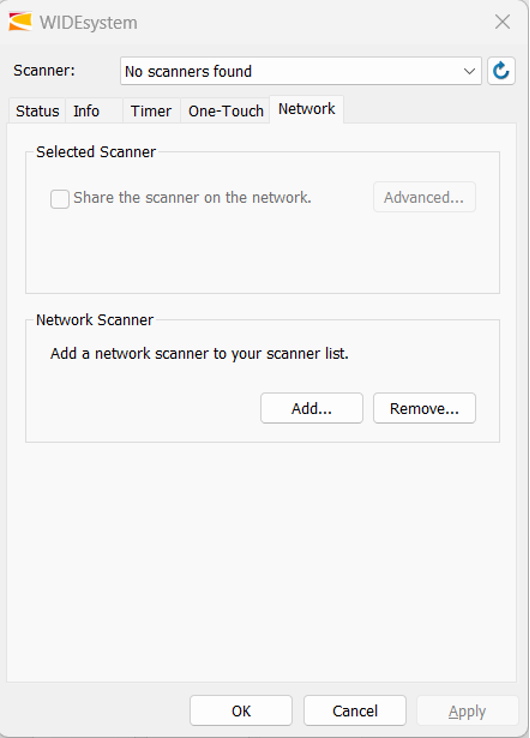
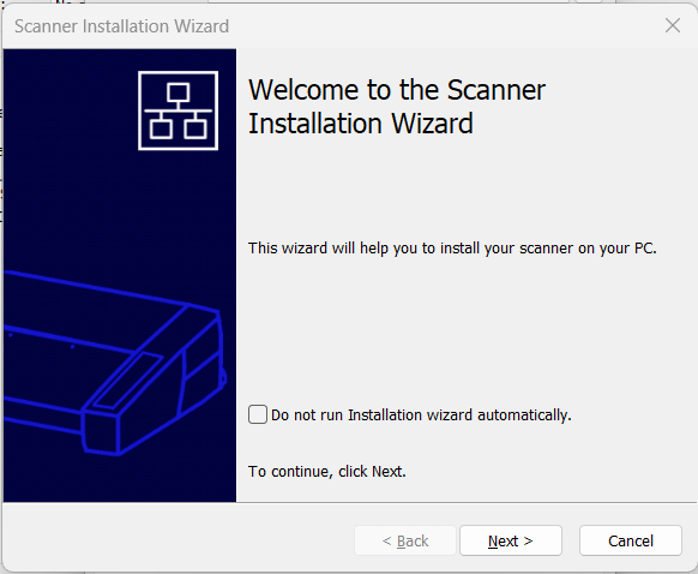
Click Add and then follow the Wizard.
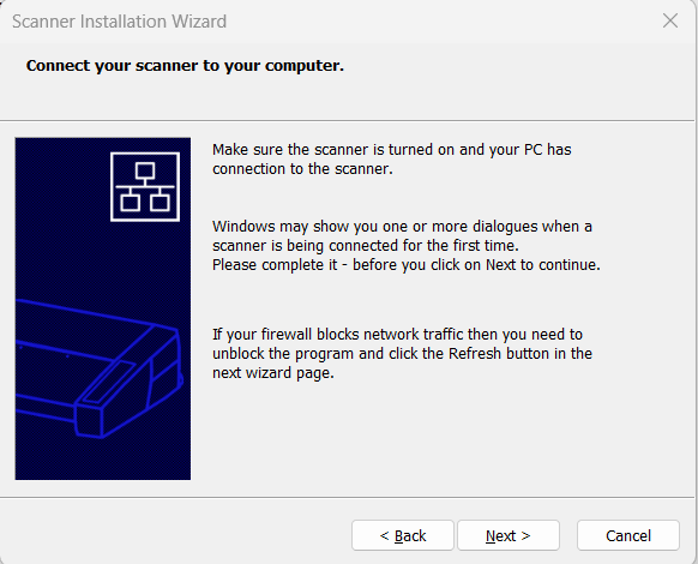
Click Next and then Next again.
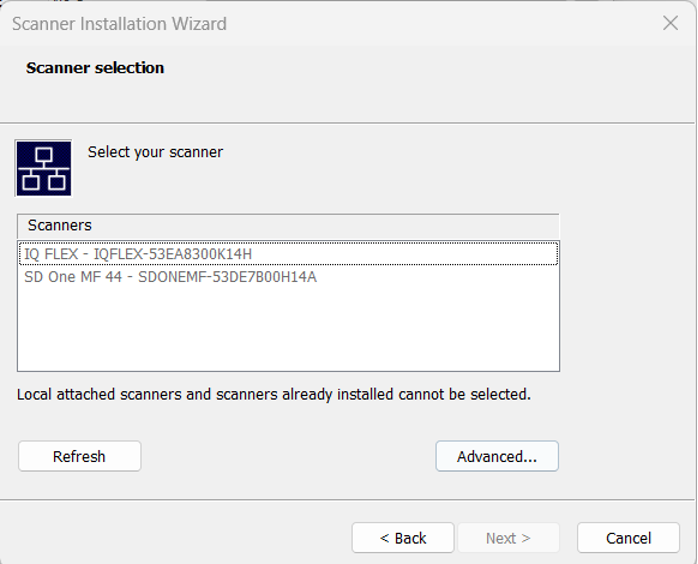
Select your scanner if it appears in the list and continue the setup wizard until the end.
Follow the steps below in case the scanner still doesn’t show.
Click Advance if the scanner doesn’t appear in the list.
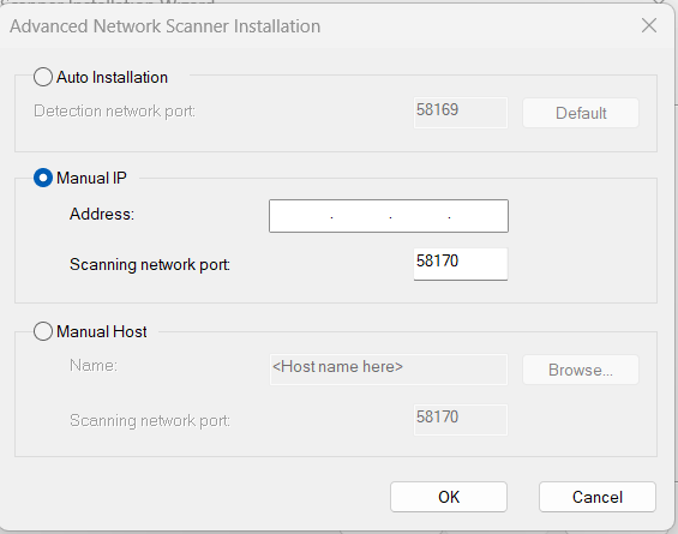
Select Manual IP, enter the static IP you set on the scanner previously, then click OK.
Continue the setup wizard and the scanner will appear in the Widesystem window once completed.