Best Practices when using Scanned Samples in GVD
Summary: This article provides the best practices when using scanned samples and suggestions for common inspection issues such as:
1. There is bleeding in the scanned image.
Issue: I have scanned my live sample using a Contex scanner and the print on the backside of the sample is showing through the scan. It is causing a lot of differences when I try to run my graphics inspection.
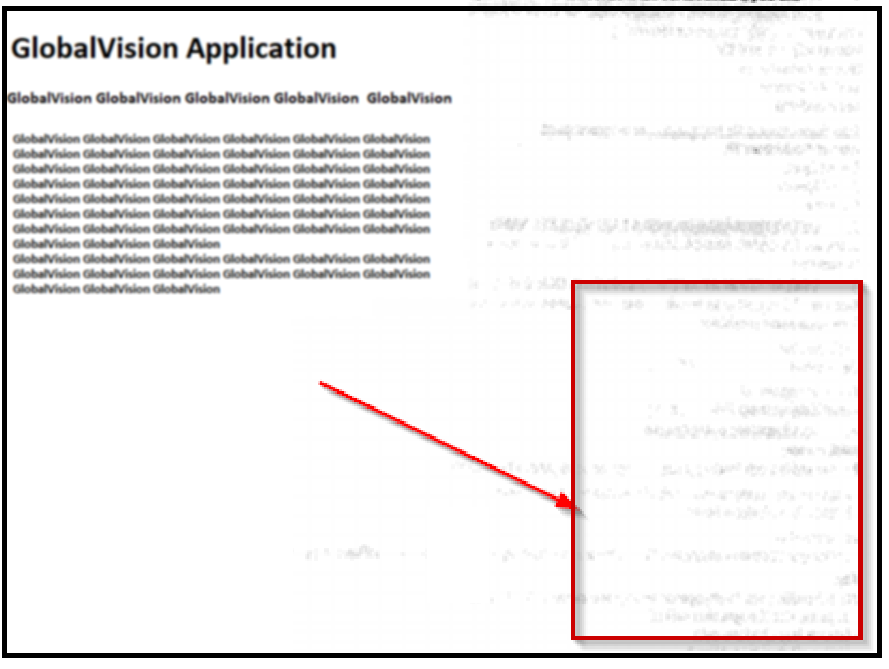
Resolution: Bleeding with scan images occurs when the live sample is a thin material and has printing on both sides of the sample. Examples are thin inserts and plastic labels with double-sided printing. When bleeding occurs in the scans, it will increase the difference count within the GlobalVision inspection or larger difference boxes.
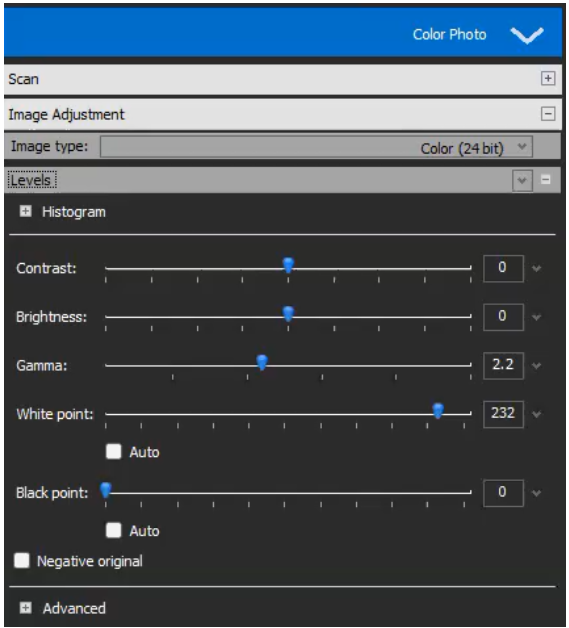
To eliminate the bleeding from occurring with the live sample, you can adjust the scan by tweaking the Contrast, Brightness, White Point, and Black point levels within Nextimage.
Launch the NextImage application.
Expand Image Adjustments
Under Levels, increase and/or decrease the Contrast, Brightness, White Point, and Black Point configurations.
Tips and Tricks
Depending on the material you are using, placing a white or black carton behind the live sample will add low contrast to the printed material and help eliminate the bleeding in the scans.
2. Message “Files do not match” and cannot move on to the next step to run the inspection.
Issue: I have loaded my digital master file and scanned sample for a Graphics Inspection but cannot continue because I am getting a “Files do not match” when clicking the Inspect button.
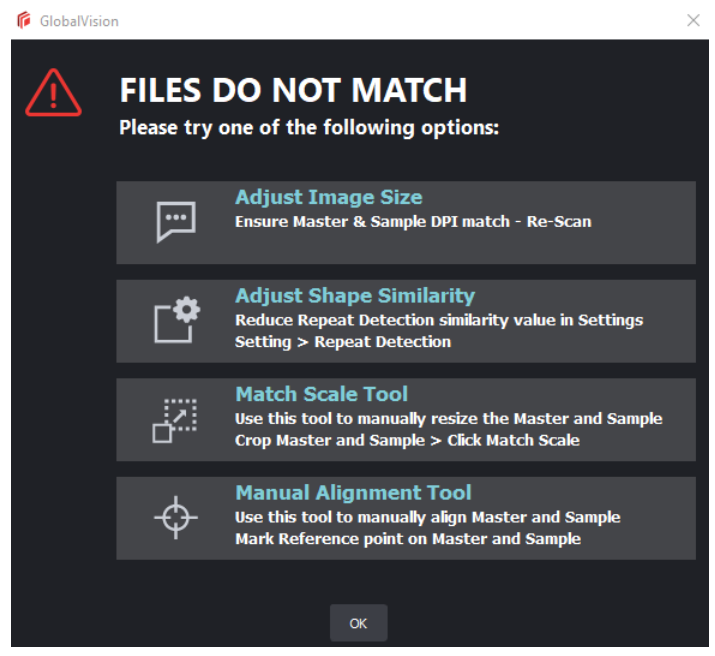
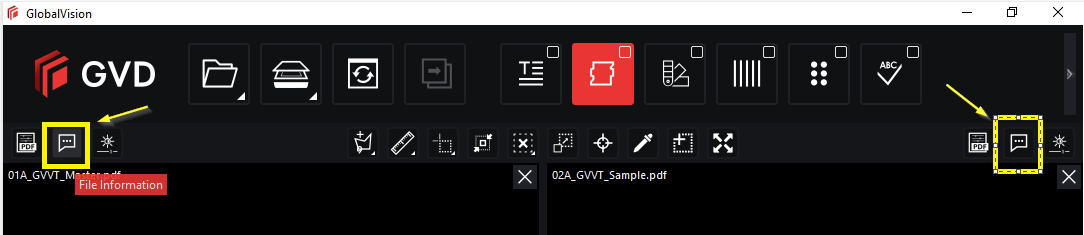
Resolution: This message is common when the master file and sample are different for the inspection to commence. As a first step, verify the files for inspection with the File Information tool to determine where the Master and Sample files do not match.
The File Information is at the top of the master and sample windows:
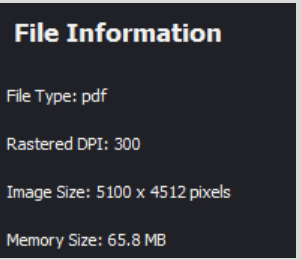
Verify the File Type is compatible with GlobalVision. For graphics that includes PDF, ai, and tiff files.
The Rastered DPI value must be the same for both master and sample files. In the example above, the master and sample files should be both 300 dpi
The Image Size needs to be about the same size. The inspection will fail if the dimensions are half or double the size between the two files. Then you will need to use the Match Scale tool to get the inspection to work. For instructions on using the Match Scale tool, please refer to the Help Center on the GlobalVision website for video tutorials. https://fast.wistia.net/embed/channel/p547b3118k?wchannelid=p547b3118k&wmediaid=1yj5uwi0io
The Memory Size also needs to be similar between to two files. If the size is too large, it can cause the system to crash.
Tips and Tricks
For more information, please visit https://help.globalvision.co/gvd/error-message-files-do-not-match
3. The entire sample is flagged as a difference.
Issue: The application has flagged the entire sample as a difference. Why?
Resolution: This happens on rare occasions when the quality of the scan is poor.
Rescan the sample and ensure you use the correct Nextimage pre-set.
For samples with foil and metallic finish, make sure to use the sleeve's mylar side to reduce the sample's reflection.
Use the Manual alignment tool to ensure the sample is square and not skewed, especially with inserts and leaflets with fine print.
Verify that the profile for the GlobalVision inspection is correct.
Try using the cropping tool to manually isolate the artwork for the inspection, to eliminate the entire sample being highlighted as a difference.
Tips and Tricks
For more information, please visit https://help.globalvision.co/gvd/graphics-inspection-pre-inspection-tools
4. The GlobalVision application did not detect all repeats.
Issue: I have a rare situation in which not all repeats are detected. The GlobalVision application usually detects it but this time it missed some. Do you have any suggestions or recommendations?
Suggestions:
When working with cartons and labels, it is best to use the Die Line or Cut Line defined in the master PDF to define the inspection area. Within GlobalVision, you can use the layers and separation within the PDF master files to determine the inspection area using the tool “Set as shape region & hide”.
Under “Separations”, right-click on “Die Line” and select “Set as shape region & hide”.

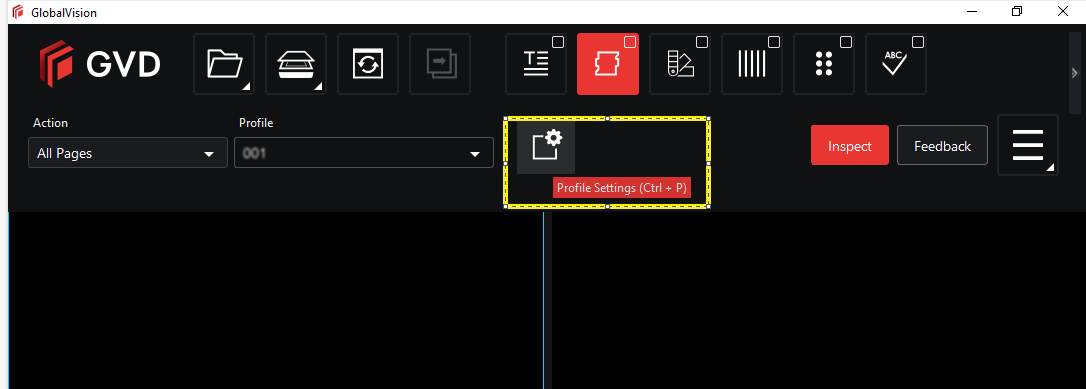
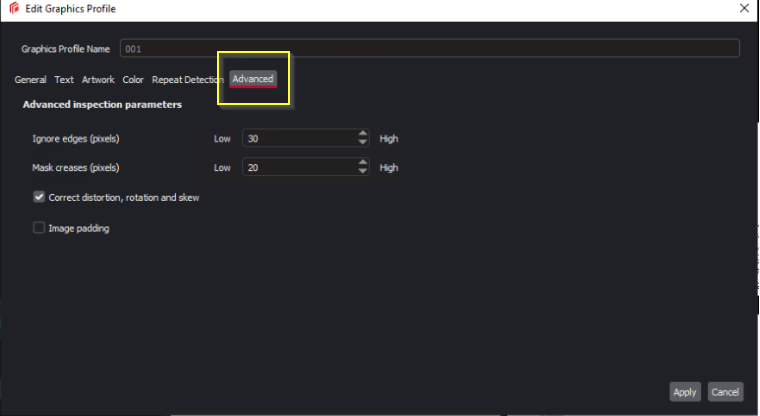
If the Die Line or Cut Line still defines the artwork as too large compared to the samples, you can add a mask to the “Set as shape region” function and hide it within the GlobalVision profile. This function in the profile is to Ignore edges (pixels). This setting will add a mask to the edge of the layer or separation used with the “Set as shape region and hide” tool, making the selected area for the inspection small and in sync with the sample. To access the “Ignore edges (pixels)” parameters, select the Profile Settings icon and click on the “Advanced” tab.
Adjust the “Advanced inspections parameters” like the image below:
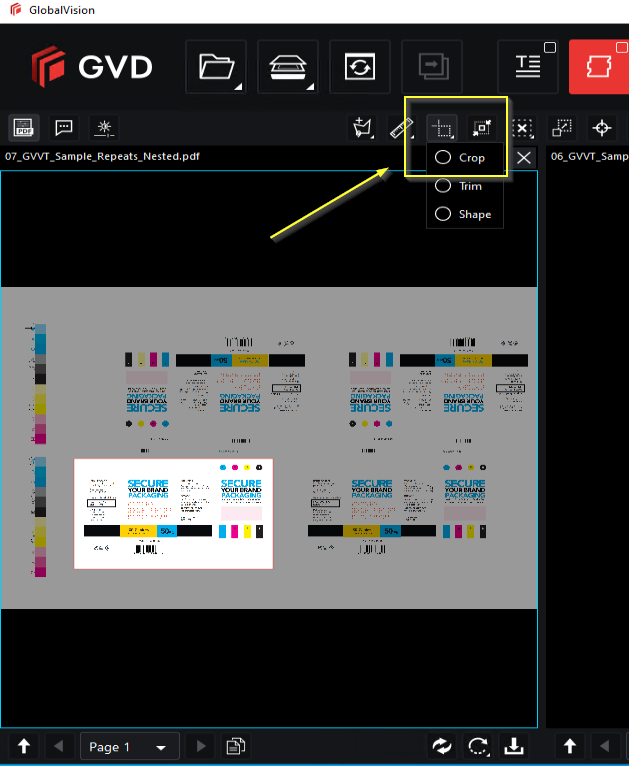
When the Die Line fails, you can crop the master artwork. Make sure to crop inside the Die line or Cut Line of the artwork to find all repeats accurately.
Select the “Region Mode” icon:
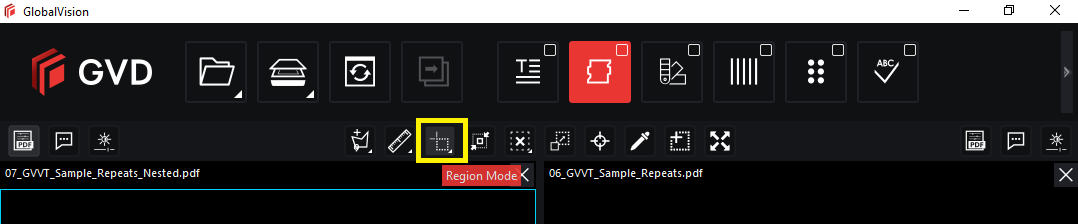
Then click on “Crop”:
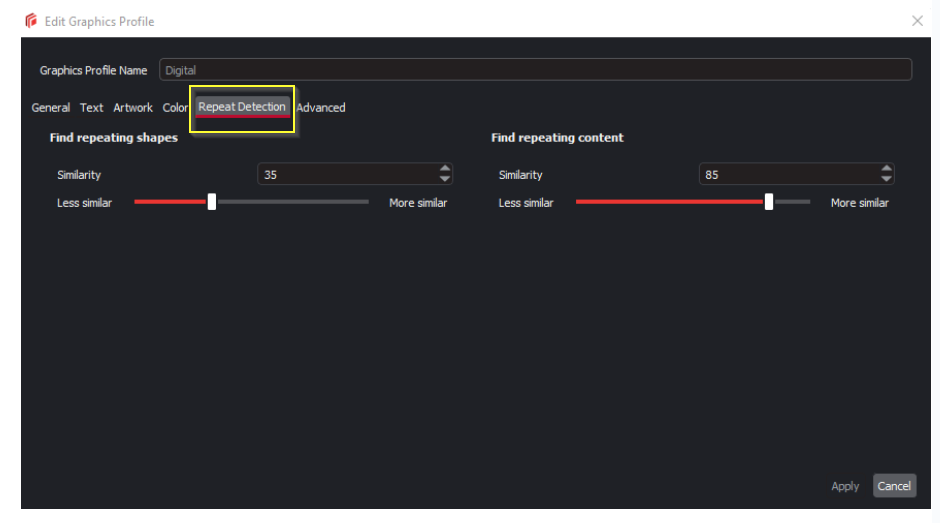
The last suggestion is to change the Repeat Detection parameters in the GlobalVision profile. To access the “Repeat Detection” parameters, select the “Profile Settings” icon and click the “Repeat Detection” tab.
Adjust the “Find repeating shapes” and/or “Find repeating content” like the image below:
Please feel free to email support@globalvision.co if you have any additional questions. We are happy to help!