Barcode Inspection - Step-By-Step
Summary
This section describes the steps to follow when running a barcode inspection.
Steps
Step 1: Load Electronic Files
Note: Users can skip to Step 2 in case of Loading Scanned Files.
To inspect barcodes in a master file:
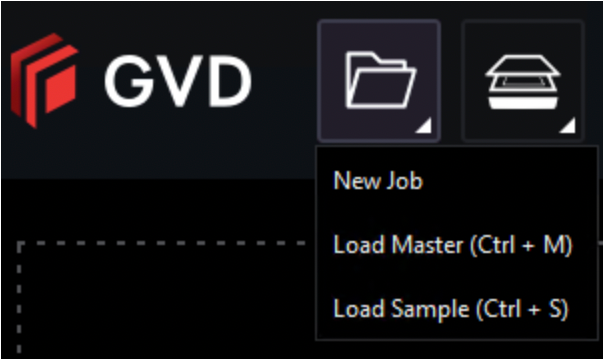
Click on the File Menu icon on the top panel→ then click Load Master or click in the Master panel to launch the load-file window. The Master image loads in the Master panel.
Or,
You can also load a file by using "drag and drop."
If the file is a PDF:
The integrated PDF Options Panel displays.
Prepare the Master image using the PDF Options Panel tools, if required.
then,
Click on the File Menu icon on the top panel → then Load Sample or click in the Sample panel to start repeating the process to load sample files.
Step 2: Load Scanned Files
Note: Users can skip Step 2 if Electronic File is being loaded.
Ensure Show Scanner Interface is checked on in the Preferences window.
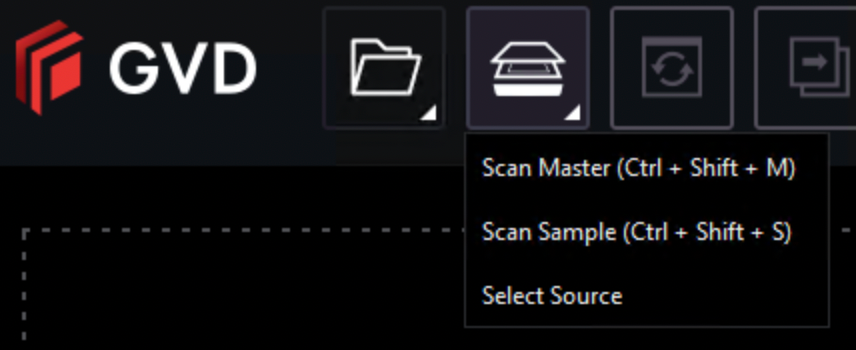
Click on Load from Scanner → then Select Source.
Select the applicable scanner from the Scanner Selection window and click Select.

Or,
Click on Load from Scanner → then Scan Master to scan the Master document. Once scanned the image loads in the Master panel.
then,
Click on Load from Scanner → then Scan Sample to scan the Sample document. Once scanned the image loads in the Sample panel.
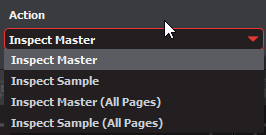
Step 3: Select an Action
To inspect a master file for barcodes:
Click Action → then Inspect Master (for masters placed in the Master panel).
To inspect a sample file for barcodes:
Click Action → then Inspect Sample (for samples placed in the Sample panel).
To inspect multi-page files or multiple files for barcodes:
Click Action → then Inspect Master (All Pages) (for masters placed in the Master panel).
Click Action → then Inspect Sample (All Pages) (for samples placed in the Sample panel).
Step 4: Select Profile
Before performing an inspection, the action and profile for the Barcode Inspection Mode must be set.
Click the arrow on the Profile drop-down menu to access the different options, each of which has its parameters configured a certain way to best accommodate specific scenarios.
Click Profile. Then select the profile that best suits your inspection needs from the drop-down menu.
The following default profiles are installed with the system:
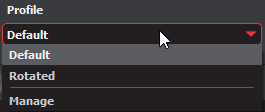
| 1 | Profile | Description |
| 2 | Default | Inspect master or sample files with barcodes in horizontal or vertical orientations |
| 3 | Rotated | Inspect master or sample files with rotated barcodes; Detection speed is slightly slower |
Users can also choose to have their own customized profiles. In order to customize your Barcode profile:
Select on Profile → then click on Manage.
Click Add in Barcode Profiles and enter the custom parameters.
Note: For EAN-13, UPC-A, and UPC-E barcodes the height of the symbol at the nominal size is 22.85 millimeters (0.900 inches). The nominal size is 100% magnification. Therefore, at 300 dpi, the height should be less than 300 pixels. If not, this can result in separate magnification values for Default and Rotated profiles.
Step 5: Run the Inspection
Click Inspect and the results display in the Inspection View.
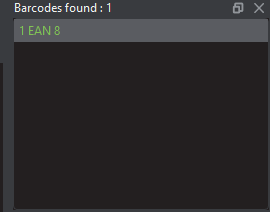
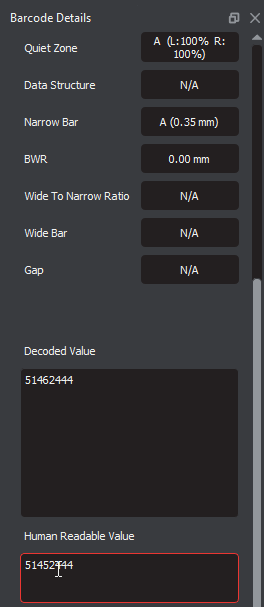
Step 6: View the Results
To view the inspected file:
To review the difference list navigate through them using either keyboard arrows or by clicking on each difference.
Use the trackwheel to zoom in or out.
Hold the left mouse button and move it around to pan the image.
Step 7: Go through differences to assign levels and comments
Step 8: Modifying/Resetting Inspection Results
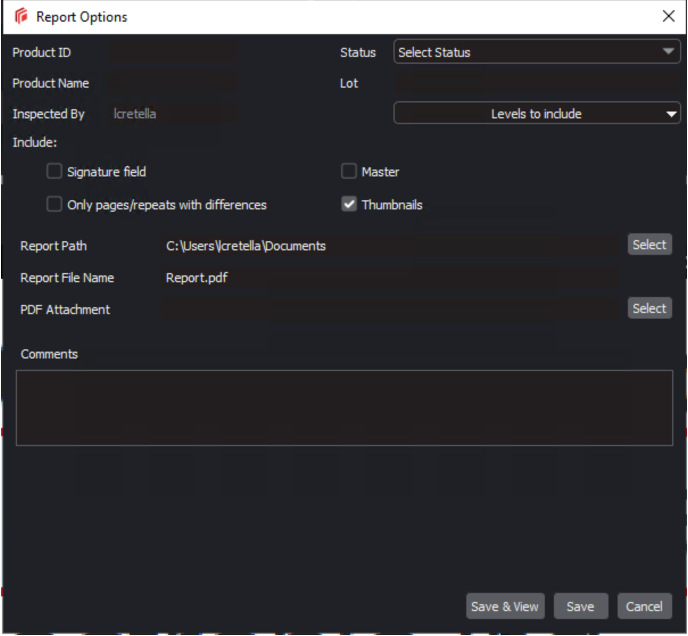
Step 9: Generate the Report
Click the Report icon.
Note: If Digimarc support is enabled, all information regarding that aspect of the inspection is found appended to the PDF report. No other action is required on the part of the user.