Color Inspection - Step-By-Step
Summary
This section describes the steps to follow when running a color inspection.
Steps
Step 1: Load Electronic Files
Note: Users can skip to Step 2 in case of Loading Scanned Files.
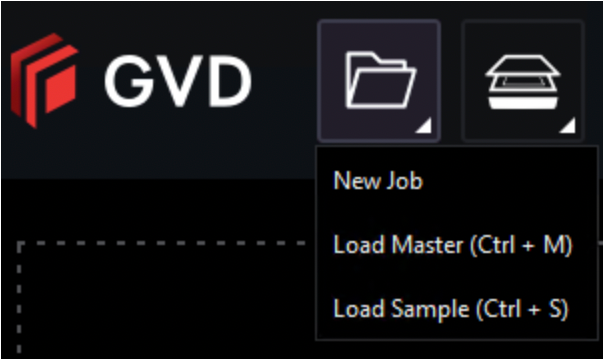
Click on the File Menu icon on the top panel→ then click Load Master or click in the Master panel to select the file to be loaded. The Master image loads in the Master panel.
Note: Only PDF and TIFF files with embedded ICC profiles are supported by Color Inspection.
If the file is a PDF:
The integrated PDF Options Panel displays.
Prepare the Master image using the PDF Options tools, if required.
then,
Click on the File Menu icon on the top panel → then Load Sample or click in the Sample panel to start repeating the process to load sample files.
Step 2: Load Scanned Files
Note: Users can skip Step 2 if Electronic File is being loaded.
Ensure Show Scanner Interface is checked on in the Preferences window.
Place the "ColorChecker Digital SG" chart in the Color Inspection-approved scanner in such a way that the output is in a landscape layout.
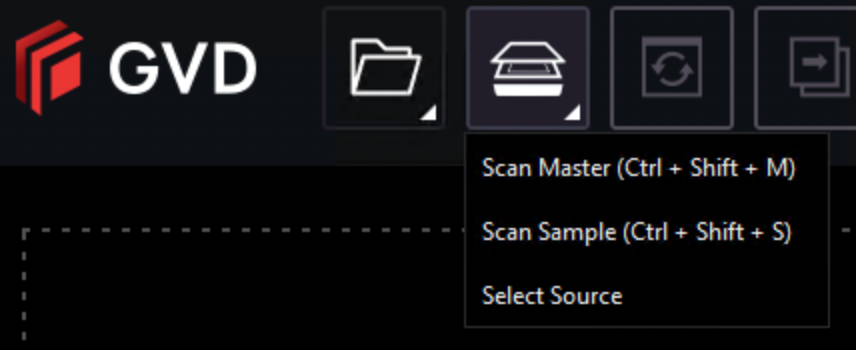
Click on Load from Scanner → then Select Source.
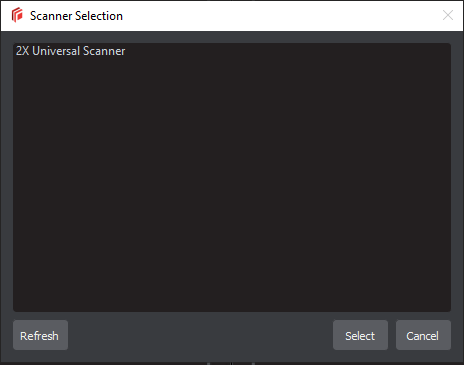
Select the applicable GlobalVision scanner (approved for Color Inspection) from the Scanner Selection window and click Select.
Or,
Click on Load from Scanner → then Scan Master to scan the Master document. Once scanned the image loads in the Master panel.
then,
Click Load from Scanner → then Scan Sample to scan the Sample document. Once scanned the image loads in the Sample panel.
Step 3: Select an Action
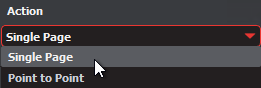
To compare points selected on a single master page to the same points on a single sample page or press sheet:
Set Action → Single Page.
To compare individual points selected on the Master with individual points selected on the Sample:
Set Action → Point to Point.
Note: Multi-page files are not supported in Color Inspection Mode.
Step 4: Select Profile
Click the Profile drop-down menu to access the list of available profiles.
Note: None is the default profile. Users of any type (standard users, managers, or administrators) can easily create profiles, which consist of collections of points on a master (and sample, in the case of Point to Point inspections) to compare, just prior to running a color inspection. For more information, see Step 8 Create a Profile (Optional).
Step 5: Select Colors to Measure
Note: Users can skip to Step 6 to select Colors to Inspect.
Click on the Color Inspector icon to launch the Color Inspector window.
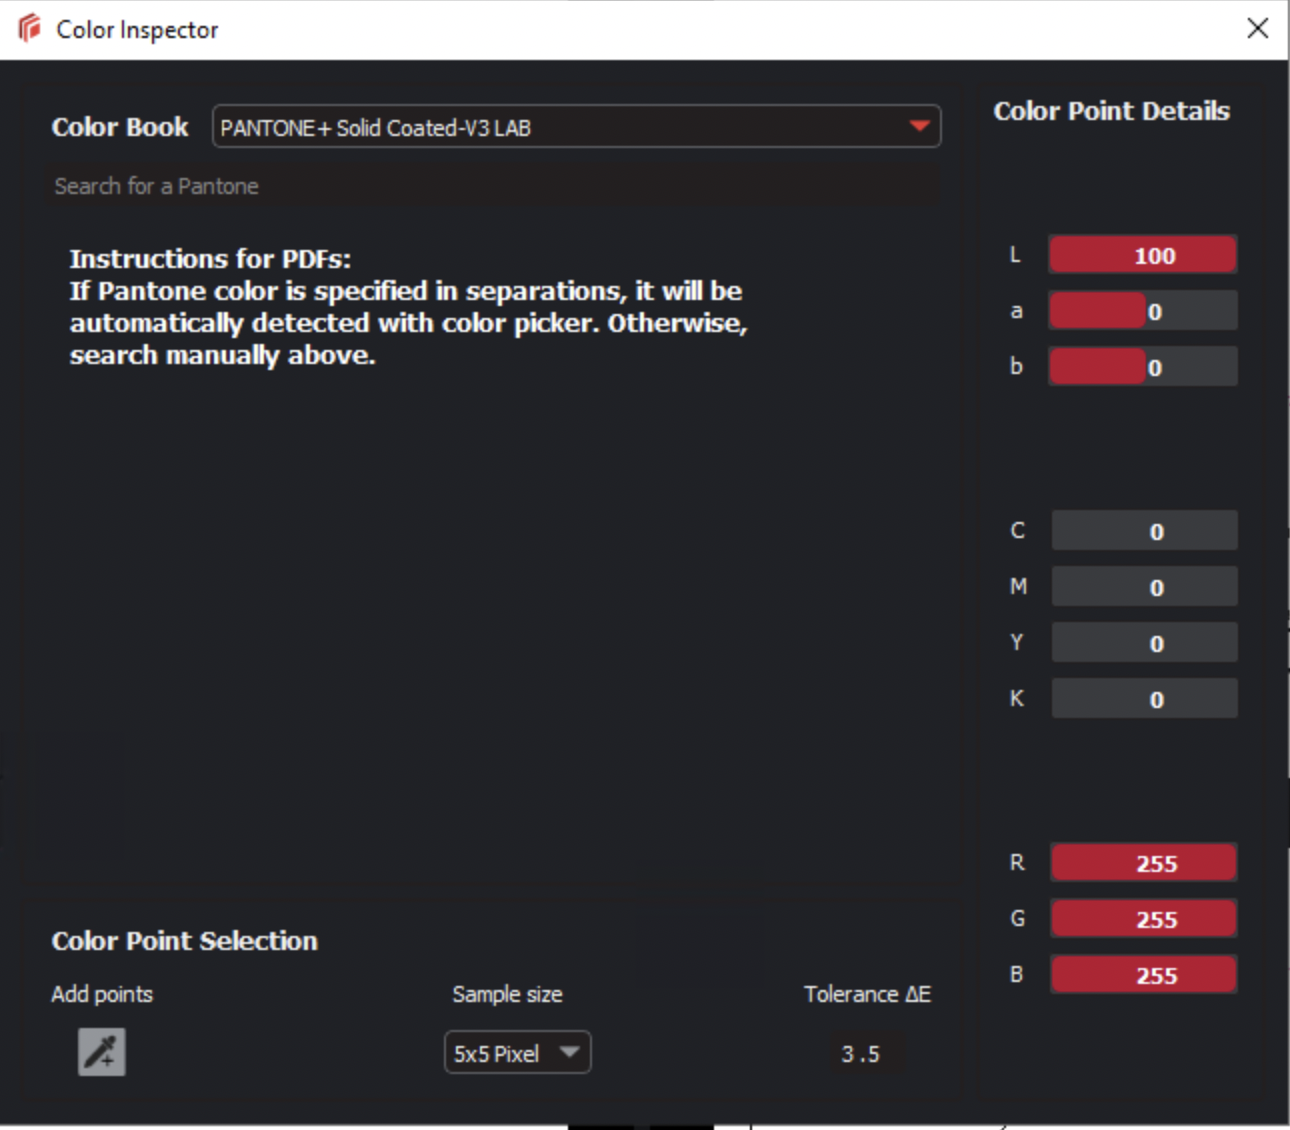
Select the applicable Pantone color book from the drop-down list of the same name.
Note: To search the selected Pantone book for reference purposes, enter in a value in the Search for a Pantone prompt directly below the Color Book drop-down list. The closest Pantone values display in the field directly below.
Select the sample size (1x1 pixel, 2x2, 5x5) using the drop-down list of the same name.
When moving the cursor over the Master, click on a color to display its LAB, CMYK, and RGB values (along with the closest Pantone colors, which display directly underneath the Search for a Pantone prompt).
Alternatively,
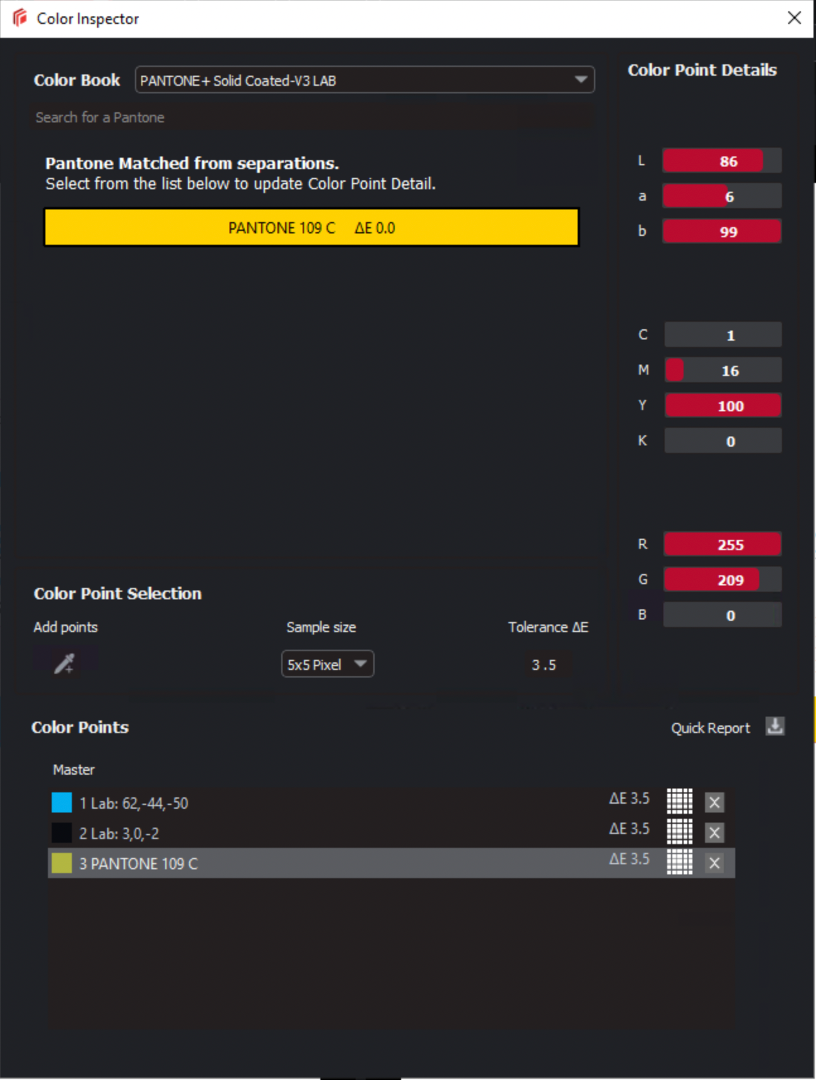
Click on the Add points icon and then on points on the Master, each of which gets listed under the Color Points heading, which appears.
Note: In the case of a PDF file, the Color Inspector automatically detects Pantone colors specified in the separations. Otherwise, the closest Pantone matches display. In the event no Pantone match to a selected point is found, click on one of the closest matches (or manually search for a Pantone and then click on it) to substitute it in under the Color Points heading.
To remove a Point:
To remove a specific point under the Color Points heading, click the "X" that appears to its far-right, beside the selected ΔE level and sample size.
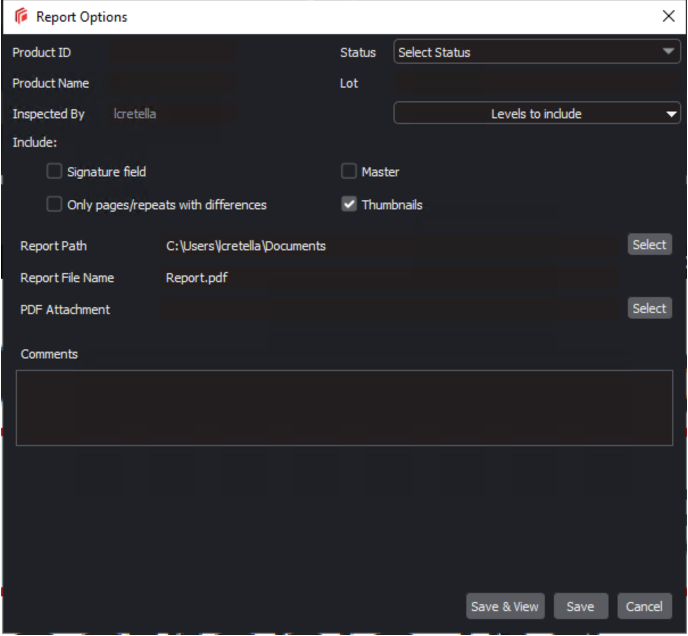
To generate a Quick Report:
Click on the Quick Report icon to launch the Report Options window and start the process of generating a report that includes all the LAB, CMYK, RGB, and Pantone information, bypassing the inspection (comparison) process.
Step 6: Point to Point
Click on the Add points icon and then on different points on the Master to compare to the Sample file.
Point selection is required only on the Master file, the Sample file’s point will be derived automatically.
The points can be added in any sequence. The selected points get listed under the Color Points heading that appears, while the individual LAB, CMYK, RGB, and Pantone values display above.
In the case of a PDF file, the Color Inspector automatically detects Pantone colors specified in the separations. Otherwise, the closest Pantone matches display. In the event no Pantone match to a selected point is found, click on one of the closest matches (or manually search for a Pantone and then click on it) to substitute it under the Color Points heading
To remove a Point:
To remove a specific point from under the Color Points heading, click the "X" that appears to its far-right, beside the selected ΔE level and sample size.
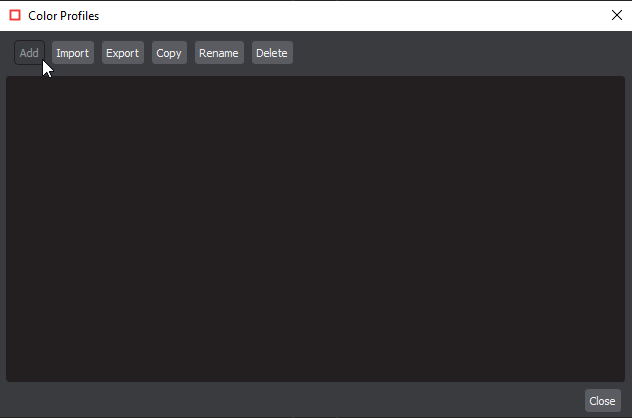
Step 7: Create a Profile (Optional)
Select Manage from the Profile drop-down list. Click Add and a prompt appear, requesting a name.
Enter the name of the profile and click OK.
Select the newly created profile from the Profile drop-down list for the previously selected color points to take effect, prior to any subsequent inspection (for repeat jobs with the same Master, for example).
Note: If a Point to Point profile is selected, the application automatically switches to the appropriate action if it had previously been set to Single Page or One to One.
Step 8: Run the Inspection
Click Inspect. The images are inspected and the differences display in the Inspection View Sample panel.
Step 9: View the Results
To view the inspected file:
Use the trackwheel to zoom in or out.
Hold the left mouse button and move it around to pan the image.
To view a repeat:
Click on the desired repeat that appears in the Repeats found panel. It appears in the Inspection View Sample panel.
Step 10: Go through differences to assign levels or comments
Step 11: Modifying/Resetting Inspection Results
Step 12: Generate the Report
Click the Report icon.