5.9.0 - Graphics Inspection - Step-By-Step
Summary
This section describes the steps to follow when running a graphics inspection.
Steps
Step 1: Load Electronic Files
Note: Users can skip to Step 2 in case of Loading Scanned Files.
For Single-Page Inspections:
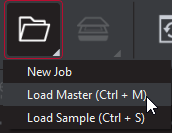
Click the File Menu icon on the top panel → then click Load Master or click in the Master panel to launch the load-file window. Select the Master file from the load-file window and click Open.
Or,
You can also load a file by using "drag and drop."
If the Master is either BMP, PNG, TIF, TIFF, JPG, or LEN file, the image loads in the Master panel.
If the Master is a PDF or AI file:
Prepare the Master image(if required, using integrated PDF Options tools) to hide layers and/or separations, use shapes as regions for repeat detection, etc.
then,
Again click the File Menu icon on the top panel → then click Load Sample or click in the Sample panel to start repeating the process to load the Sample file.
For Multi-Page Inspections:
Click the File Menu icon on the top panel→ then click Load Master or click in the Master panel to launch the load-file window. Select the Master file from the load-file window and click Open.
Or,
You can also load a file by using "drag and drop."
The first page of the Master image loads in the Master panel. The others can be selected from the Page Navigation drop-down list at the bottom of the panel.
If the Master is a PDF or AI file:
Prepare the Master image(if required, using PDF Options tools) to hide die lines, layers, and/ or separations, use shapes as regions for repeat detection, etc.
then,
Again click the File Menu icon on the top panel → then click Load Sample or click in the Sample panel to start repeating the process to load the Sample file(s).
For Multi-Files Inspections:
Click the File Menu icon on the top panel → then click Load Master or click in the Master panel to launch the load-file window. Select the Master file from the load-file window and click Open.
Or,
You can also load a file by using "drag and drop."
Repeat the same file upload process again, on top of the first file, to add a new master file.
Observe the Page numbers being increased as files keep getting added after the other.
then,
Again click the File Menu icon on the top panel → then click Load Sample or click in the Sample panel to start repeating the process to load the Sample file.
Repeat the same process for Samples to add Multiple Sample files for your inspection.
Step 2: Load Scanned Files
Note: Users can skip Step 2 if Electronic File is being loaded.
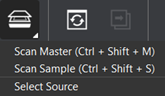
Click Load from Scanner → then Select Source.
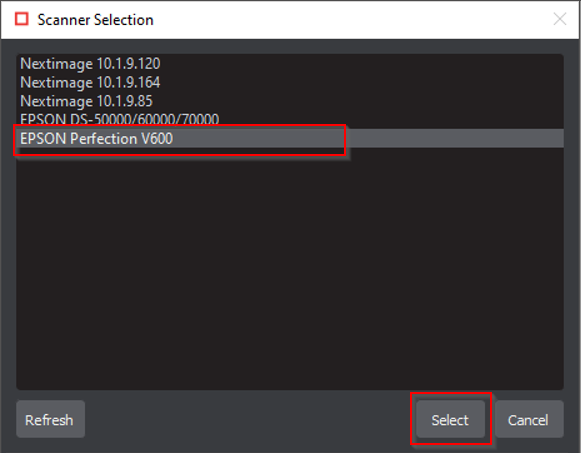
Select the applicable scanner from the Scanner Selection window and click Select.
Or,
Click Load from Scanner → then Scan Master to scan the Master document. Once scanned the image loads in the Master panel.
then,
Click Load from Scanner → then Scan Sample to scan the Sample document. Once scanned the image loads in the Sample panel.
Step 3: Ensure proper Inspection Area is selected using the Pre-Inspection Tools
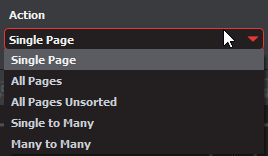
Step 4: Select an Action
To compare a single master page to a single sample page or press sheet:
Note: Only the displayed page on the Master and Sample panel would be inspected.
Set Action → then Single Page.
To compare all master pages or files to all sample pages or files:
Set Action → then All Pages.
Note: The pages must be in order to allow for comparison. Repeats per page are not supported.
To compare all master pages or files to all sample pages or files when they are in a different order:
Set Action → then All Pages Unsorted.
Note: Repeats per page are not supported.
To compare a single-page master file to a multi-page sample file with repeats:
Set Action → then Single to Many.
Note: This is useful for comparing a batch of press sheets against the Master or checking the number of instances the Master appears on the Sample side.
To compare unsorted multi-page master files to unsorted multi-page sample files with repeats:
Set Action → then Many to Many.
Note: This is useful for comparing batches and for gang sheets. This action requires the most memory.
Step 5: Select Profile
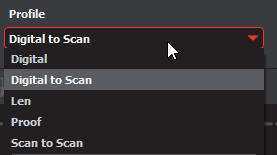
Click on Profile. Select the profile from the drop-down menu, that best suits your inspection needs to detect the required differences. There is also an option to create custom profiles, check our Administration Guide for more details.
The following default profiles are installed with the system:
| 1 | Profile | File Types (Master and Sample) |
| 2 | Digital | Electronic original artwork and a revised copy |
| 3 | Digital to Scan | Electronic original artwork and a scanned image |
| 4 | Len | Run Length Encoding bitmap file and a Run Length Encoding bitmap file |
| 5 | Proof | Electronic original artwork and a digital proof |
| 6 | Scan to Scan | Scanned image and a scanned image |
Note: Please visit the Profile Settings to understand the process of adding. deleting or modifying a Profile.
Step 6: Run the Inspection
Click on Inspect. The images are inspected and the differences display in the Inspection View panel.
Step 7: View the Results
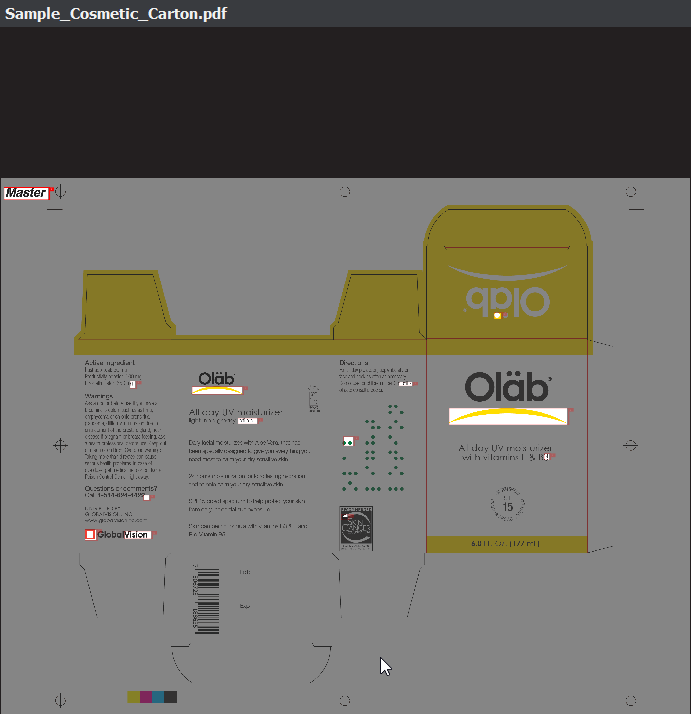
To view the inspected image or file:
To review the difference list navigate through them using either keyboard arrows or by clicking on each difference. Use the trackwheel to zoom in or out of the Master or Sample panels.
Hold the left mouse button and move it around to pan the image.
To review multiple pages, navigate through the pages using the Page Navigation drop-down list at the bottom left of either panel.
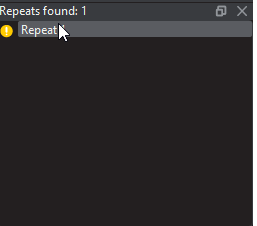
To view a repeat:
Click the desired repeat in the Repeats found under the layout panel or your left. Repeats with differences are highlighted in red. Repeats without differences are highlighted in green.
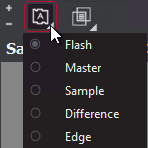
In the Sample Panel, there are several ways to view differences:
Click on Image to display the drop-down menu.
Click Flash to alternately display the differences between the Master and Sample images. To change the rate at which the images alternate:
Click on the '+' sign, beside the Image to display to increase the Flash rate.
Click on the '-' sign, beside the Image to display to decrease the Flash rate.
Click Master to display the Master image.
Click Sample to display the Sample image.
Click Difference to display the Difference image.
Click Edge to display the Edge Difference image.
Step 8: Go through differences to assign levels and comments
Step 9: Modifying/Resetting Inspection Results
Step 10: Generate the Report
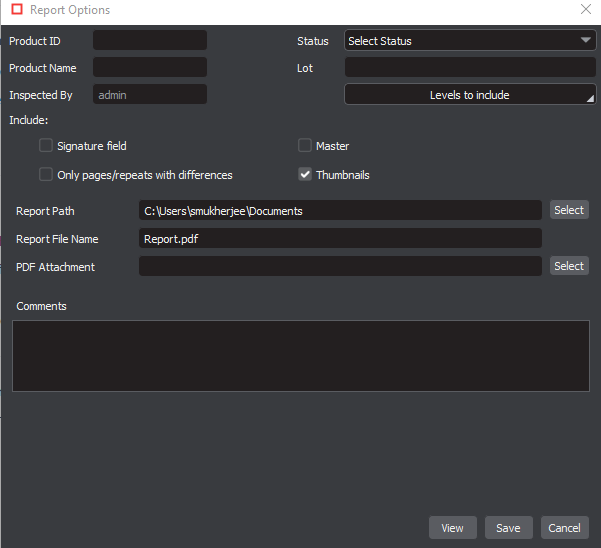
Click the Report icon.