5.9.0 - Spelling Inspection - Step-By-Step
Summary
This section describes the steps to follow when running a spelling inspection.
Steps
Step 1: Load Files for Spelling Inspection
To inspect spelling:
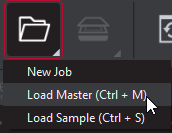
Click on the File Menu icon on the top panel → then Load Master or click in the Master panel to launch the load-file window. The Master image loads in the Master panel.
Or,
You can also load a file by using drag and drop.
If the file is a PDF:
The integrated PDF Viewer displays.
Prepare the Master image using the PDF Viewer tools, if required. Click Inspect for the results to display in the Inspection View.
then,
Click on File Menu → then Load Sample or double-click in the Sample panel and follow the same steps as above.
Step 2: Load Scanned Files
Note: Users can skip Step 2 if Electronic File is being loaded.
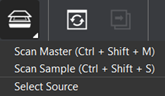
Click on Load from Scanner → then Select Source.
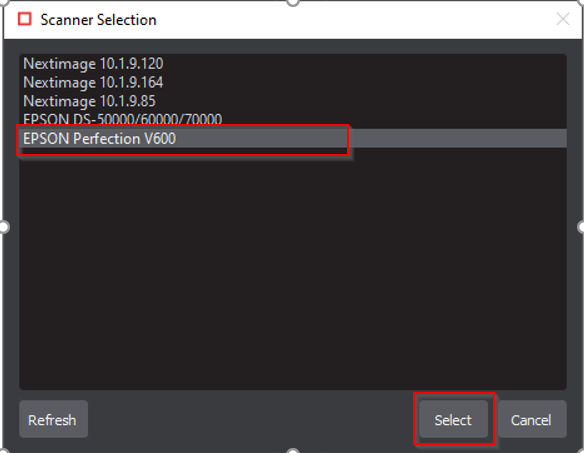
Select the applicable GlobalVision scanner from the Scanner Selection window and click Select.
Or,
Click on Load from Scanner → then Scan Master to scan the Master document. Once scanned the image loads in the Master panel.
then,
Click on Load from Scanner → then Scan Sample to scan the Sample document. Once scanned the image loads in the Sample panel.
Step 3: Select an Action
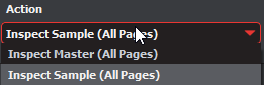
To inspect the file in the Master panel for spelling:
Click Action → Inspect Master (All Pages).
To inspect the file in the Sample panel for spelling:
Click Action → Inspect Sample (All Pages).
Step 4: Select a Language
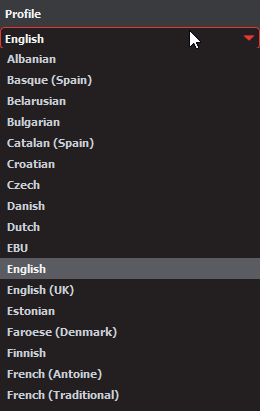
Click the Profile drop-down menu to access the Application's library of available languages. Select the language that best suits your inspection needs from the drop-down menu.
Step 5: Ensure proper Inspection Area is selected using the Pre-Inspection Tools
Step 6: Run the Inspection
Click Inspect. The files are inspected and the differences display in the Inspection View.
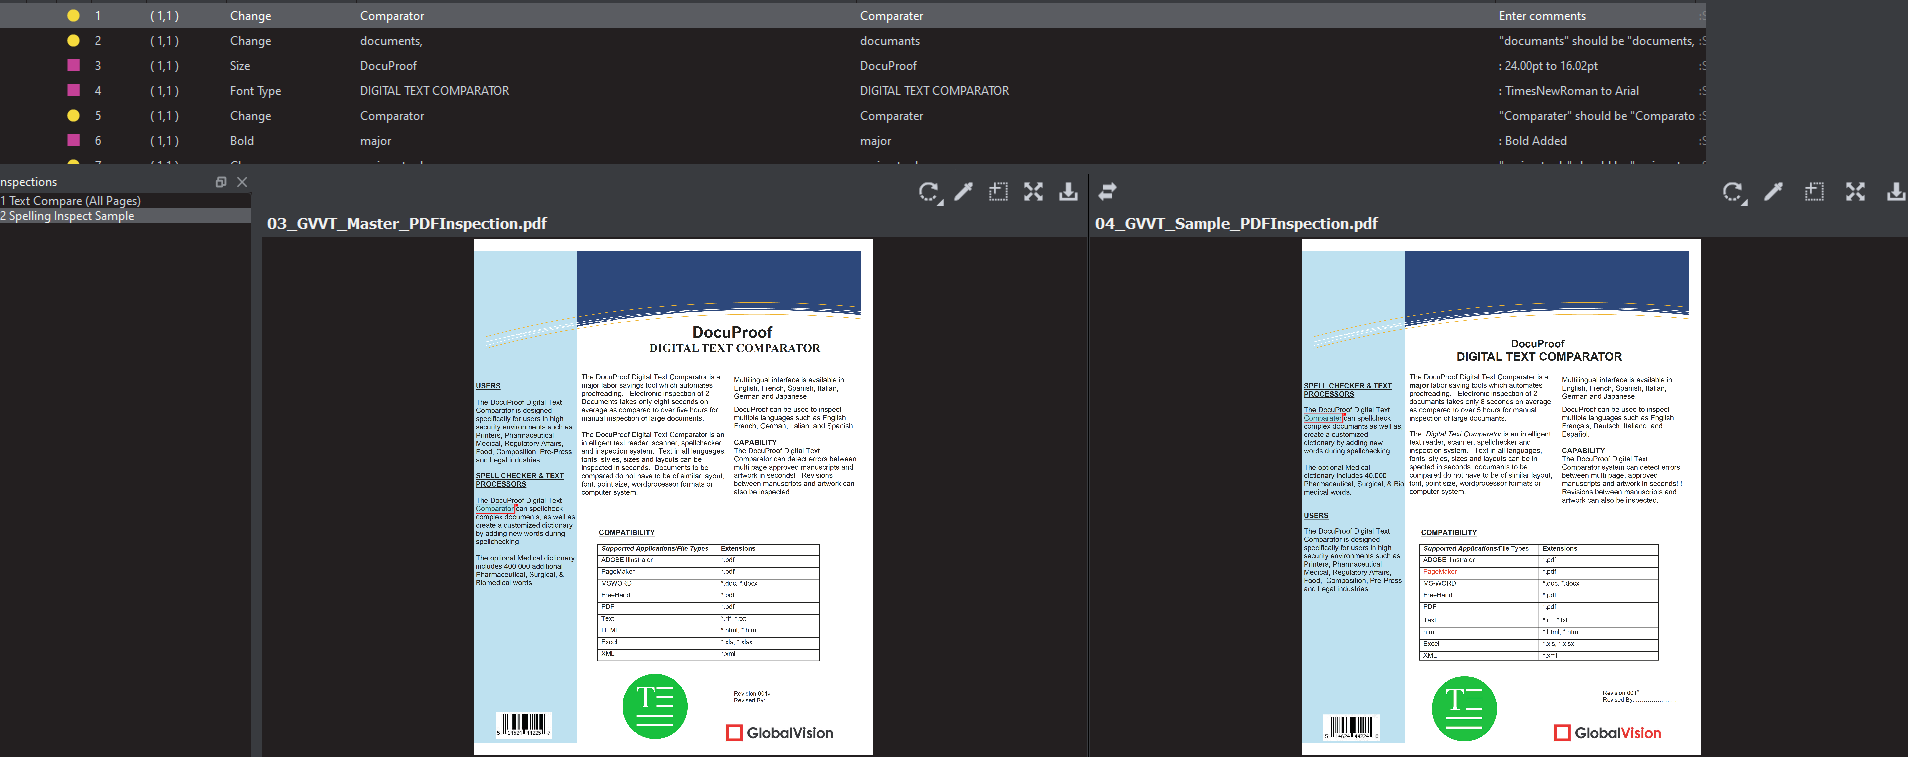
Step 7: View the Results
To view the inspected file:
To review the difference list navigate through them using either keyboard arrows or by clicking on each difference.
Use the trackwheel to zoom in or out.
Hold the left mouse button and move it around to pan the image.
Step 8: Go through differences to assign levels and comments
Step 9: Modifying/Resetting Inspection Results
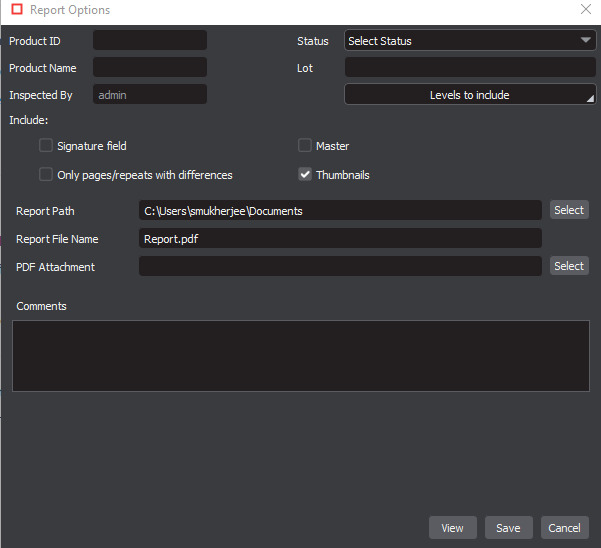
Step 10: Generate the Report
Click the Report icon.