Step 1: Loading Files
Source and New Panels

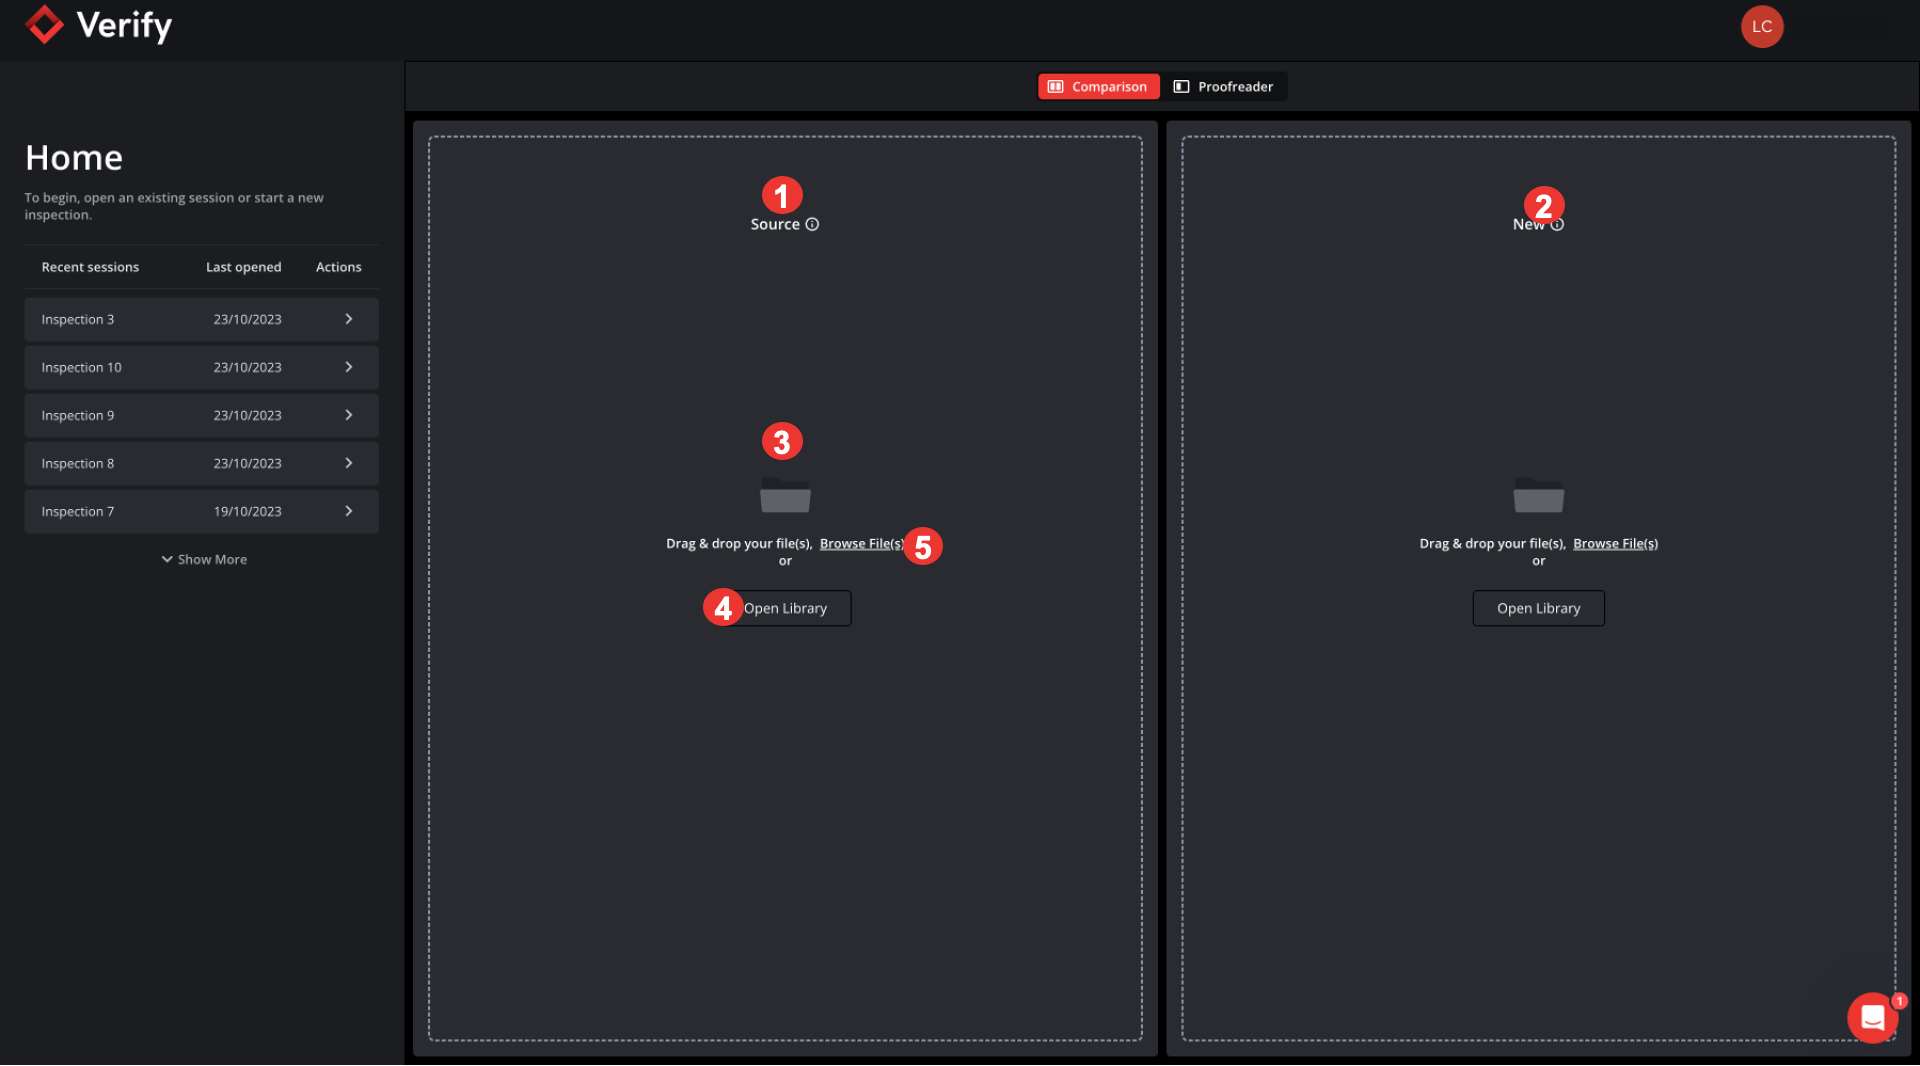
To initiate the comparison inspection process, the user should upload files in both 1. Source and 2. New panels.
Note: File types that are supported include:
DOC/DOCX,
PPT/PPTX,
PDF,
XLS/XLSX,
XML (new XML upload support, refer to section below for more details) - including SPL format support,
AI (in compatibility mode).
Single File Inspection

It is now possible to initiate a proofreader rather than performing a comparison of two files.
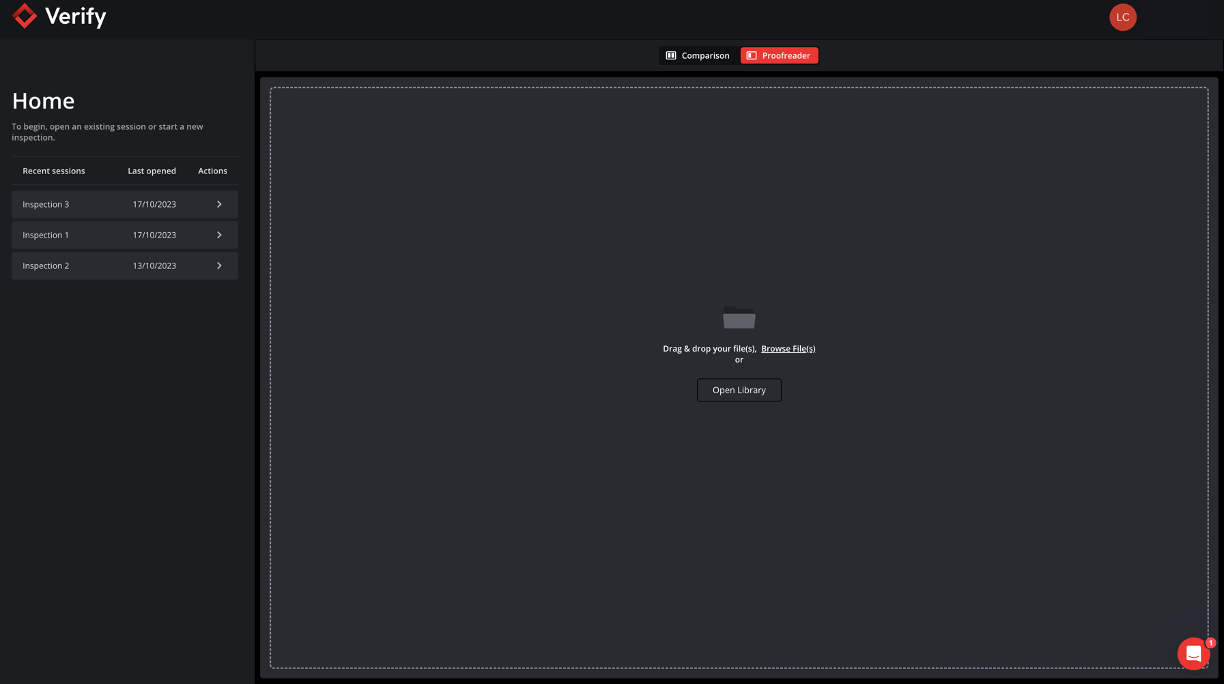
This feature requires the user to upload a single file and the inspection can be initiated. The user may select to perform Spell checks, Barcode and Braille Inspections on one file, essentially performing a full proofreading for any of the aspects above.
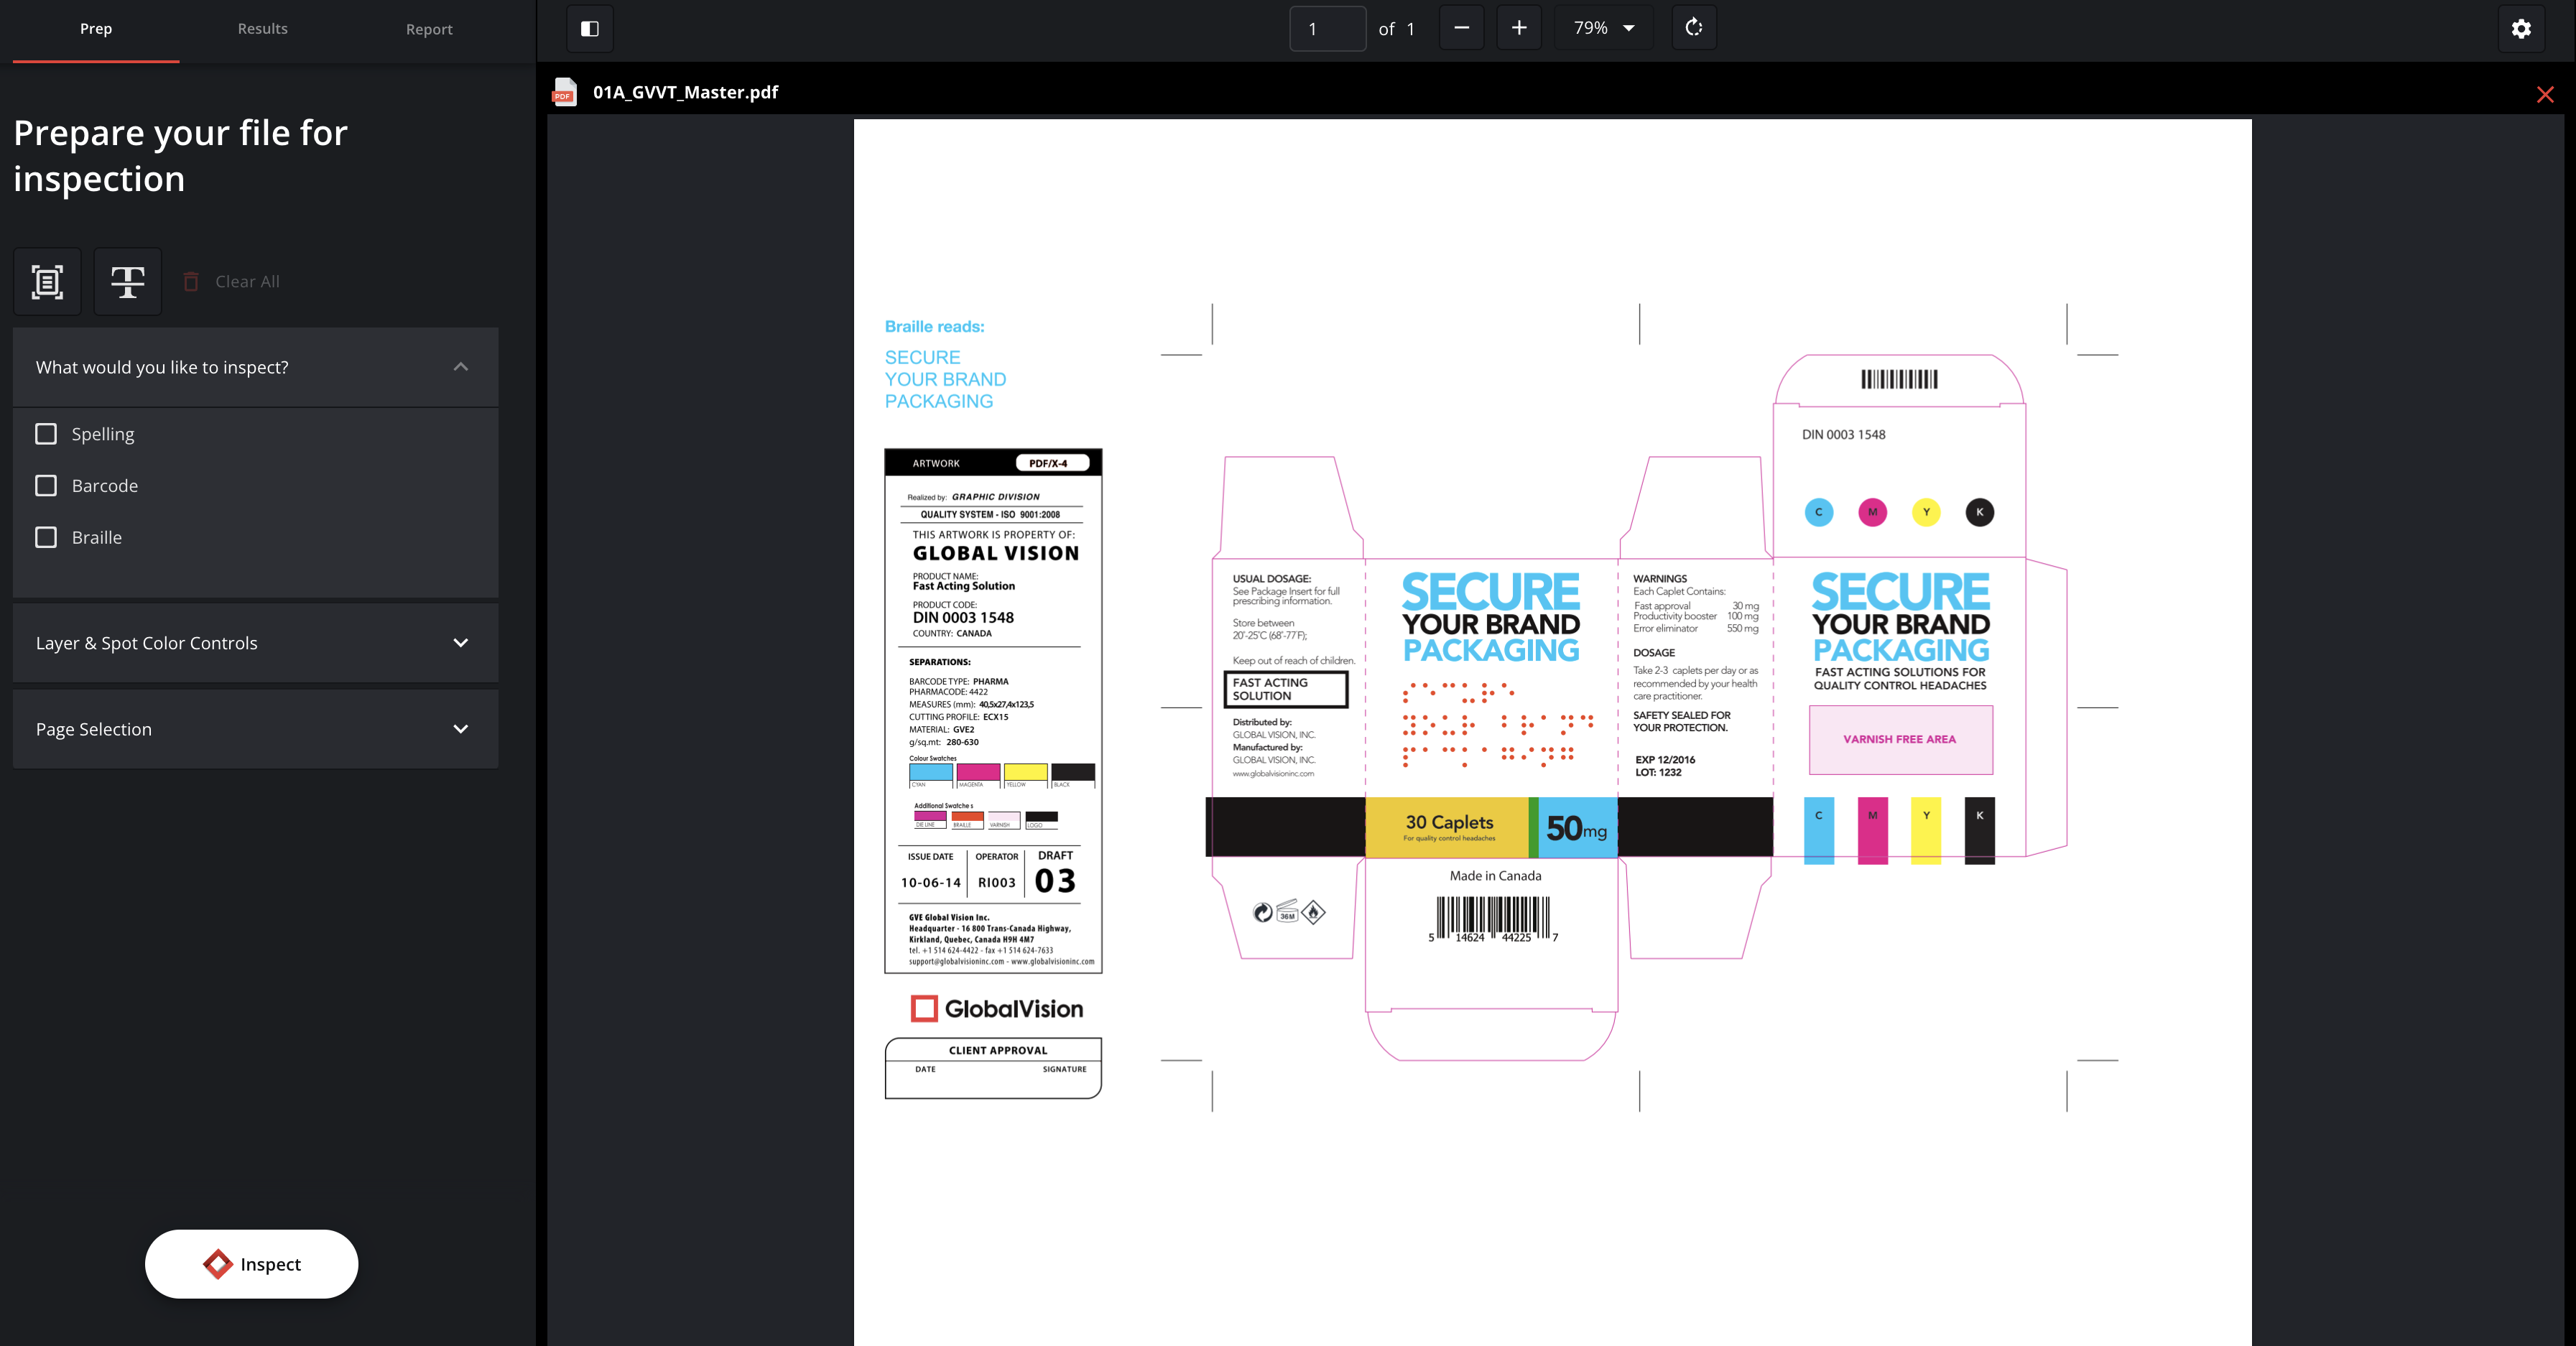
Layer & Spot Color Controls and Page Selection are still available for the user to refine the proofreading inspection.
Start a New Session
To start a new session, you must load files using one of the following 3 methods:
Note: All methods apply for both Source and New panels
3. Drag and Drop
4. Load files from Library
5. Load files from a File Browser
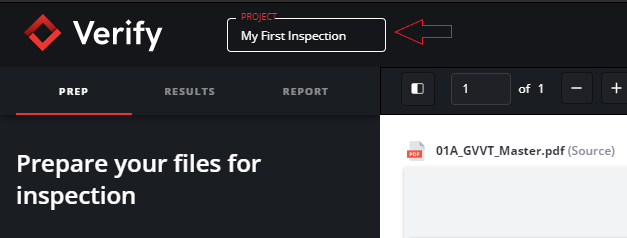
When two files are loaded, you have the ability to name your Session:
Click on the Project text field
Enter the desired name

Note: If you choose not to provide a name, the default name of your session will be Inspection and a number that increases incrementally (Inspection 1, Inspection 2, etc.).
1. Drag and Drop
Load any file by dragging it from your chosen file storage location and releasing it in the Source and/or New panel.
Click on the file you wish to upload
Drag the file into the desired panel
Release the file
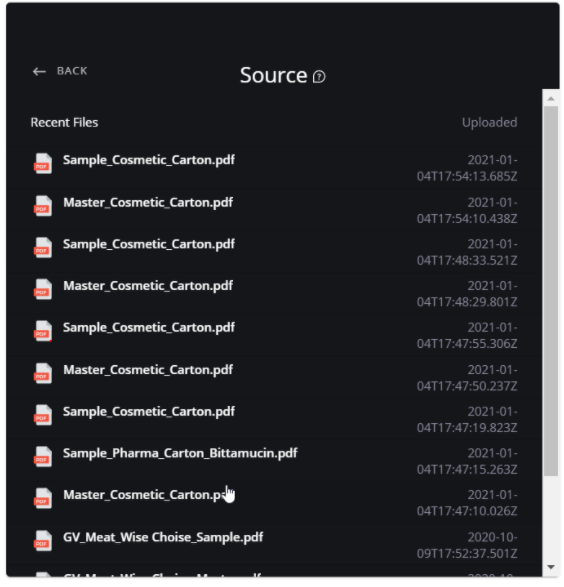
2. Library
Re-load a previously uploaded file from the Library.
Click on
LibraryClick
Backto return to the loading screen.
Select the file you wish to upload under
Recent Files.The file will load once selected.
3. File Browser
Upload a new file in the Source and/or New panel
Click
Browsein the chosen panelSelect the file you wish to upload
Click
Open(or double click the desired file)
Uploading XML Files
XML file support was introduced with 2023.5 release, which provides a much more user-friendly experience when dealing with such files. When uploading an XML file, Verify will create a PDF based on the tags available in the raw file. The newly created PDF can then be edited and prepared for inspection as any other document.
Loading Recent Sessions
Re-loading a recent session will display previously initiated or completed inspections.
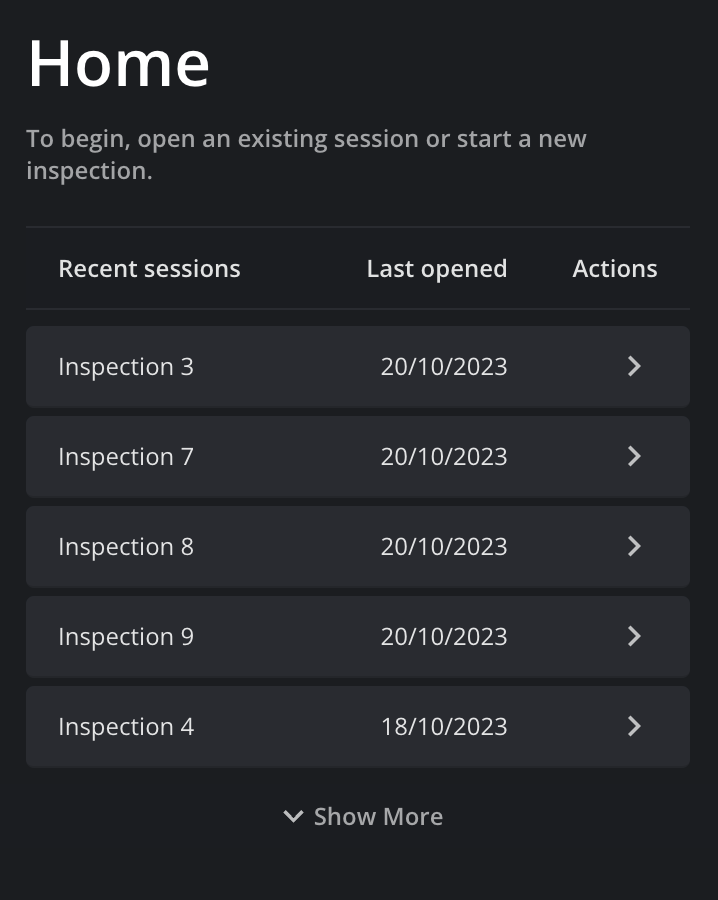
Click one of the sessions listed under Recent Sessions.
The session will load the way it was before closing.
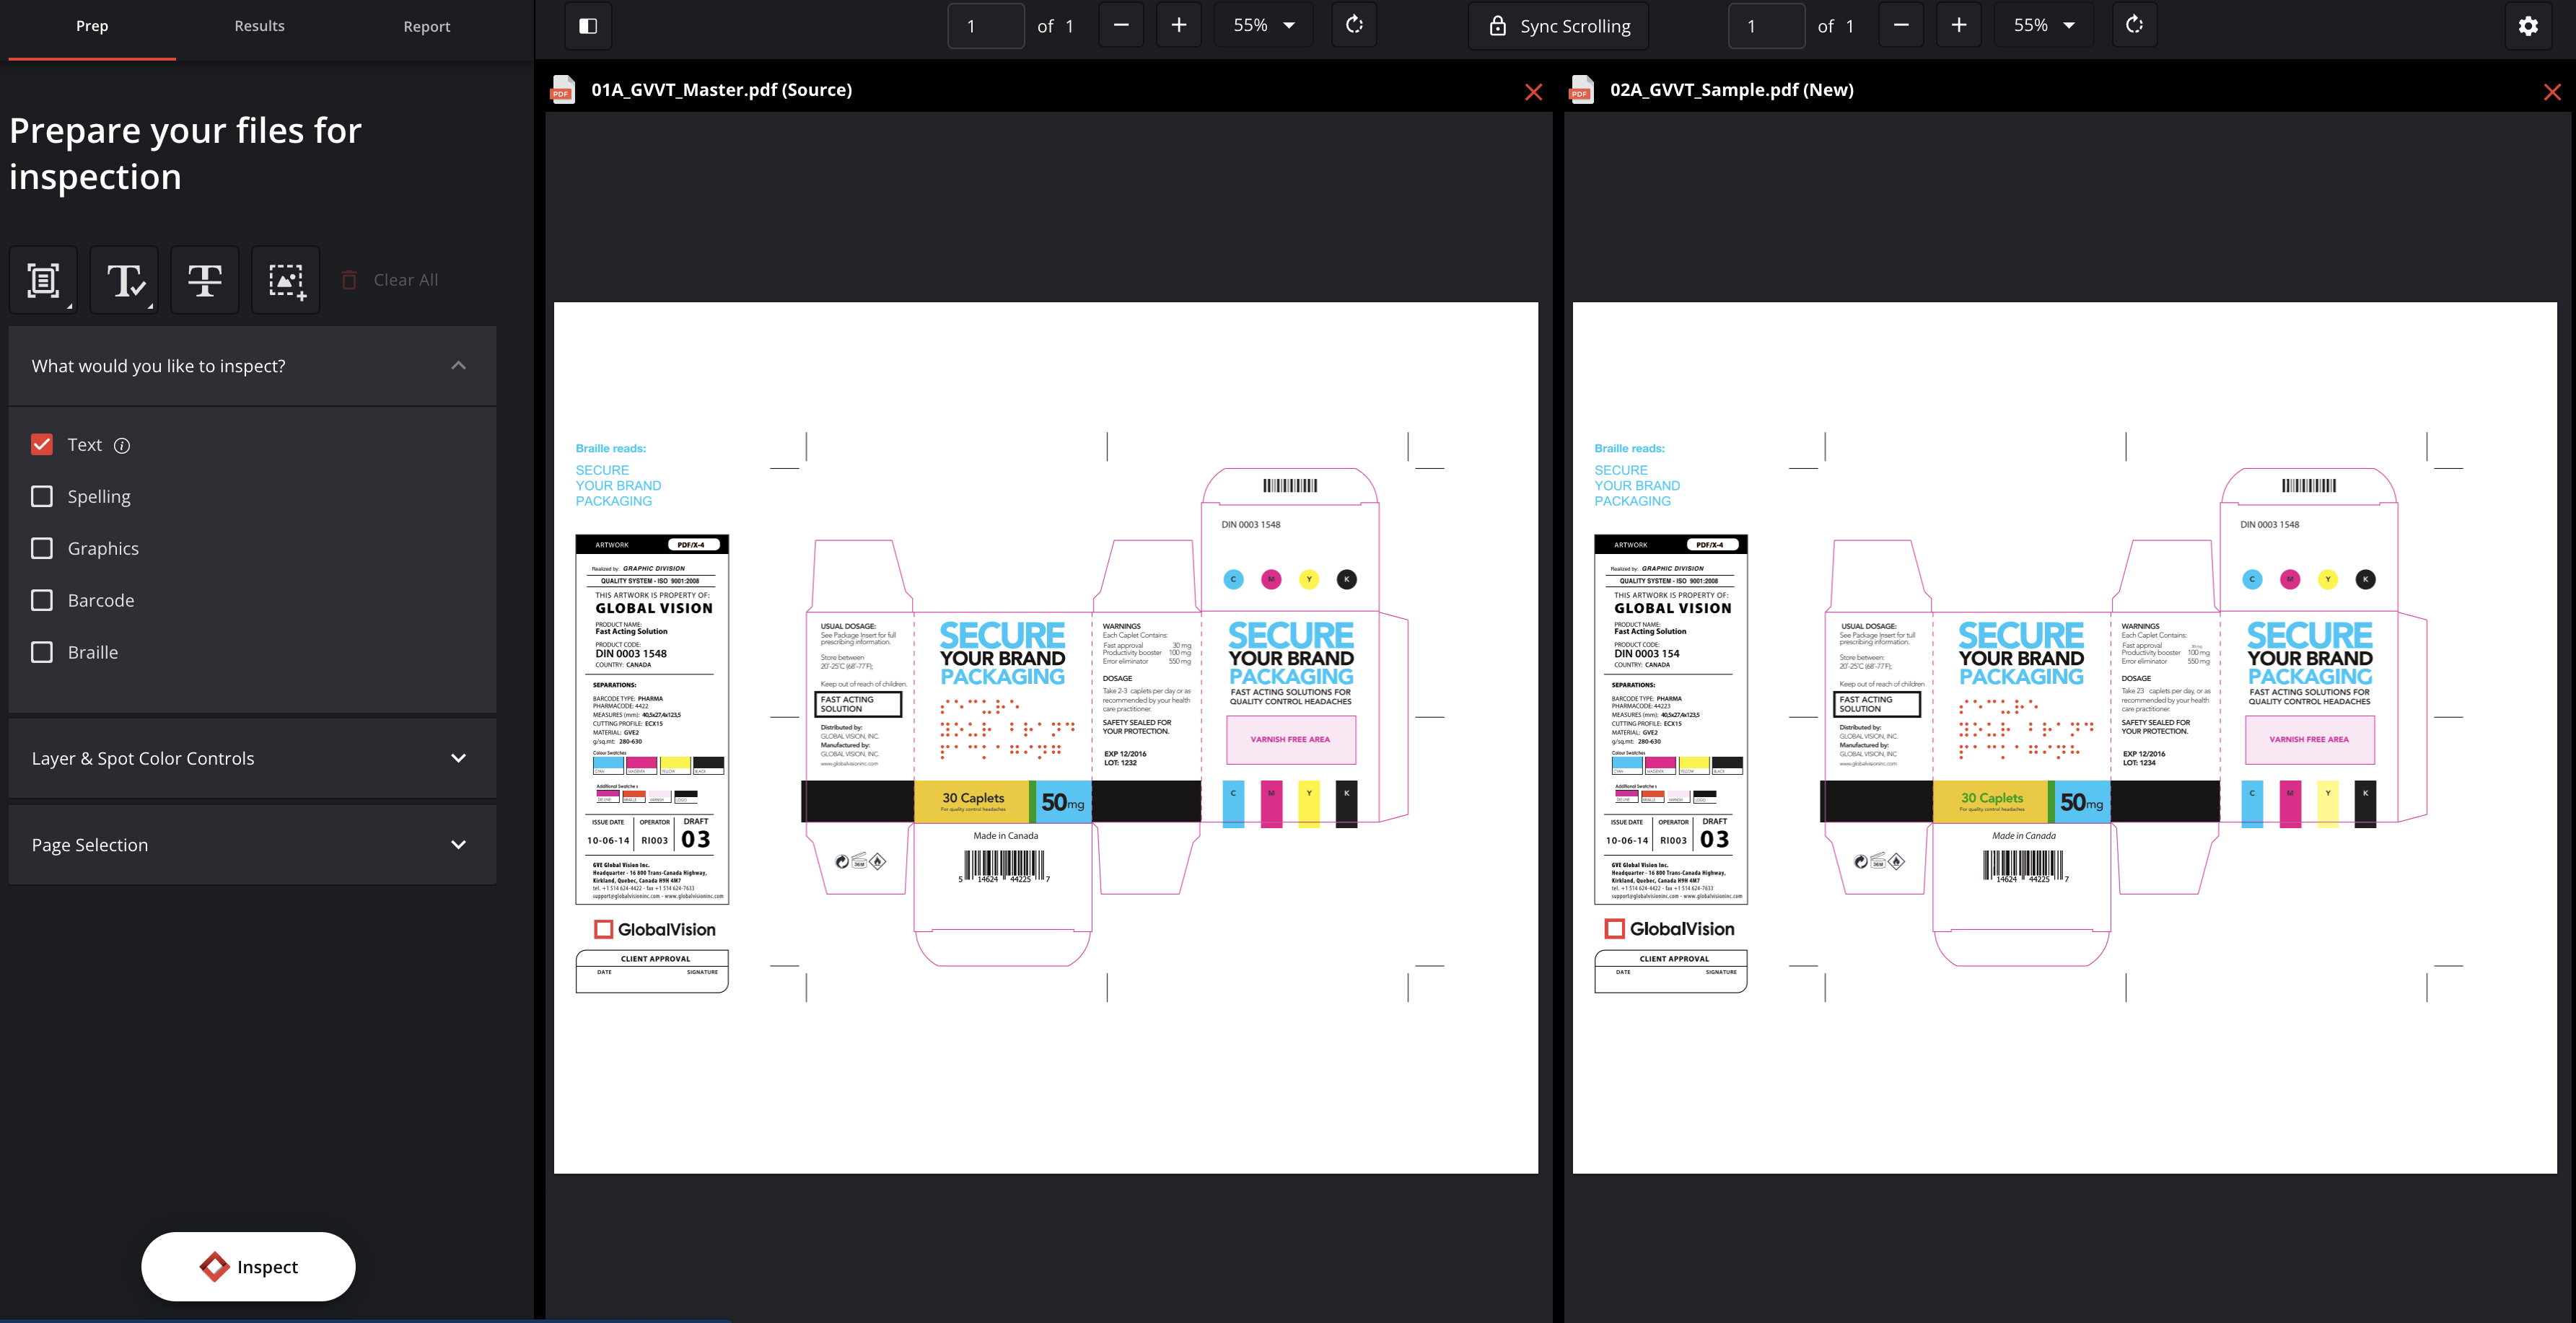
Ultimately, when you load your files successfully, it should look something like this:
To remove the uploaded file, click the X at the top right corner of the panel (magnified in the screenshot below).
You will then return to the Library page.
Multi-File Upload
It is possible to upload more than one file for inspection, whereas all the uploaded files are merged into a single one for comparison.
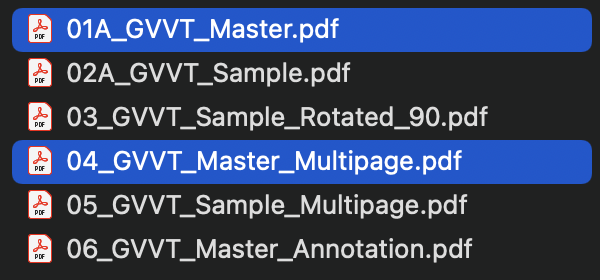
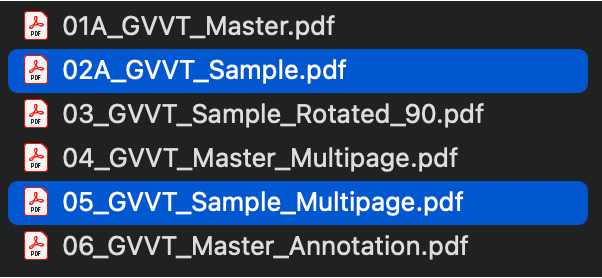
When uploading the files, the user is now able to choose more than one file when browsing.
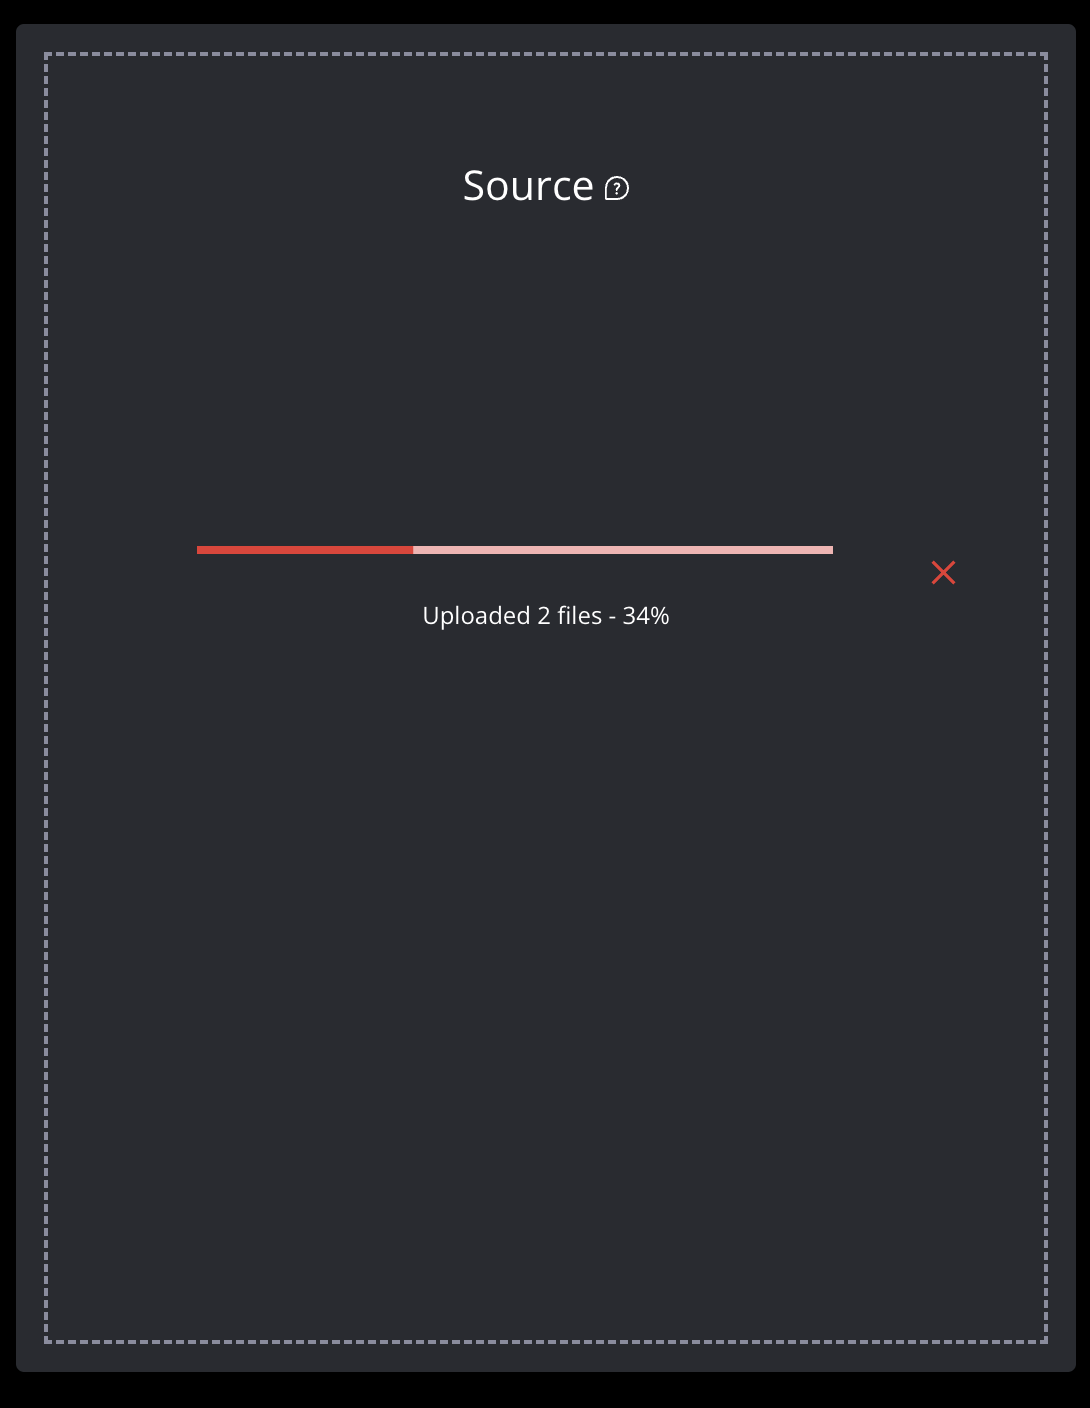
When all required files are selected, Verify will upload and merge the files.
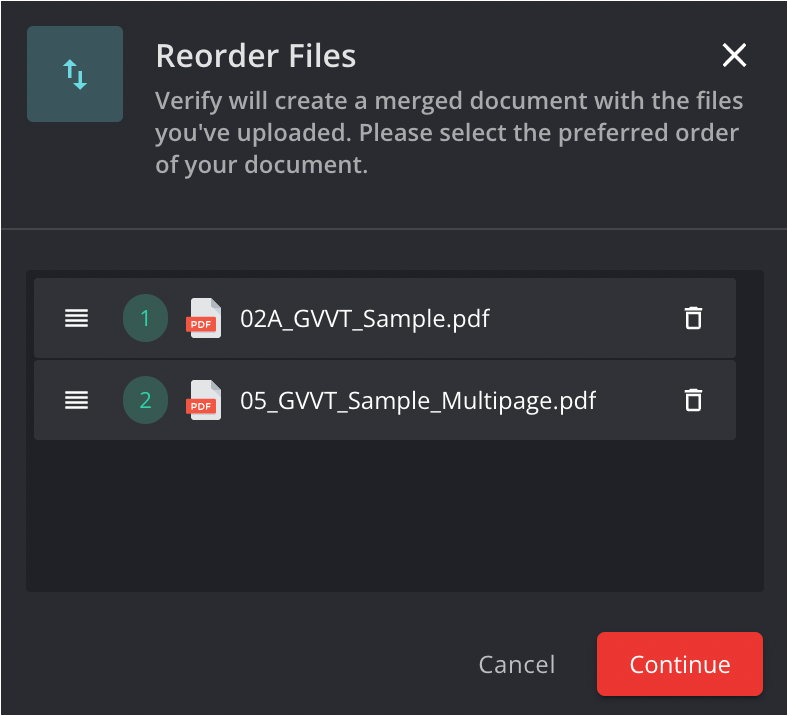
The user is then able to reorder (1) the files based on their desires, and - in case of a mistake - delete (2) the file(s) selected for inspection to exchange them for others, if so desired.
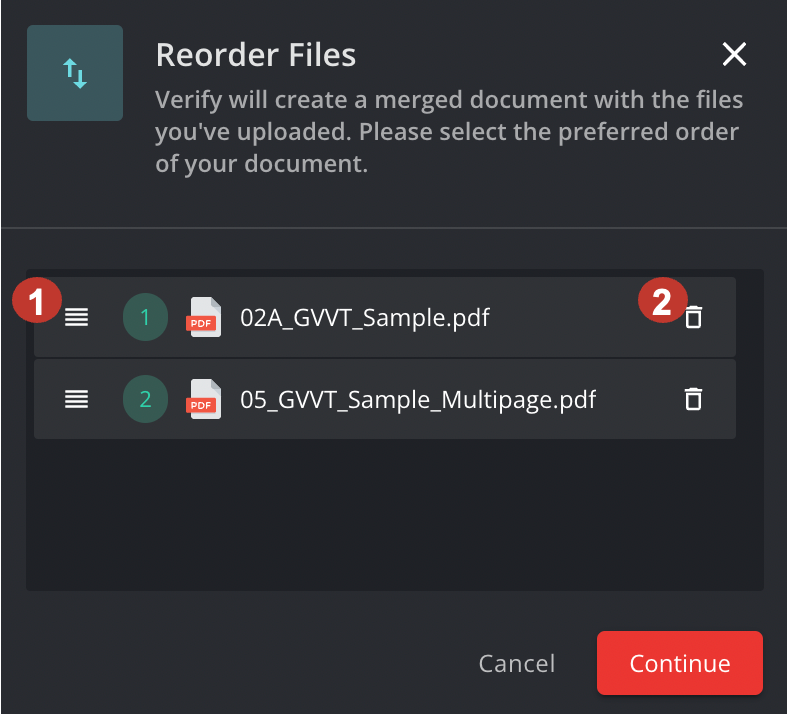
The system will then show the last accepted order of the files for inspection.
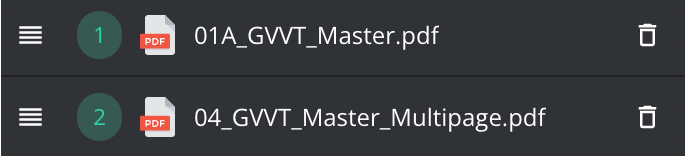
Once the order is accepted, the files are merged for inspection. The naming convention of the files will show that it is a file that contains multiple files - also highlighting the number of the merged files and inserting the file name of the first file in the order.
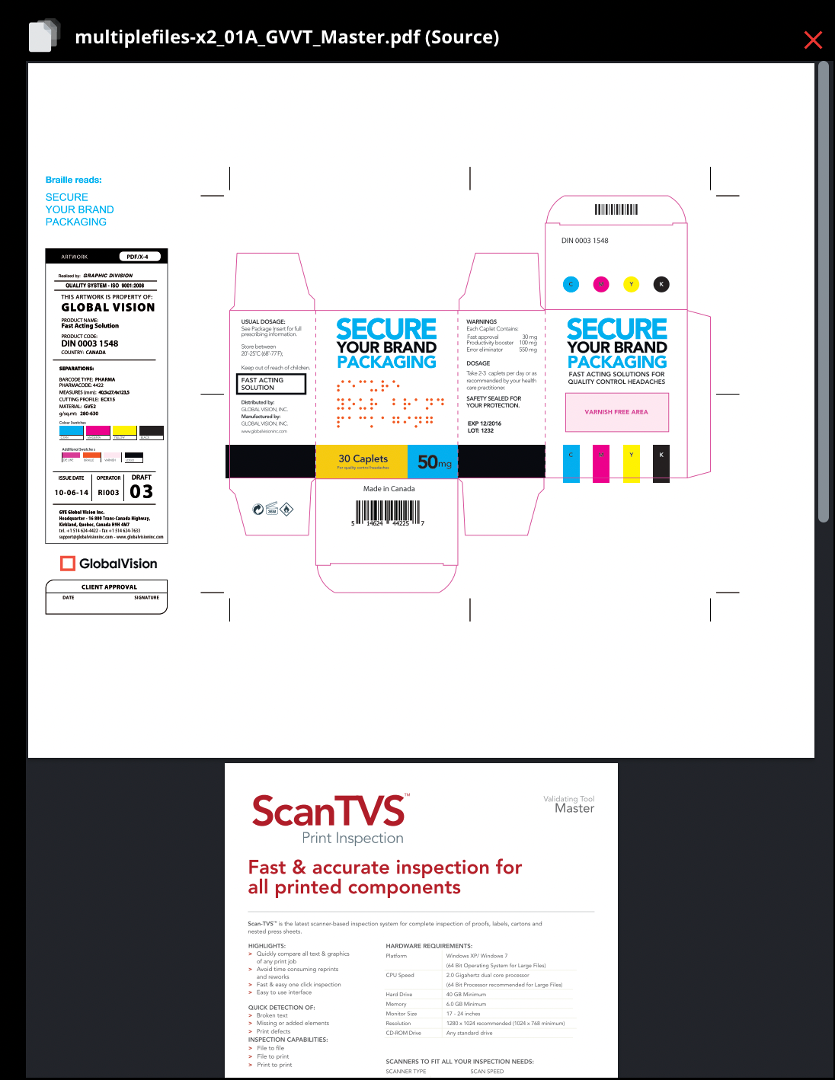
Naming convention: multiplefiles - Number of files_name of the first file.

Then we need to do the same upload procedure for the sample file: choosing the files and setting their order (ideally the same order as for the master file).
Once it is accepted and uploaded, the files are ready for inspection.
No more than 10 files can be uploaded for one inspection. In case the number of files exceeds 10, an error message will pop up.

You have any feedback on our user guide? Feel free to tell us your opinion here!