
Click the Start button at the top-left of the Master panel to expand the Text Inspection panel.
1. Selecting Profiles
Profile selection allows the user to select a profile that has parameters configured according to the files to be inspected. The profile must be uploaded in the System Setup section by an administrator.
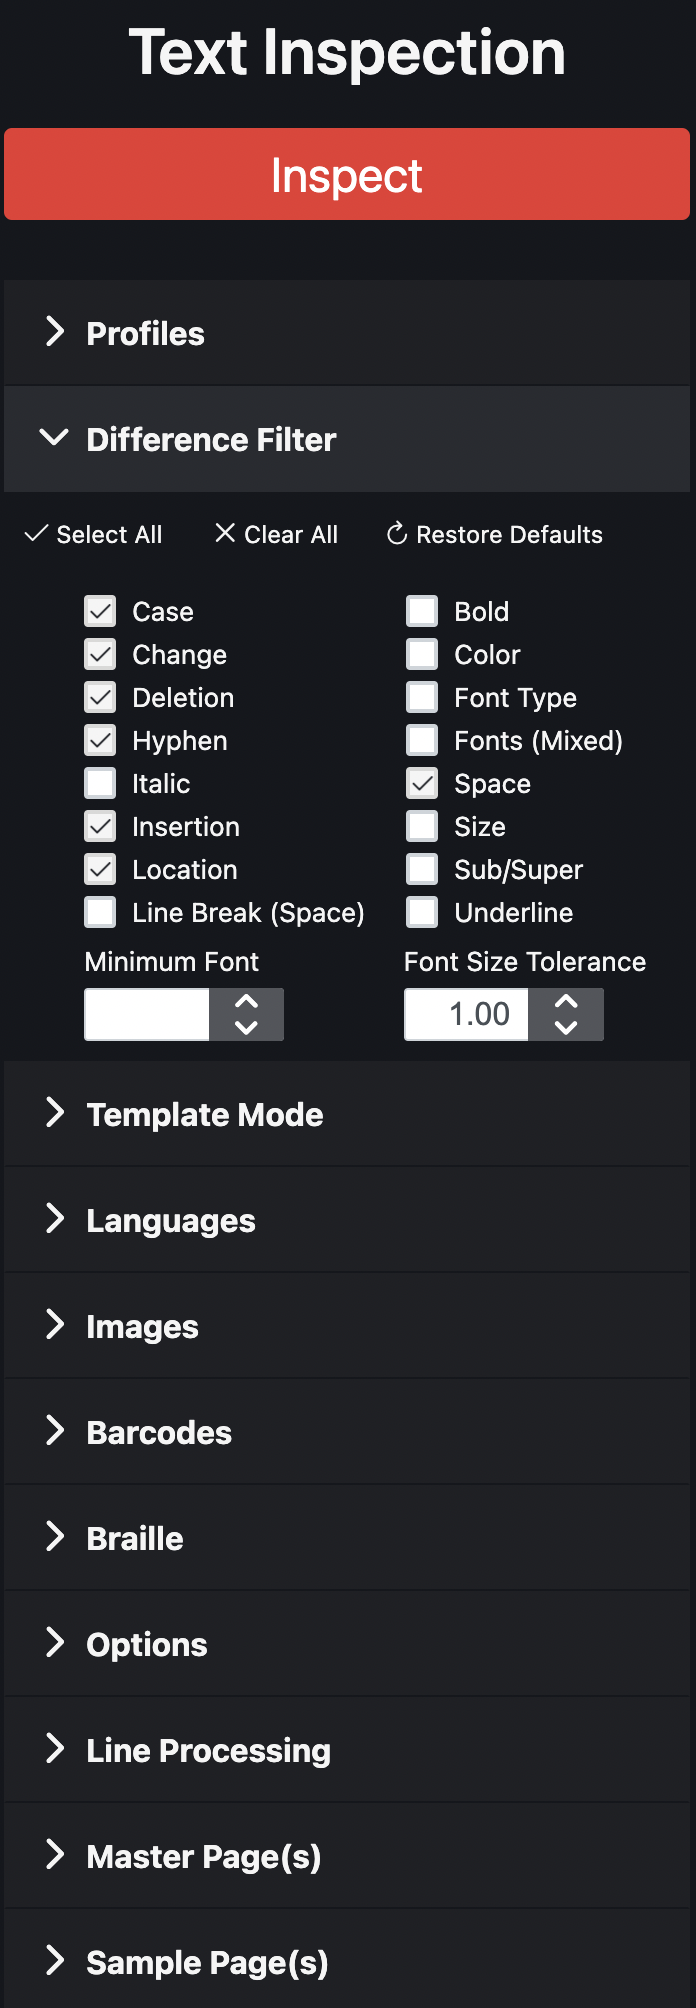
2. Selecting the difference filters
Text Inspection detects the following types of differences for live text content:
-
Case*: In case, there is a difference in the case of the characters (upper/lower case)
-
Change*: In case, there is any character change relative to the same word on the Master and Sample
-
Deletion*: In case, the Sample is missing a portion of text found in the Master
-
Hyphen*: In case, there is an added or missing hyphen on the same portion of text on the Master and Sample
-
Insertion*: In case, the Sample includes an extra portion of text not found in the Master
-
Location*: In case, the location of a portion of the text is different between the Master and Sample
-
Space*: In case, there is a new space found in the middle of a word inside the Sample
-
Line Break (Space): In case, there's a difference in regards to spacing at the end of a line
-
Bold: In case, the same portion of bold text on the Master and Sample is different
-
Color: In case, the color of the font is different
-
Font Type: In case, the font itself is different
-
Fonts (Mixed): In case, more than one font-type difference (Italic, Bold, etc.) is found within the same text string, they are grouped into a single difference instead of multiple
-
Italic: In case, the same portion of Italic text on the Master and Sample is different
-
Size: In case, the size of any text is different
-
Sub/Super (subscript/superscript): In case, the script (sub or super) is different relative to the same portion of text on the Master and Sample
-
Underline: In case, there is an added or missing underline on the same portion of text in Master and Sample
-
Minimum Font: In case, the font size falls below the minimum size
To select a different filter (to take effect during the inspection), click on the checkbox beside it or click Select All (to check all filters).
Click Clear All to remove all your selections and Restore Defaults to re-select the filters featuring an asterisk above.
3. Selecting the template mode
Template mode is used to compare a master document that is formatted as a QRD template with a sample document. It compares strings in the Master, separated by section headers, to the matching ones in the Sample, and reports the differences.
Text Inspection is installed with default QRD templates for various languages as per the European Medicines Agency. You may select the applicable language or select the Auto QRD function that automatically crosses out the QRD Template section headers in the Master. This eliminates the need to manually cross out the QRD Template section headers before running an inspection.
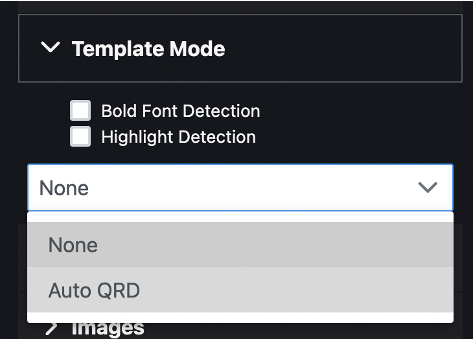
The New QRD template is supporting Bold Font and Highlight Detection, whereas through Auto QRD the relevant Headers and contents are shown, either highlighted as selected, or only the selected content is shown.
Note: In order to change the selection, please go back to “None” as selected for Template Mode, and then set the new parameters as desired.
The inspection may take noticeably longer with Highlight Detection enabled.
4. Selecting the language
Languages let you select the inspection logic to use based on the language of your files.
Select the required language (i.e. Asian for documents in Asian languages, Right-to-left for files written in languages that are read from right to left).
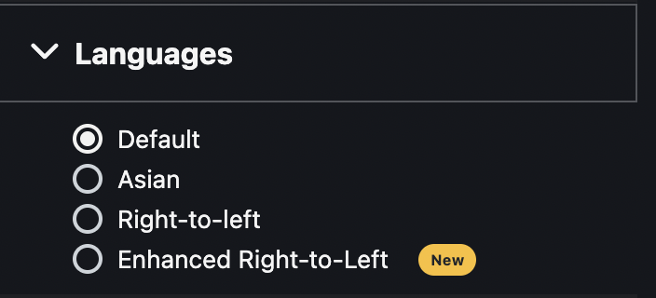
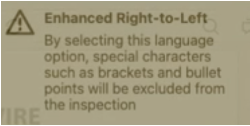
Enhanced Right-To-Left is also available, which provides a more advanced Right-To-Left inspection, by taking special characters into consideration during inspection, without marking them as differences.
Note: Warning message will pop up when Enhanced RTL is selected to warn the user that special characters will be excluded from the inspection, in order to ensure only content relevant differences are inspected.
5. Enabling image detection
Click Enable Compare under Images to compare embedded images during a text inspection.
Matched and unmatched images are displayed in the Report panel once the inspection is run.
The inspection may take noticeably longer with this option enabled.
6. Enabling barcode detection
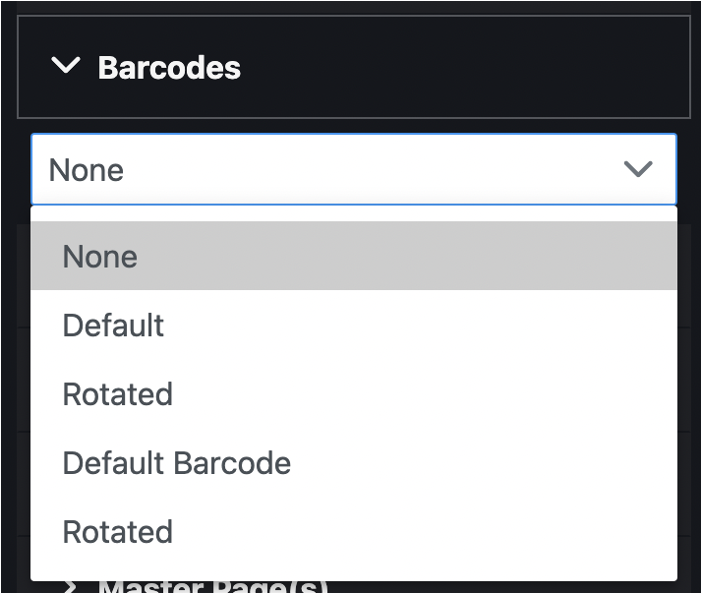
Click Barcodes in the Options panel and click Enable to detect and grade barcodes in the loaded files.
The inspection may take noticeably longer with this option enabled.
Barcode settings allow choosing the right profile for running the inspection. This allows a more precise barcode inspection performed within a text inspection.
For information on navigating through detected and graded barcodes, consult the corresponding articles in the Barcode Inspection section.
7. Enabling Braille detection
Click Braille in the Options panel and click the applicable language to detect and translate Braille regions in the loaded files.
The inspection may take noticeably longer with this option enabled.
For information on navigating through detected and translated Braille, consult the corresponding articles in the Braille Inspection section.
8. Options
Under Options, you have the ability to enable or disable overprint on uploaded documents.
9. Enabling Line Processing
Line Processing lets you select how Text Inspection processes underline and tables, as files with a high number of underlines and tables could take a long time to inspect.
-
Select Off and no underline and table detection are performed.
-
Select Underlines and only underline detection is performed.
-
Select Underlines + Tables (default) and both the underline and table detection are performed.
10. Inspecting multi-page documents
If multi-page files are loaded, Master Page(s) and Sample Page(s) fields appear.
Click the applicable field and select the desired page to select the page(s) to inspect.
There is no limit to the number of pages that can be inspected, but larger amounts of pages take longer to inspect.
11. Inspection may start!
Click Inspect once all options are set.
