Proofing Graphics Inspection Results
After a graphics inspection is run, the Inspection panel appears. Differences between the Master and Sample images can be viewed and reviewed, with the ability to assign levels and comments to each difference.
The Flash panel is displayed to the right of the sample Report panel which lets you view the differences overlaid on one another.
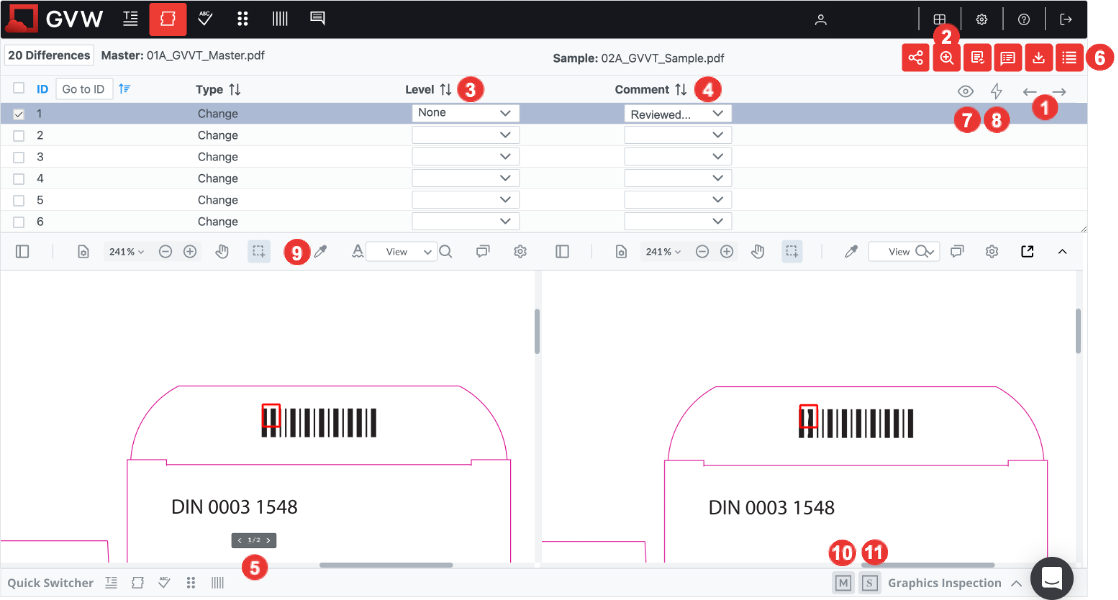
1. Navigating differences
Click the Previous or Next arrow to navigate between differences, each of which will be zoomed in for both panels.
2. Zoom levels
For maximizing user experience during navigating through the differences, zoom levels were introduced. These zoom levels will determine how the tool is zooming in when reviewing the differences one-by-one.
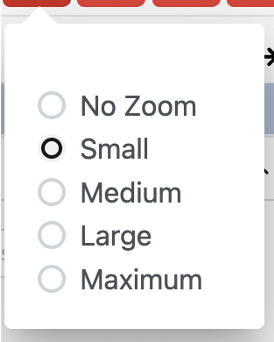
No Zoom
The items are not zoomed in at all, the whole page is visible with the difference flashing, as such providing an overview of the entire inspected page. This zoom level is optimal for reviewing in an overall encompassing manner.
Small
Items are zoomed in slightly, allowing a good overview of the relative position and the surroundings within the inspected page/area.
Medium
Items are zoomed in moderately, still allowing an overview of the relative position and the surroundings within the inspected page/area.
Large
Items are zoomed in almost entirely, but allowing some overview of the surrounding area to a smaller extent, compared to Medium zoom level. The relative position is not clearly visible, only immediate surrounding area.
Maximum
The difference is zoomed in completely, fitting the screen, without showing the surrounding area. This zoom level is optimal for reviewing small differences, without regard to the position of the difference compared to the inspected area.
Note: Medium/Large are the recommended zoom levels for optimizing user experience - having an overview of the difference, as well as the relative position within the inspected page/area.
3. Assigning levels
Once a difference is picked, click on the Level drop-down list to access and select from the pre-defined levels.
4. Assigning comments
Once a difference is picked, click on the Comment drop-down list to access and select from the pre-defined comments. To create a custom comment, simply type it in the text box.
5. Navigating between pages
Click the Previous Page or Next Page arrow when applicable to navigate between pages in the Master or Report panels.
On the Flash panel, click the drop-down arrow to display a different page.
The arrows appear when hovering in the middle of the inspected documents.
6. Difference List
Click on the Difference List icon to maximize and view all differences at once.
The navigation functionalities are ported over to the Difference List. Any changes made in the Difference List will automatically carry over to the Inspection panel once closed.

Levels and Comments can be assigned by clicking on the applicable drop-down list. Click the Previous or Next arrows to navigate between differences, each of which will display in the Inspection Panel.
Note: Hold Ctrl and/or Shift key to select multiple differences at once and assign the same level/comment.
7. Show/Hide Differences
Clicking Show differences displays thin, faint red boxes around all the differences found while keeping the selected difference in bold. To disable this view, click on the Hide differences button.
8. Enable/Disable Difference Flashing
Flashing differences can now be turned off using the lightning bolt icon.

Flashing differences will show the given alteration constantly moving, by showing the master and sample file differences. Turning off the differences will only show the location of the difference with a red rectangle, but it will be static.

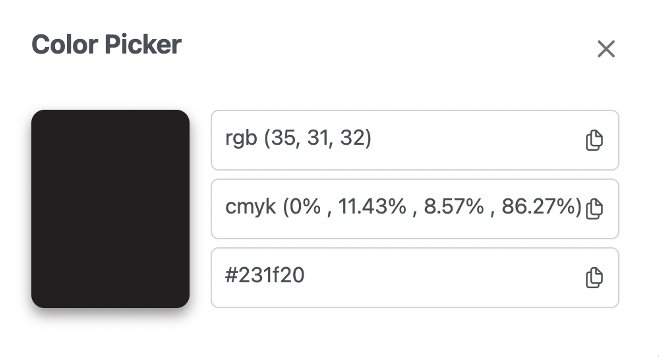
9. Color Picker
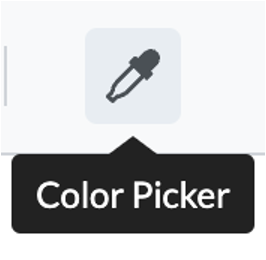
The color picker allows any color available to be measured in the documents that were inspected. Once the spot was selected using the picker, RGB, CMYK and Hex Color Codes are shown to identify the selected color shade.
10. Hide/Show Master panel
Click Hide Master to provide the entire Inspection panel for the Sample and Flash panels. Once it is hidden, click Show Master to restore the original view.
11. Hide/Show Sample panel
Click Hide Sample to provide the entire Inspection panel for the Master and Flash panels. Once it is hidden, click Show Sample to restore the original view.
Other Modes
Other modes than View allow the user to perform modifications that are similar to functionalities available in the Notes module.

Annotations, Shapes
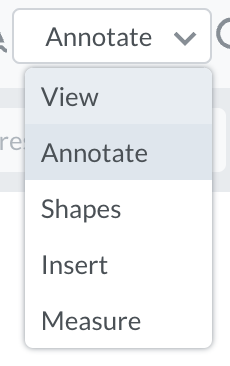
Annotate allows multiple text and graphics based changes to the document.

Text Highlight: Click and drag the cursor to highlight the next on the page.
Text Underline, Strikeout, and Squiggly Underline: Click and drag to underline or strikeout text.
Comment Note: Click to add the note, enter text in the Comments panel, and click Save.
Free Text: Click and drag the cursor to draw the text box and start typing.
Rectangle: Click and drag to draw a rectangle. Double-click to release the cursor once finished.
Free Hand: Click and drag the cursor to draw the annotation.
Once a shape is selected, move the cursor and click on the file.

Free Hand: Click and drag the cursor to draw the annotation.
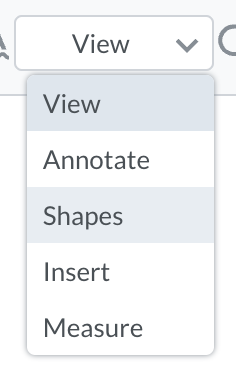
Various shapes
Click and drag to draw a rectangle or ellipse.
For the polygon, polyline, and cloud, click, drag, and click again to draw one segment.
Double-click to release the cursor once finished.
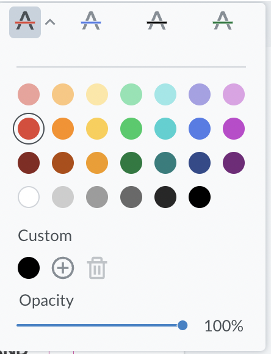
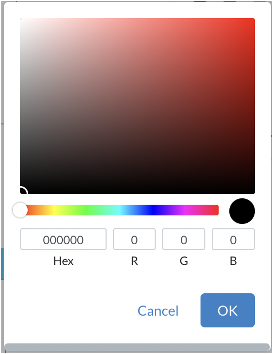
Colors and annotation settings can be set with the available color panel, with the possibility to choose from multiple colors, setting custom colors and opacity.
Undo and Redo buttons support easy annotations process, along with Erase for removing unnecessary annotations.

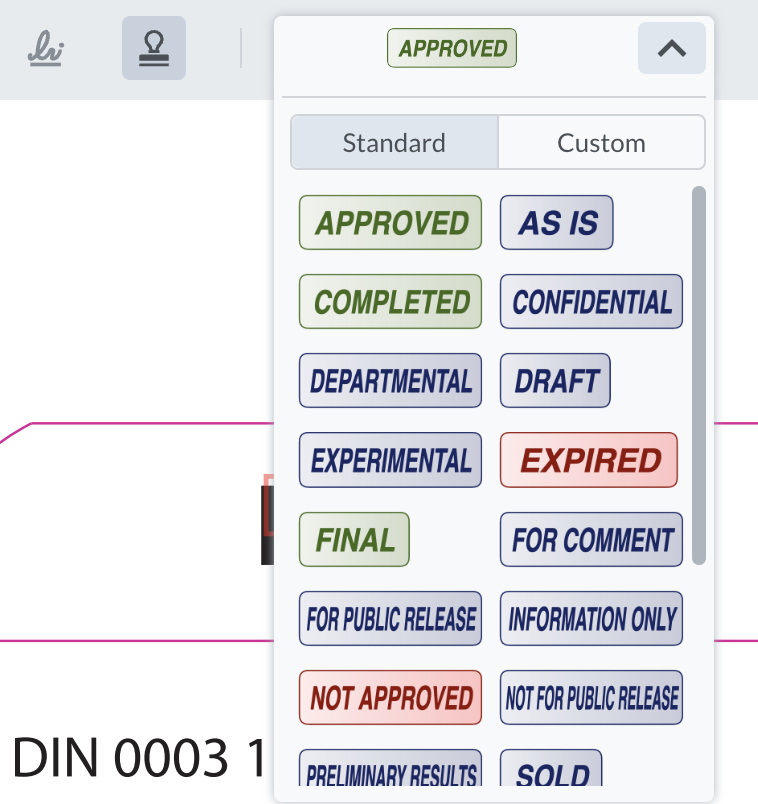
Insert
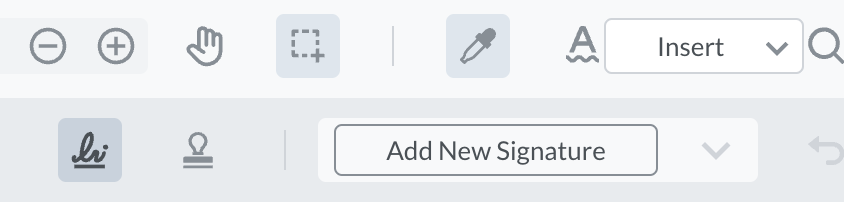
Insert allows the possibility to insert signature, or any of the below stamps to be put on the inspection report.
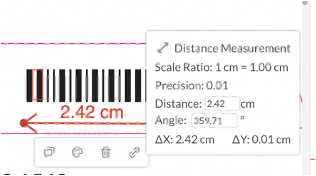
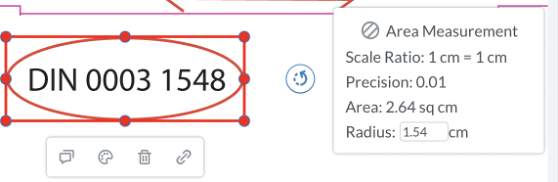
Measurement Tools
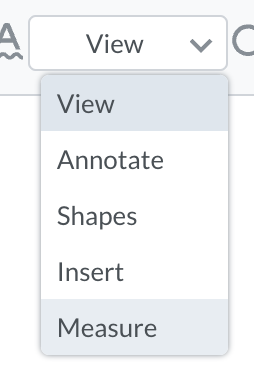
The intuitive measurement tool can be accessed by using the dropdown list. A help bar shows up, where it is possible to choose the requested shape and measuring unit for the measurements.

When the ruler is used, the start and end points can be drawn using the mouse, after which details of the measurements are available in a message box.
Various shapes are available whereas measurements can be made for the selected area. Similar message box provides are the required details.
When using two monitors, you can pop out the tab as such maximizing user experience using a secondary screen.