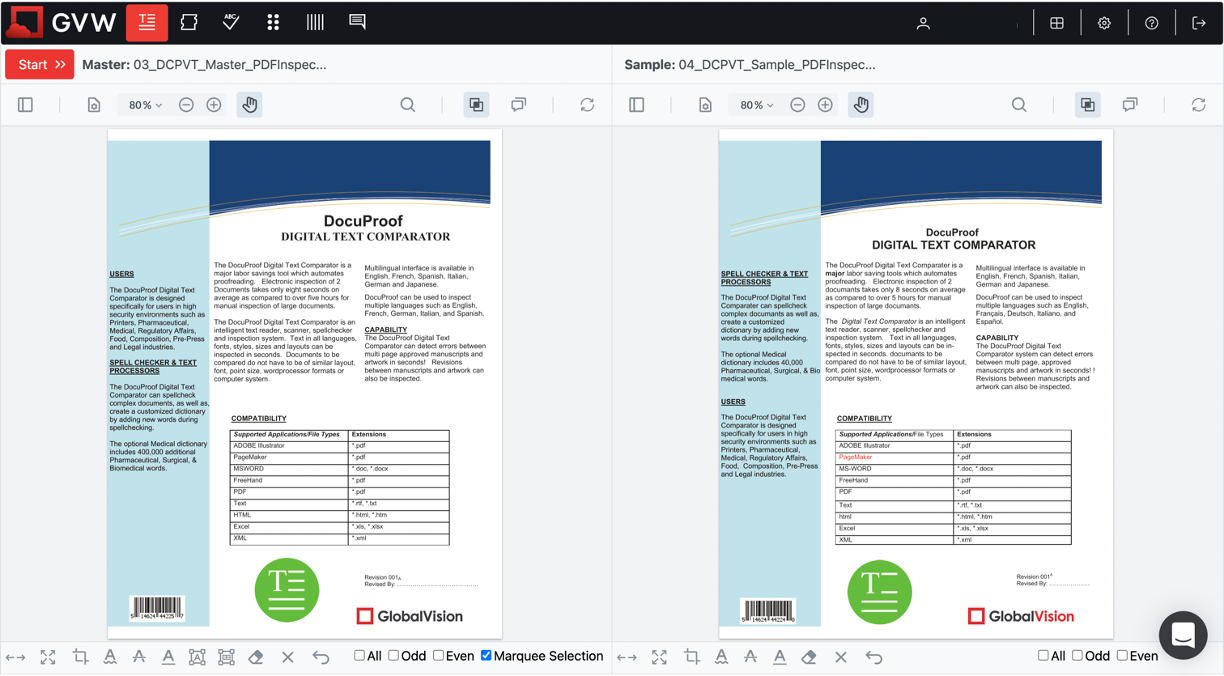
Preparing Files for Text Inspection
Using partial Inspection/Selection tools helps users define specific portions of a loaded file to be verified in Text Inspection.
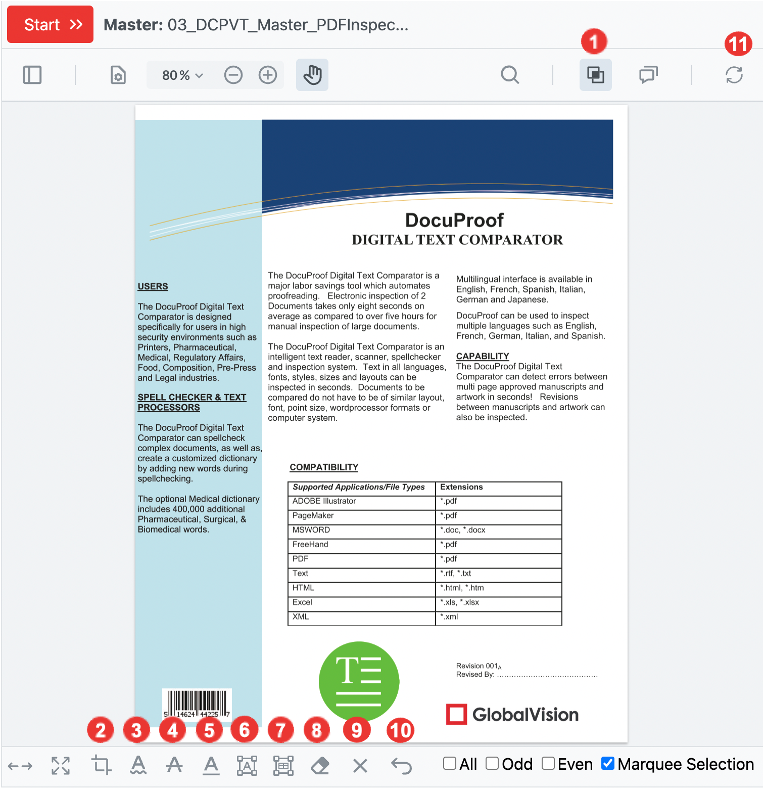
1. Overprint/Layers/Separations
Clicking the Overprint icon for Master or Sample panel displays a simulation of how blending and overprinting appear in the color-separated output, this however won't be applied during the inspection. It will essentially provide an overview of the differences by ‘printing’ the differences on top of each other with the two versions. Toggling Overprint option also re-loads the files.
The default is toggled ON.
Clicking the Layers/Separations icons toggle on the Side panel, where users can (un)check different layers on the loaded Master or Sample to include/exclude in the inspection. These layers will provide a basis for comparison by creating a layered view for the alterations.
2. Crop
To crop the area for verification during an inspection, click Crop icon, and drag the cursor in either the Master or Sample panel.
The selected area is surrounded by a red box, which can either be cleared by clicking on the border and selecting Delete or resized by clicking and dragging to adjust its borders.
Note: You cannot apply multiple crops on the same page, but you can apply one crop per page of multi-page documentation.
3. Show Inspectable Text
To verify what text can be inspected in the Master or Sample file, click Show Inspectable Text. The inspectable text in the document gets underlined.
4. Cross out Text
Cross out Text functionality let you cross out text that is to be excluded during the inspection.
Select Cross out Text icon on the toolbar and then click and drag the cursor to select the desired text. The text is crossed out in red.
To undo selection, click the underlined text and select Delete in the menu.
5. Underline Text
Underline Text functionality let you select text to be included during the inspection.
Select Underline Text icon on the toolbar and then click and drag the cursor to select the desired text. The text is underlined in green.
To undo selection, click the underlined text and select Delete in the menu.
6. Create Zone
Create Zone functionality lets you select one or more zones (or regions) in your document to be inspected. These zones are compared against each other and only the text included inside the zones will be checked during any inspection.
Zones are numbered sequentially and, when you run an inspection, Text Inspection enlists the differences by zone numbers. This provides you with an easy way to customize the order in which differences are to be reported.
To create a zone, click Create Zone icon on the Master Preview toolbar. Drag the cursor to select the region in the Master to be inspected. Search Text window opens displaying all occurrences of matching text lines inside the Sample.
Select the desired line to go to any specific zone inside the Sample or click at the beginning of that zone. Drag the cursor to select the matching zone in the Sample to be inspected.
To delete a zone, click on a zoned region then select Delete in the menu that appears without renumbering the zones.
Note: Only inspectable text can be selected in a zone. Embedded images, barcodes, and Braille regions cannot be included.
7. Create Table Zone
Create Table Zone feature is used for table inspection logic to run during a full inspection.
Text Inspection first inspects the entire document, afterward inspects any specified rows or columns in the table zone(s).
To create a table zone, click Create Table Zone icon on the Master Preview toolbar.
For column selection, drag the cursor to select a column in the Master and then select the corresponding column in the Sample. Repeat this step for each column that you want to include in the inspection.
For row selection, select a row in the Master and then select the corresponding row in the Sample. Repeat this step for each row that you want to include in the inspection.
Table zoning is recommended for inspection of tables and charts because they are often characterized by different reading order or text flow. Table zoning lets you select the matching rows and columns to zone and inspect.
8. Eraser
The eraser allows to remove modifications/annotations performed on the documents, without the need to remove everything. It allows making corrections, by keeping the other edits that were made to the documentation.
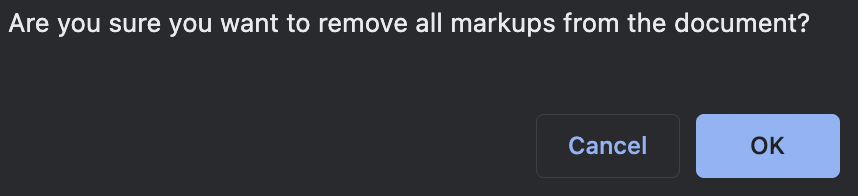
9. Remove All Markups
All markups can be removed at once using this functionality. The application will ask for confirmation before performing the task. Click ‘OK’ to continue.
10. Reload Document
In case some modifications are performed on the document (either one or both of them), it is possible now to reload the document(s) before the inspection is started. The system will ask for confirmation before performing the task. Click ‘OK’ to continue.

Note: The annotations/edits made on the document will be lost once the document is reloaded, so they would have to be made again in this case.
11. Replace Document
It is possible to easily replace the current document, in case it was uploaded or chosen by mistake. The browser window will pop up so that the user may look amongst their files to replace the currently selected document.