SMA A0 Scanner Stitching Correction
Launch the SMA “Scan2Net” web application by entering the IP address of the scanner in the URL section. The following page will open. Next, click on
Setup Device.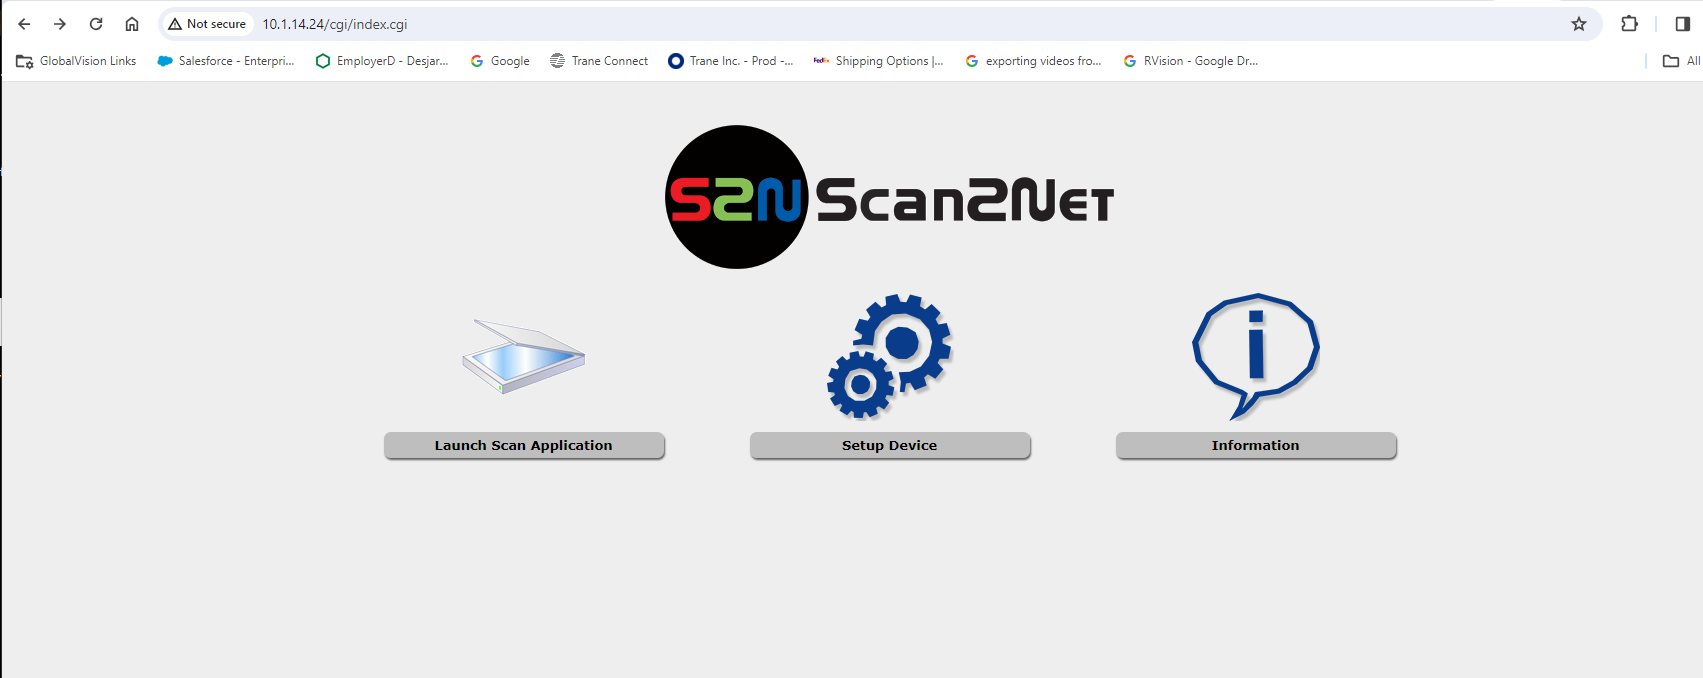
The following page will open. Next, click on
Poweruser.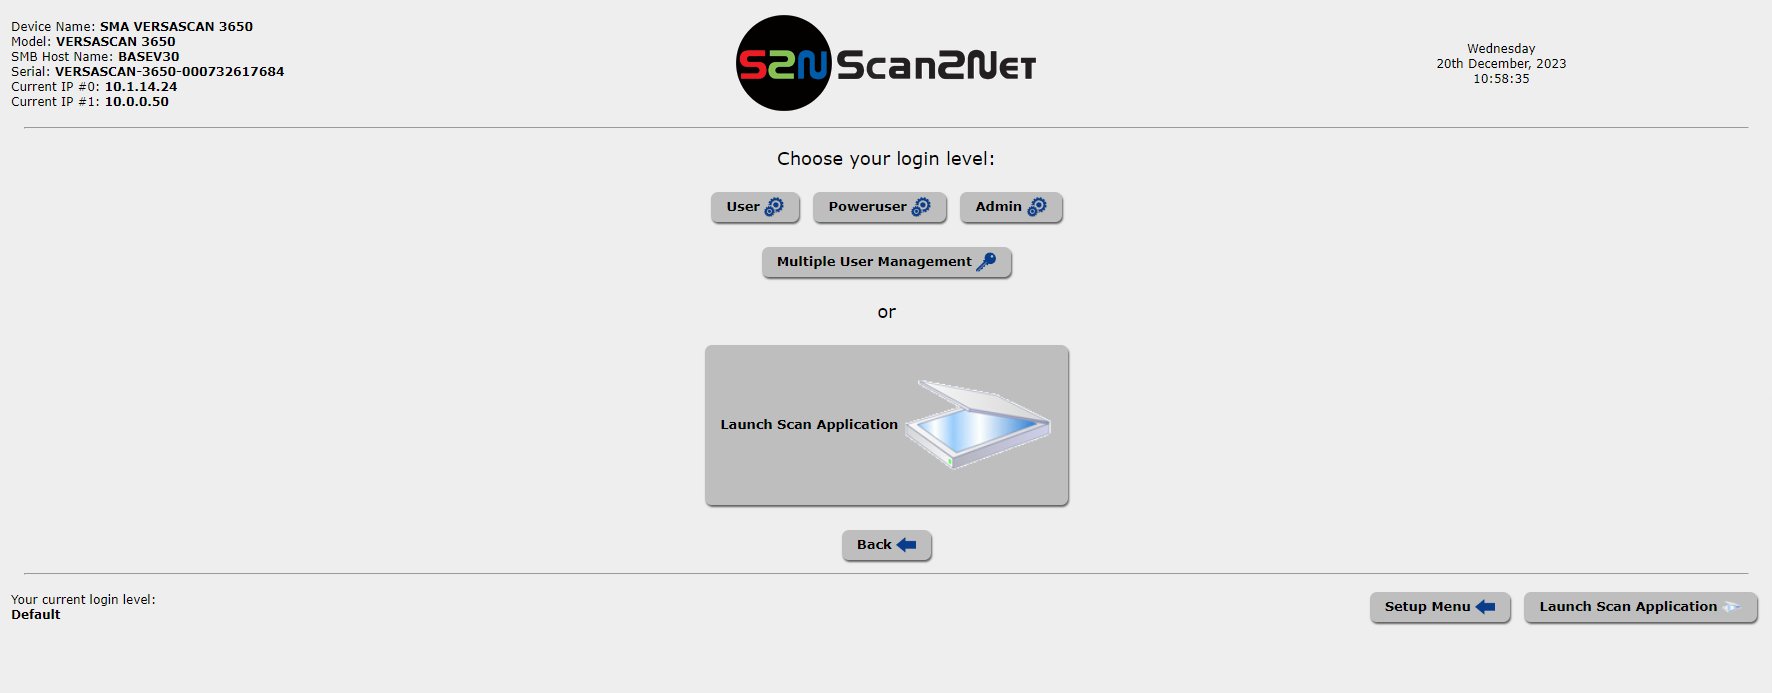
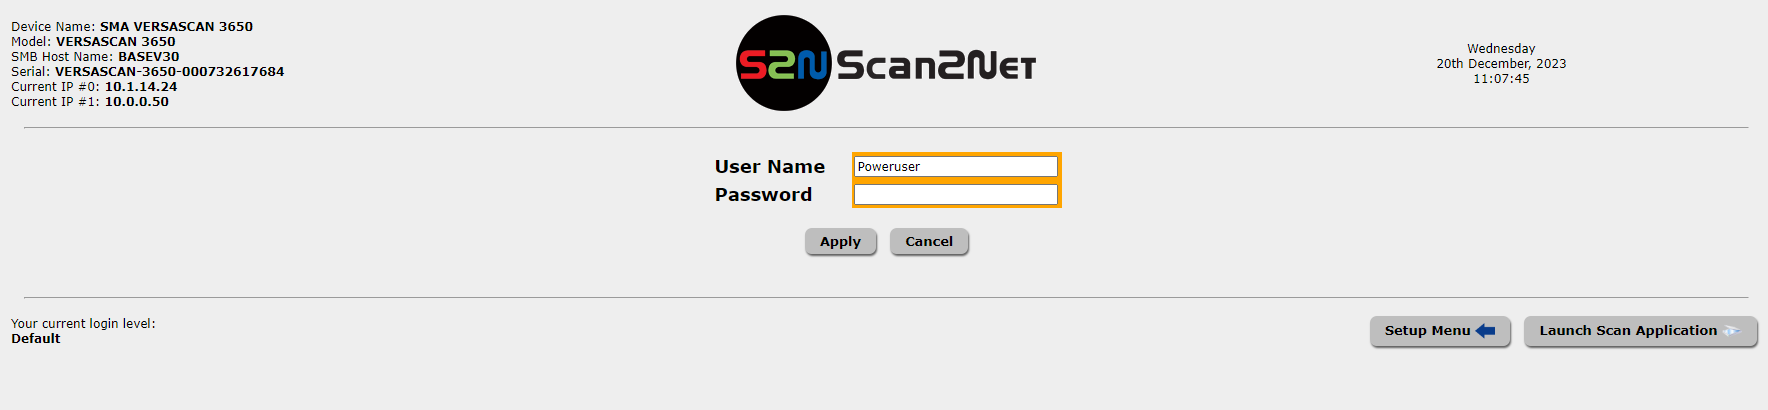
Enter the password ”Poweruser” and click Apply.
The following page will open. Next, click on
Adjustments.
The following page will open. Next, click on
Stitching.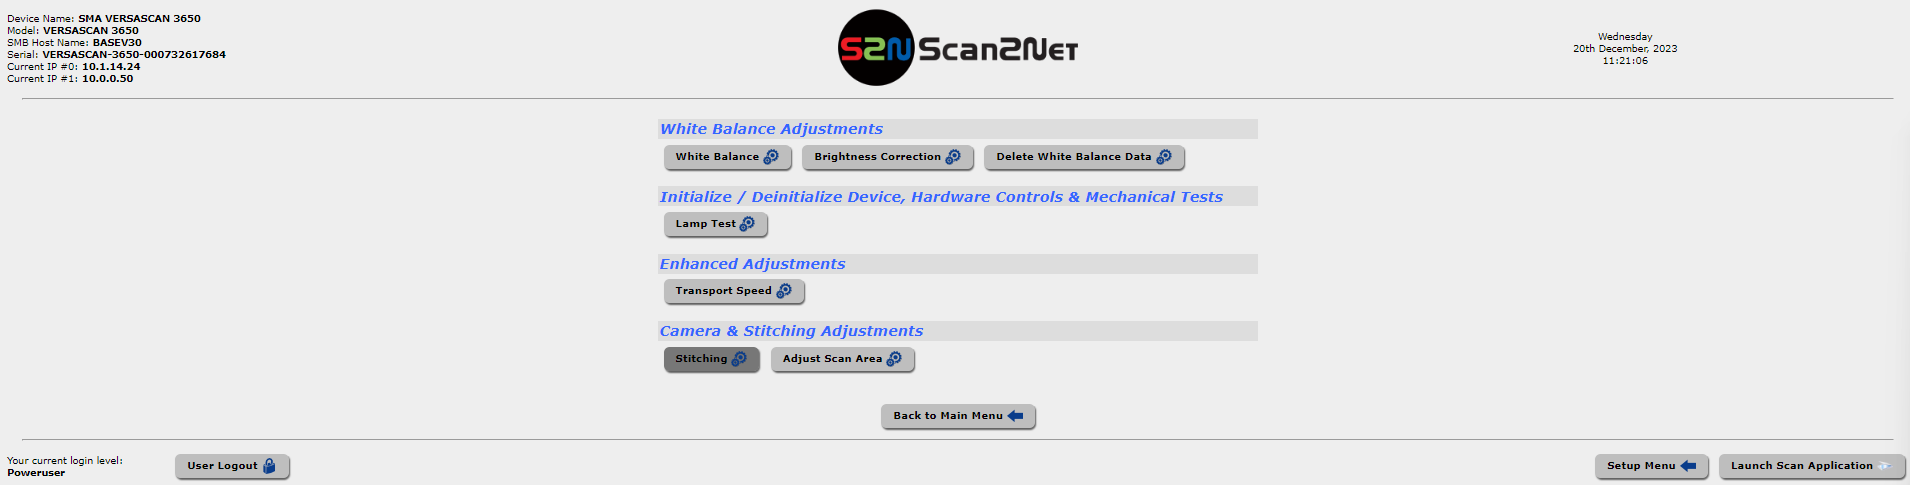
The following page will open.

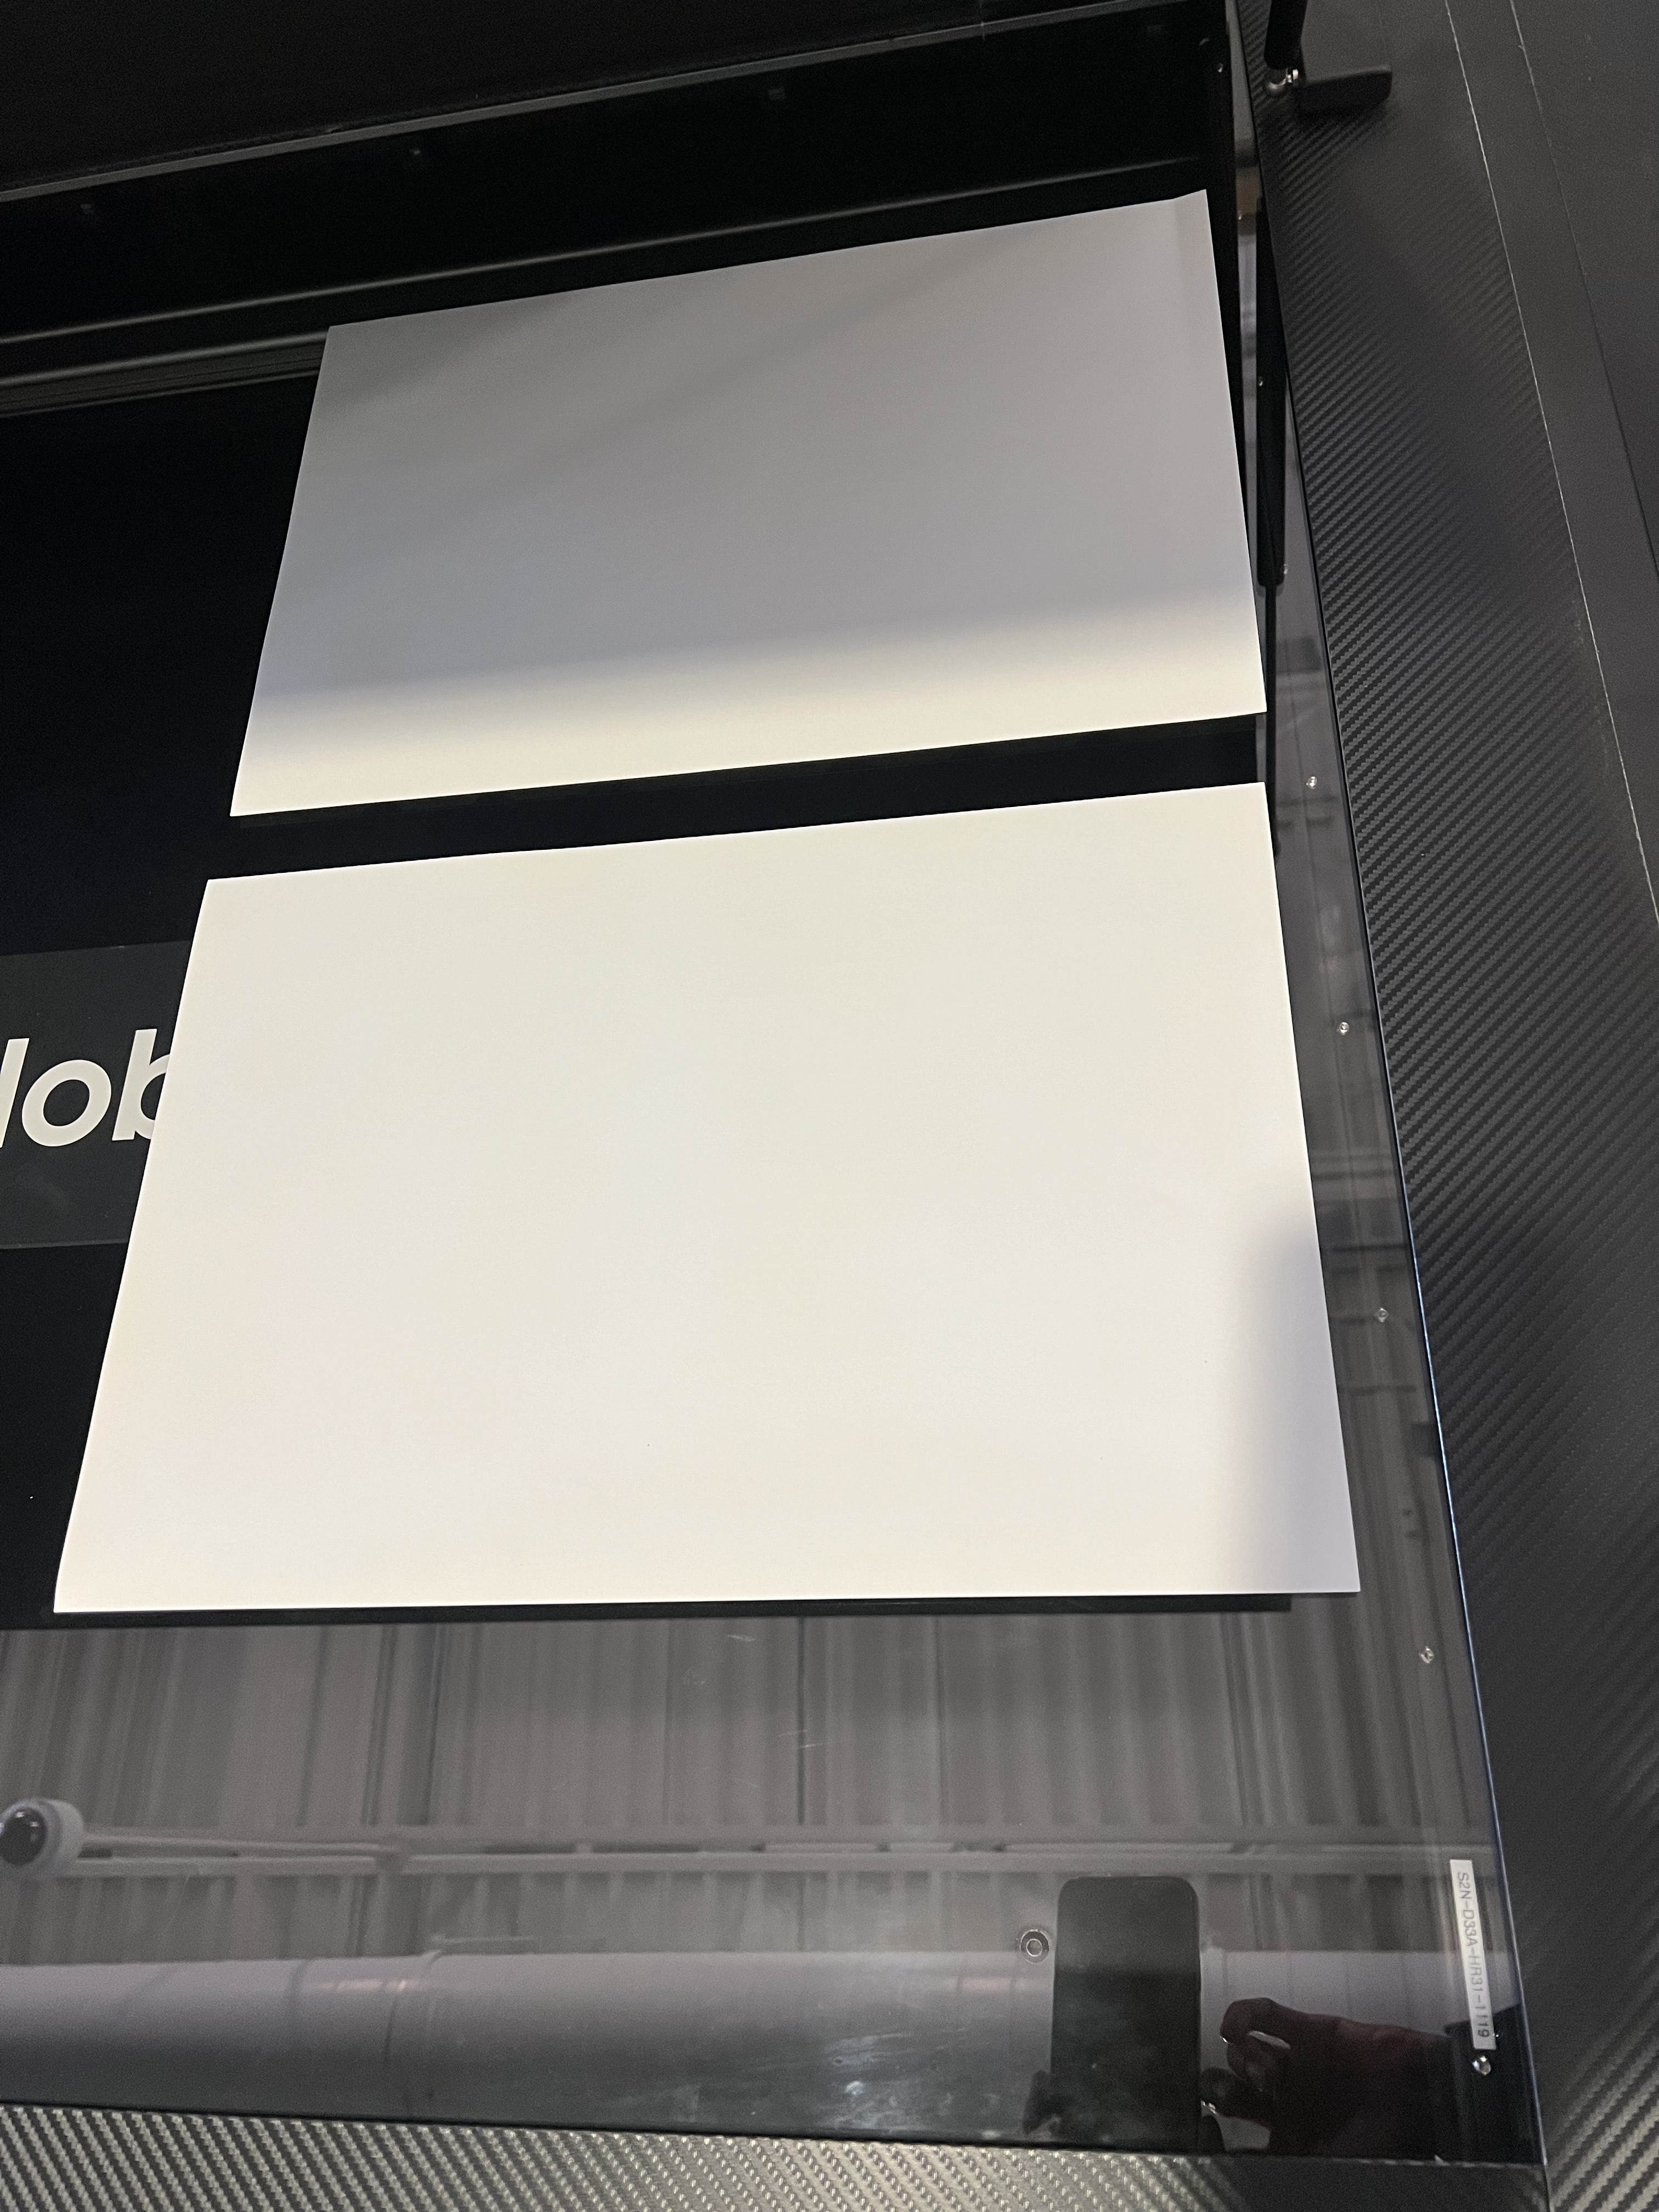
Next, place the following 6 calibration charts on the scanner as per the third picture. Follow the three images to place the calibration charts properly.


Next, click on the
Next Stepbutton to start the scanning of the calibration charts.The following screen will appear after the scanning is completed.
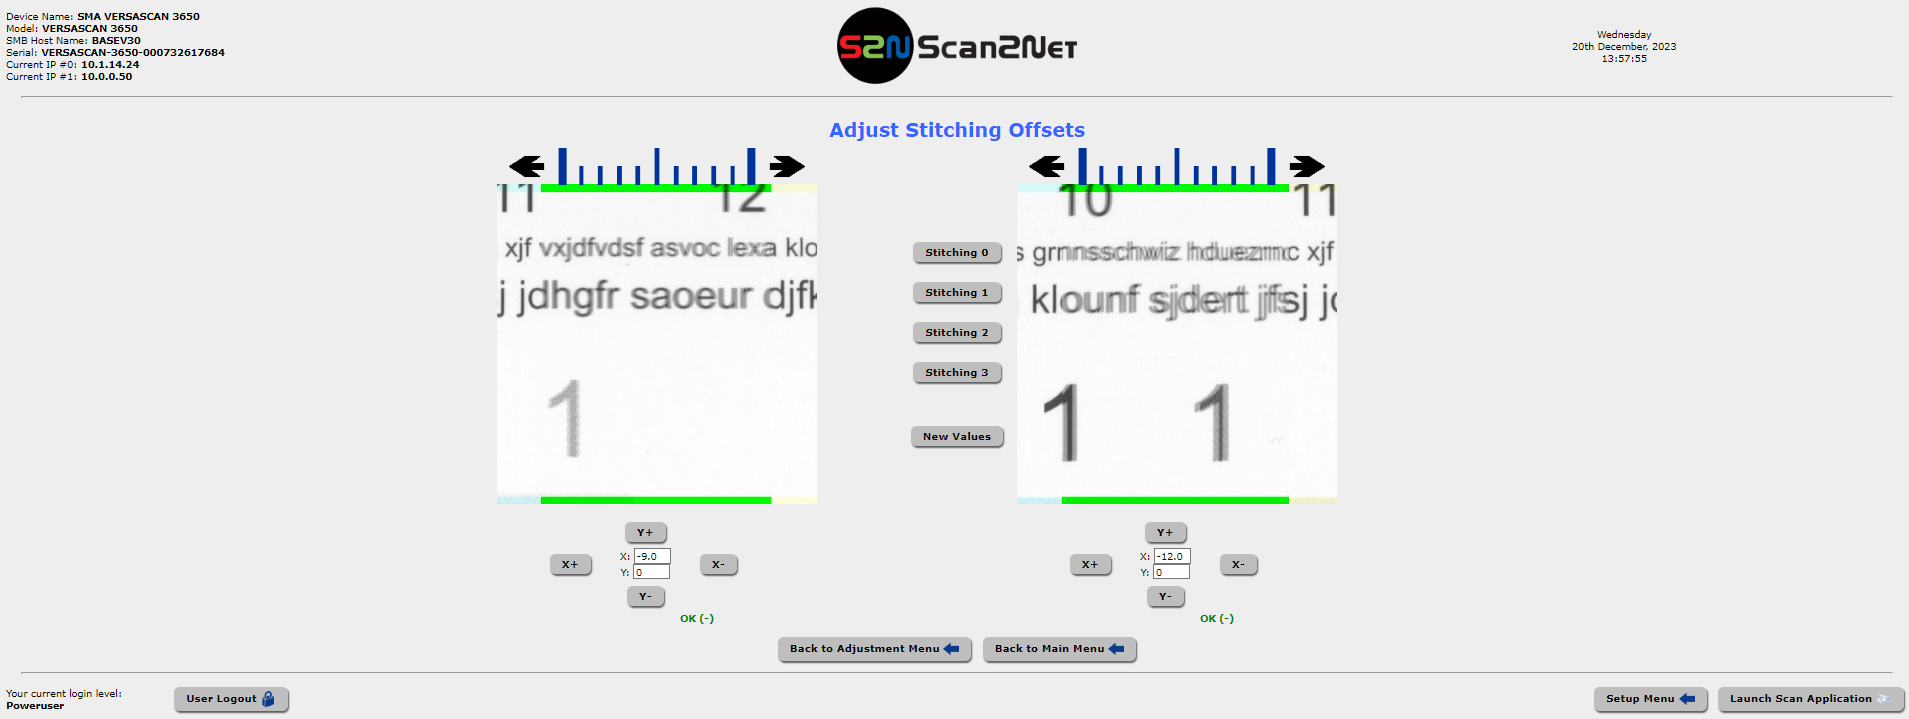
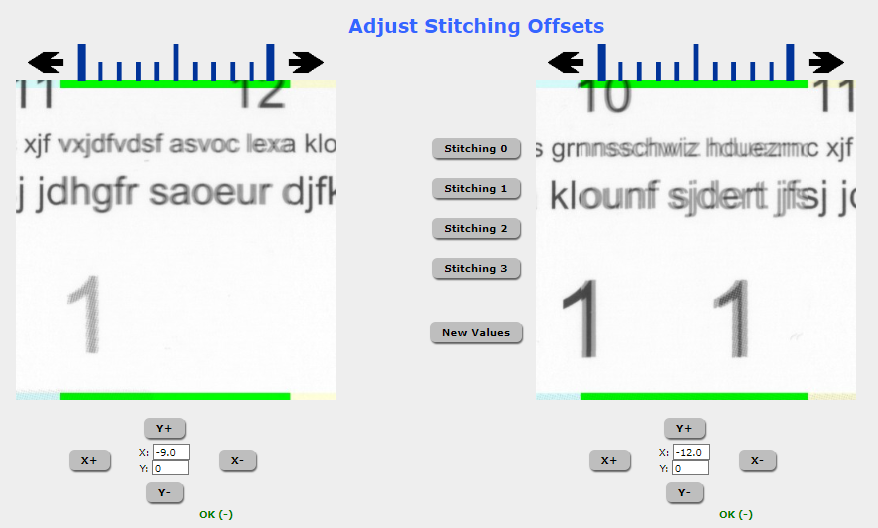
There are two stitching lines with four areas per stitching line for the stitching corrections.
Each image below represents a stitching area on a stitching line(line 1 and line 2).
Align the images as best as possible using the X and Y buttons for both images. Do this for stitching 0 to stitching 3. As you correct one image, the other images will go slightly out of adjustment.
Try to get a middle number between the two ranges. Example: If the X value is -9 for stitching 0 and the X value is -13 for stitching 3.
Then set the stitching value for X to -11.
Next, click on
Back to Adjustment Menu.Then, click on
Back to Main Menu.Finally, click on
User Logoutto exit the Stitching and setup process.The stitching should now be fixed.