
Summary: Using Nextimage with your GlobalVision roll scanner
To scan the document(s) into GlobalVision using Nextimage software: Launch GlobalVision and ensure Show Scanner interface is checked in the Preferences window, which can be accessed via the File Menu. If this option is unchecked, any scans will load directly in GlobalVision instead of in Nextimage instead.

Next, ensure your roll scanner is connected and click Select Source under the Scanner Menu and select the correct scanner. From the same menu, click to scan the master or scan the sample, which will prompt Nextimage to launch.
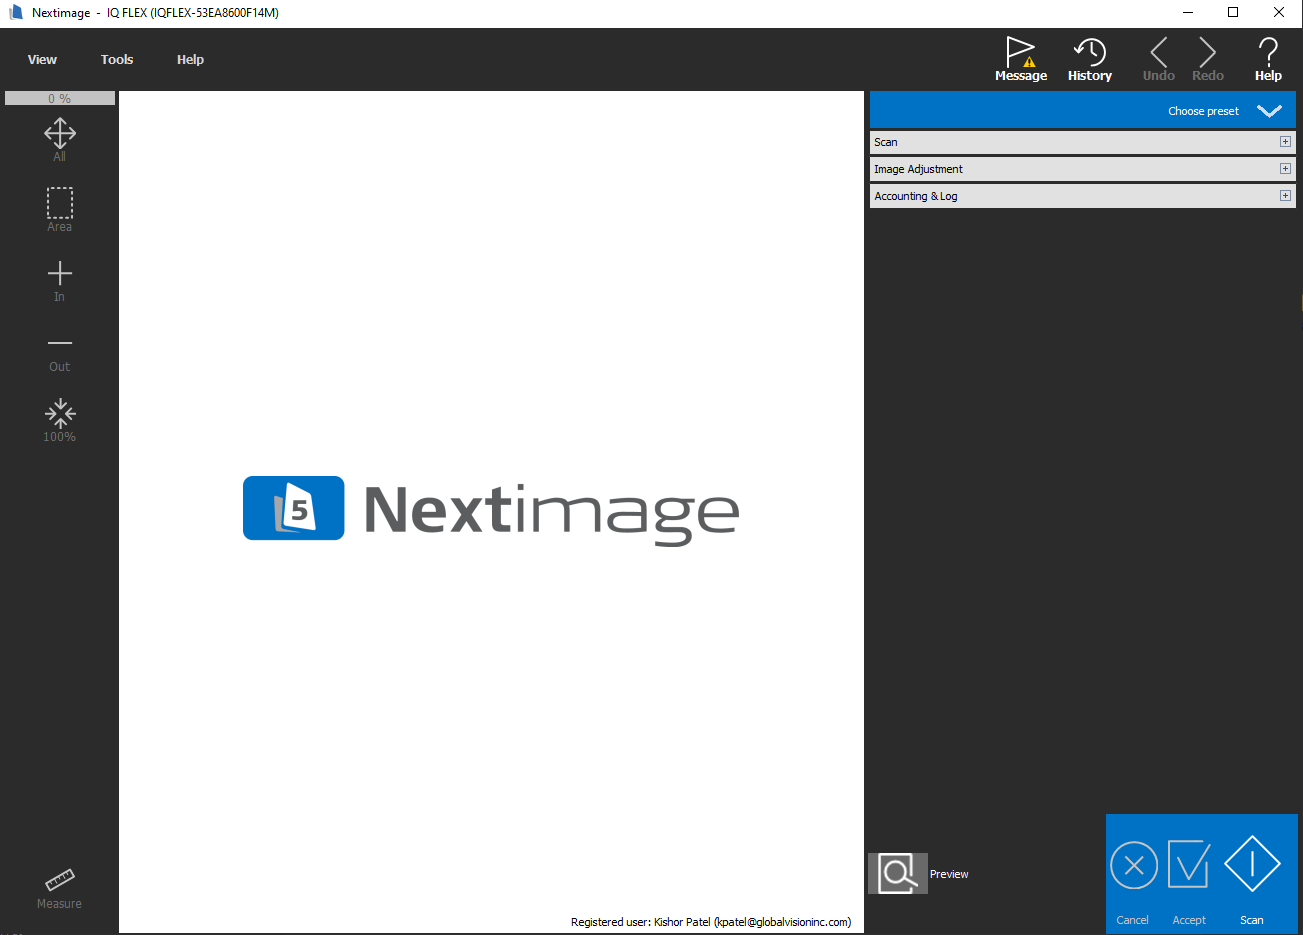
Select a profile from the list of preset scan settings.
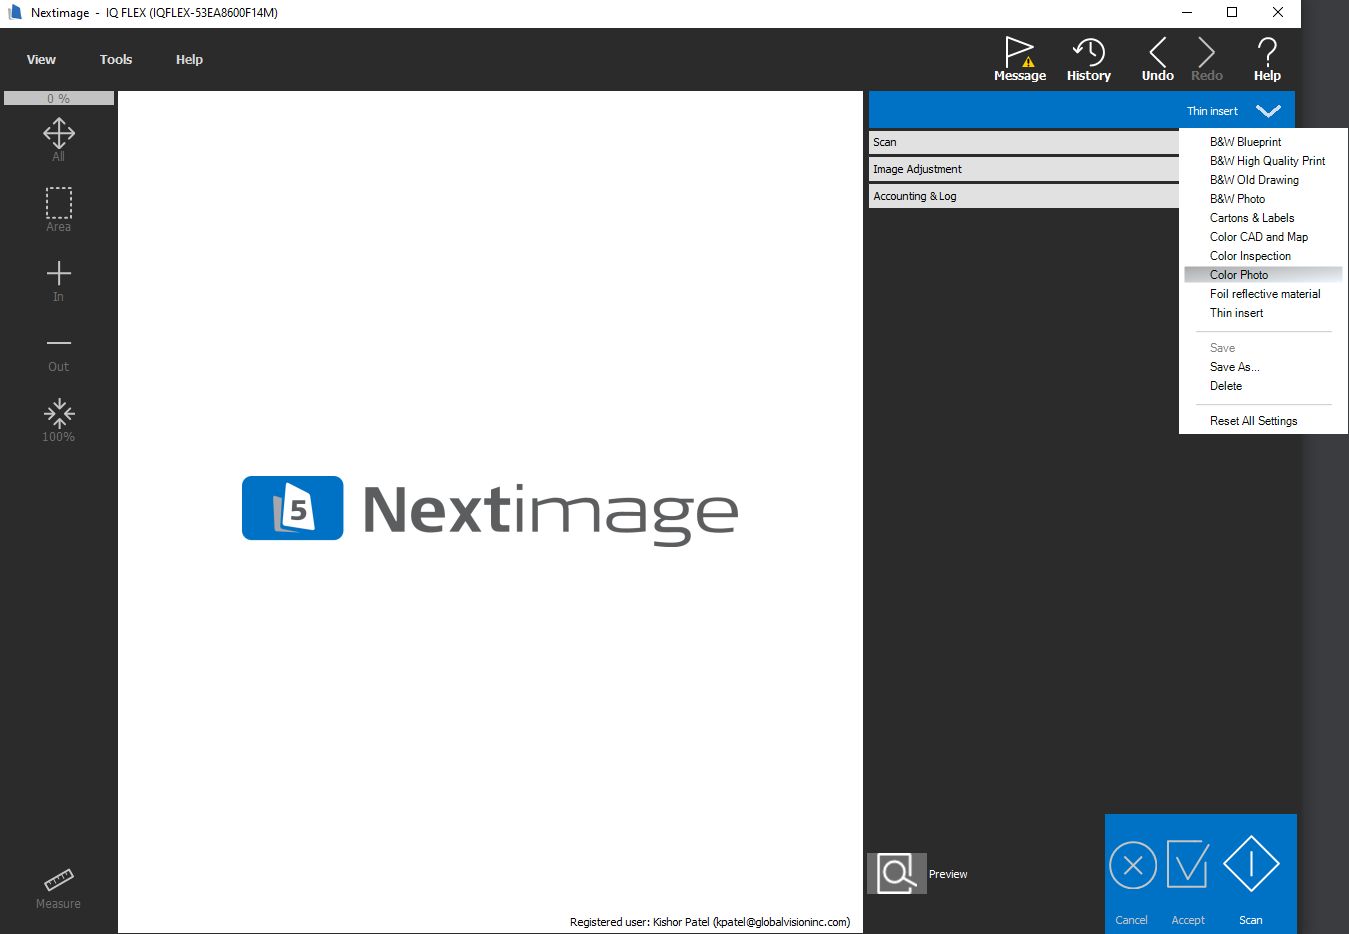
Note: Under "Scan" ⇒ "Options", select "Roll Scanner" and set "Optimize for" to = "Quality (16/48 bit)" is already set by default.

Click "Preview".
The scan displays in the "Preview" window once it is scanned.

To zoom in on image, marquee select the scan area. Then make any necessary changes in the following options, depending on the scan required.
Click "Save" to import the image to GlobalVision.

The scanned image loads in the GlobalVision.

