Document Viewer
Summary
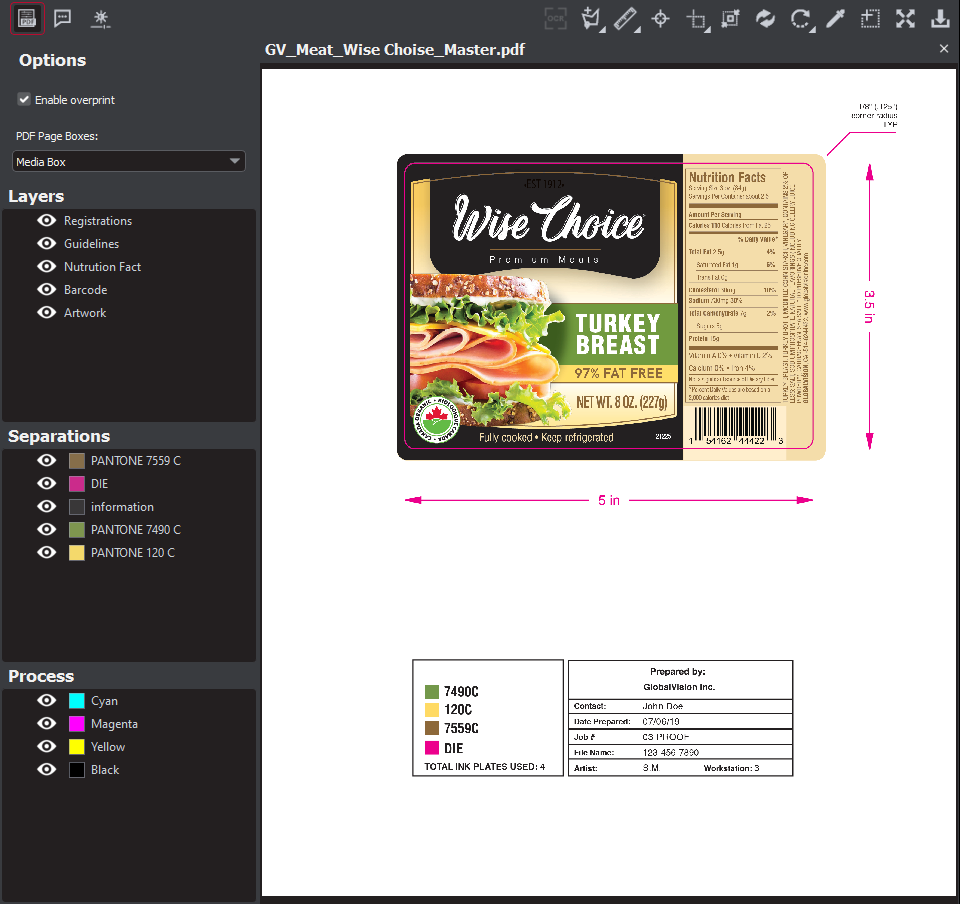
The integrated Document Viewer launches when you load a PDF file.
Document Viewer
1. PDF Options Panel
To select an option, click the checkbox beside it or select one of its drop-down options:
Enable overprint: Provides an onscreen simulation that approximates how blending and overprinting appear in color-separated output. The initial default is set to check, while the user's selection acts as the new default for subsequent inspections.
Following page for region: When a file has multiple pages, you have the option to apply the die line on the next page. This would be used if the die line is on the next page relative to the artwork (as opposed to the same page, as is the case with some files).
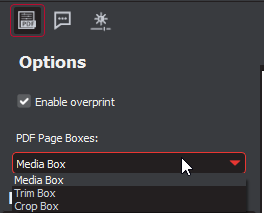
PDF Page Boxes: Select the appropriate page box for shape selection:
Media Box: Defaults to Media Box.
Trim Box: Defaults to Trim Box (to be used if your file is print-ready).
Crop Box: Defaults to Crop Box.
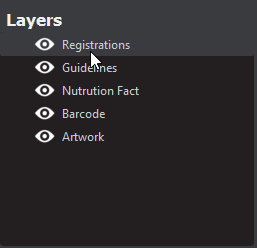
2. Layers Panel
The Layers panel displays a list of the layers present in the PDF file.
To hide a layer:
Click the eye icon. The icon grays out and the layer becomes hidden in the image.
To unhide a hidden layer:
Click the eye icon. The icon returns to its default color and the layer re-appears in the image.
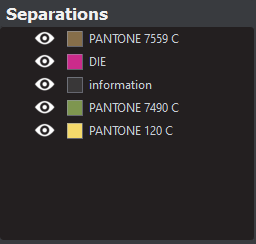
3. Separations Panel
The Separations panel displays the color separations present in the PDF file.
To hide a separation:
Click the eye icon. The icon grays out and the separation becomes hidden in the image.
To unhide a separation:
Click the eye icon. The icon returns to its default color and the separation re-appears.
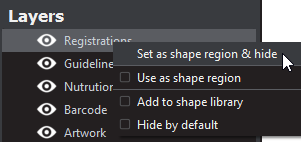
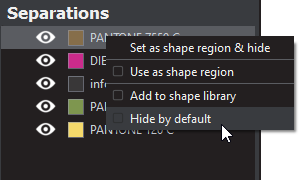
4. Layers and Separations Sub-Menu
To select a sub-menu option:
Right-click on a layer or separation to display the sub-menu. Click to select an option:
Set as shape region & hide: The layer or separation is detected as a shape and hidden when the image is loaded into the Master/ Sample panel (with the shape outlined).
Use as shape region: The layer or separation is detected as a shape. The image loads in the Master/ Sample panel with the shape outlined. The layer or separation is not hidden.
Add to shape library: The layer or separation by the same name is detected as a shape by default. A yellow folder icon displays to the left of the selected layer to indicate it has been added to the Library. Right-click to uncheck the Add to shape library option.
Hide by default: If you select this option, the selected layer/ separation always stays hidden. The eye icon grays out and a folder icon displays. Right-click to uncheck the option.
Note: Only one layer or separation can be used for shape extraction at once. The selected layer or separation is underlined in its corresponding panel in the integrated Document Viewer.
Note: Add to shape library takes effect at the next load. For the shape to be set, reload the file.
Note: Hide by default takes effect at the next load, including for the file currently loaded. For the layer or separation to be hidden on the file currently loaded, reload the file.
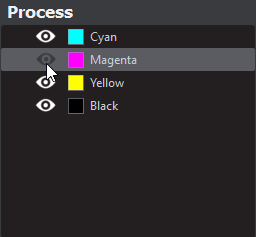
5. Process Panel
The Process panel displays the process colors that are present in the PDF image.
To hide a process color:
Click the eye icon. The icon grays out and the process color becomes hidden in the image.
To unhide a process color:
Click the eye icon. The icon returns to its default color and the process color re-appears.