
Summary
Other than uploading a digital file, the user can directly scan a physical document. The process is comprised of the following steps.
To scan a file in either the Master or Sample panel:
-
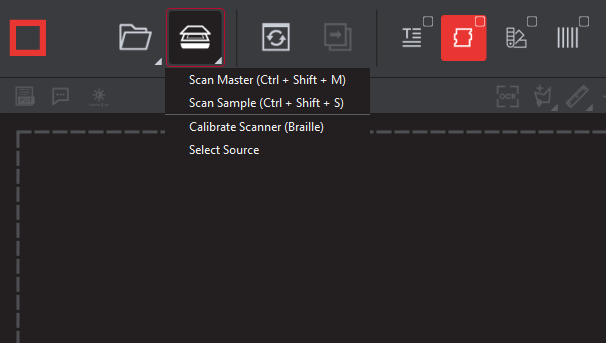
Click on the Load from Scanner icon on the top panel→ then Select Source.
-
Select the applicable scanner from the Scanner Selection window and click Select.
Note: Once the source is set up, the application will remember the selection for all future scans.
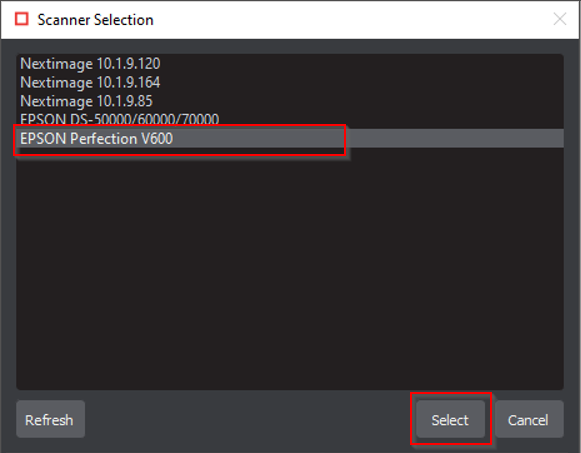
Note: A scanner must be connected in order for the ‘scanner selection’ window to choose from.
Or,
-
Click on Load from Scanner → then select Scan Master to scan the Master document. Once scanned, the image will load into the Master panel.
then,
-
Click on Load from Scanner → and select Scan Sample to scan the Sample document. Once scanned, the image will again load into the Sample panel.
Or,
-
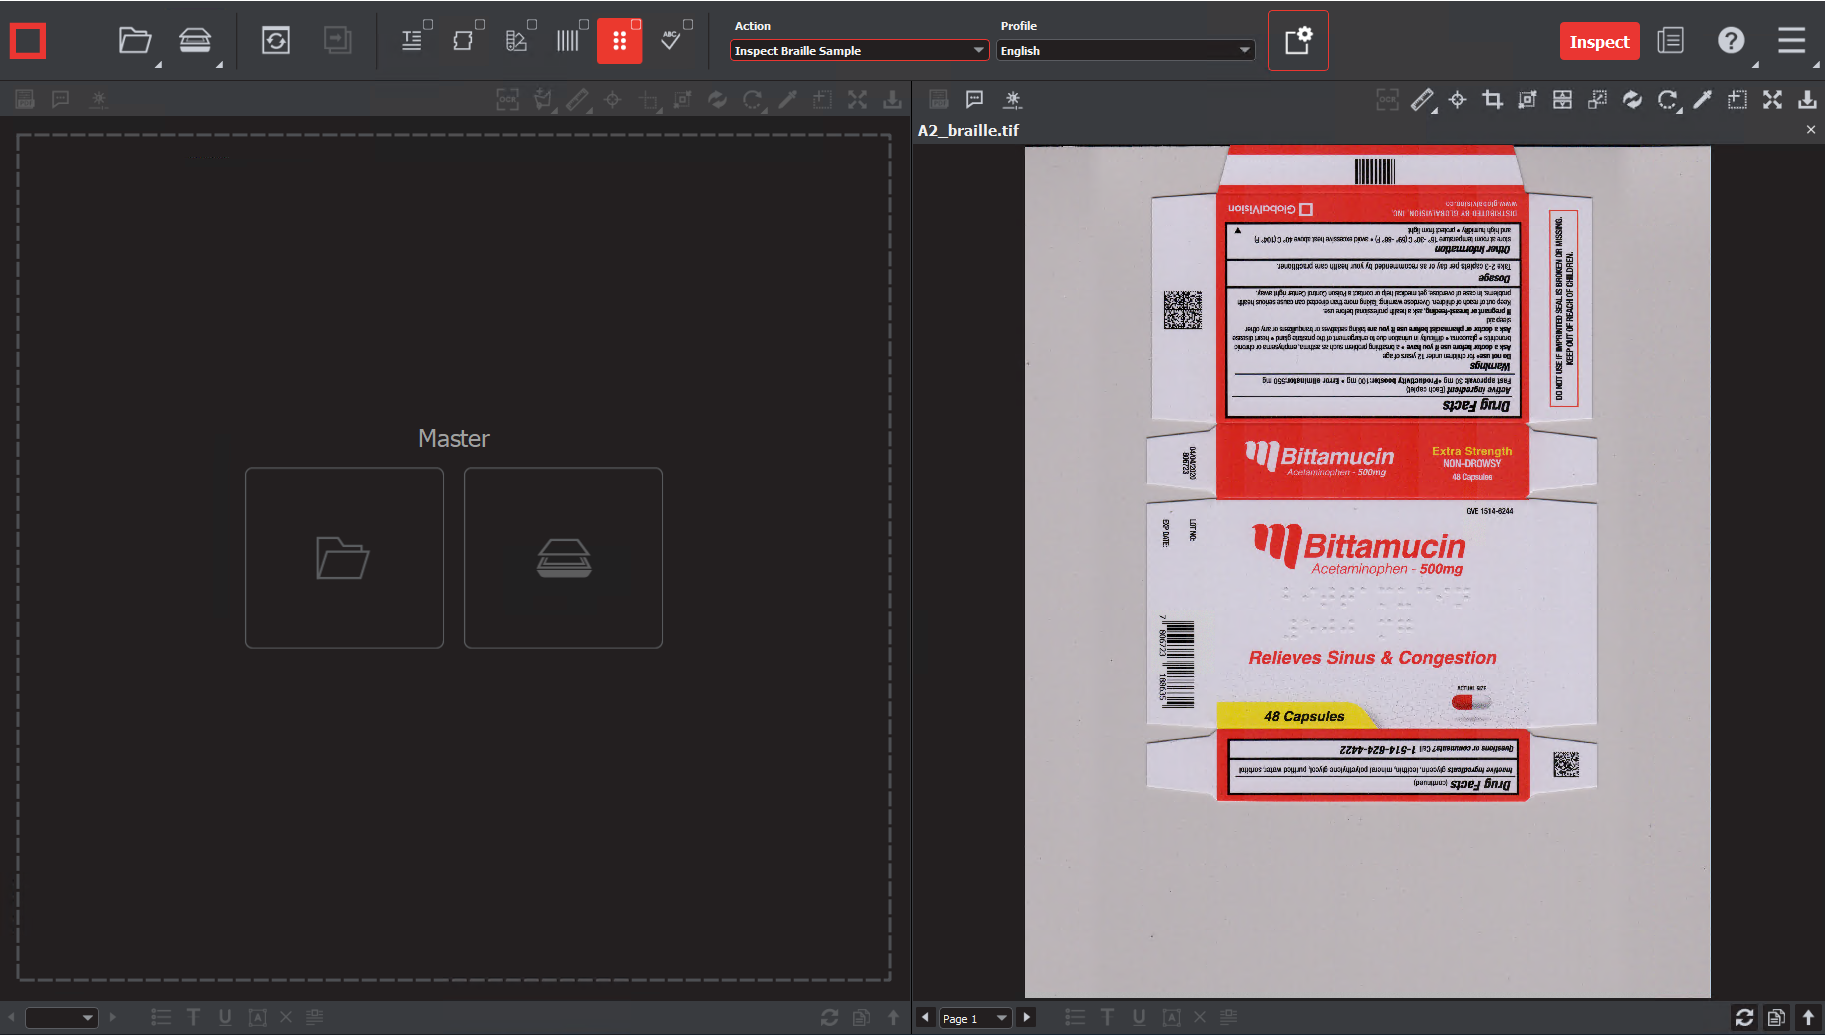
Single-click the scanner icon in the Master or Sample panel. Both options launch the scan.
Note: The Master and Sample files must be rasterized at the same DPI value. If that is not the case, then an error message will notify you about the discrepancy.
-
If the selected DPI of a file you are trying to load is different than the Desired DPI value in the current profile being used, a message asking to change the DPI will appear.
-
Click Yes to change the DPI to the prescribed amount or,
-
No to move ahead with the value you had set.
-